How to get wires out of sight: an easy way to disguise
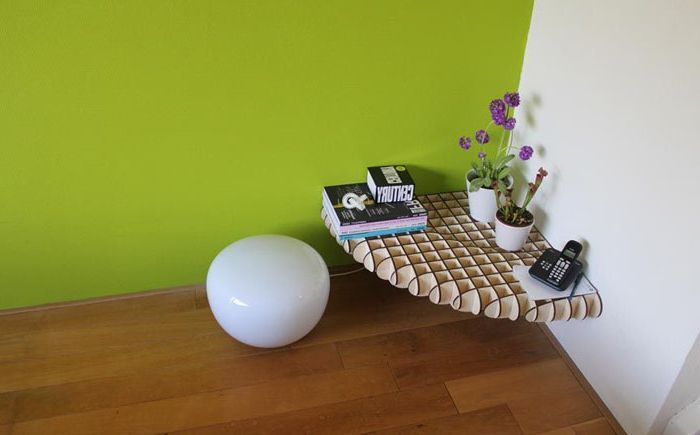
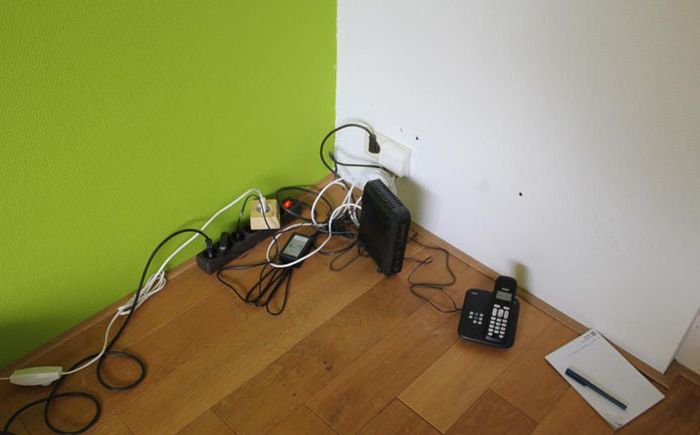
Just a great way to organize space. Stylish and very convenient, because this way you can hide the terrible wires, cords, modems and sockets. Making a framed wood shelf will require some experience in laser cutting or milling wood and drilling holes.
Step 1: Selection of materials and tools
Selection of materials and tools
– laser-cut plywood shelf (size 70 x 70 cm, you can pre-order the shelf from specialists).
– 4 screws and rings are purchased in advance in a hardware store
– wood glue.
– drill for drilling in concrete or other material (depending on the type of wall in the house)
wrench
– level.
– adhesive tape or clips
Step 2. Installation and drilling
Installation and drilling
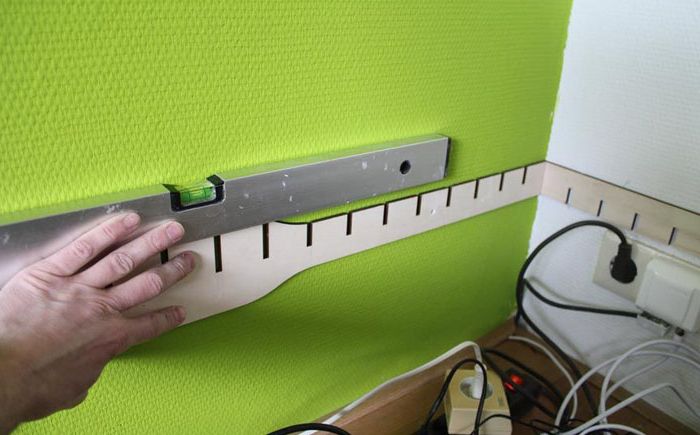
First, you need the shelf itself. For such a shelf, plywood, chipboard, acrylic or bamboo 6 mm thick are best suited. Attach the first piece to the desired height. The shelf in the figure is attached as low as possible in order to hide as many wires as possible. Attach the part to the wall, use a level pencil to draw a straight line.
Installation and drilling
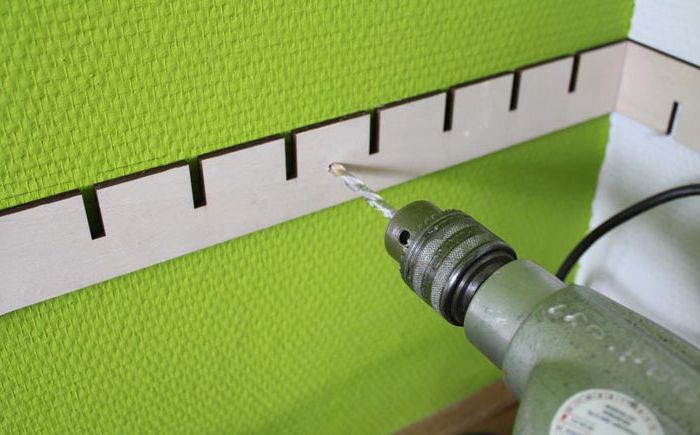
Drill the first holes.
Now fix the part with screws. Remember that you may need help in the future..
Place the second piece of shelf on the other wall. Make sure it is level.
Step 3: assembling the shelf
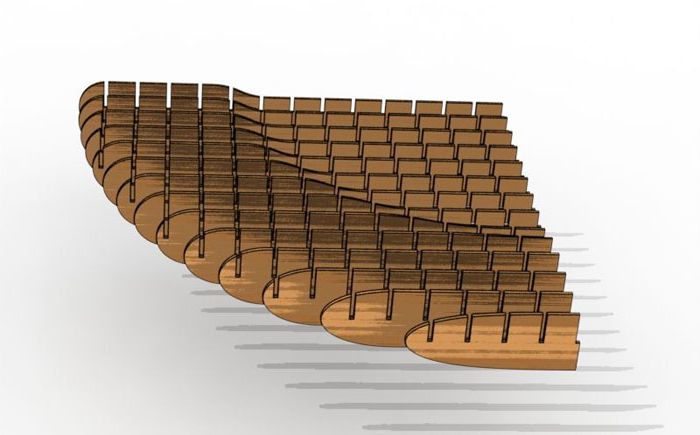
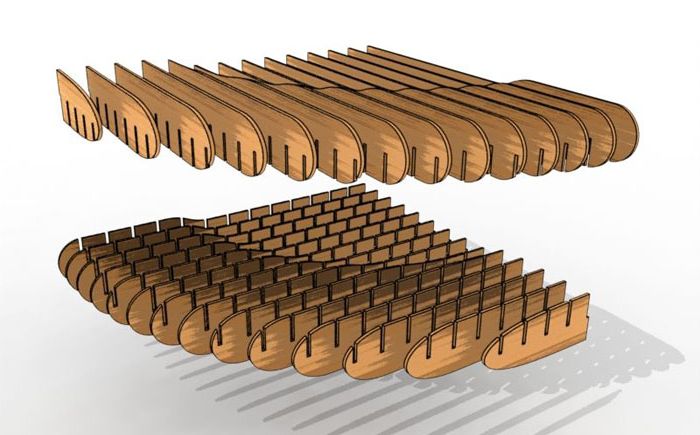
Shelf assembly diagram
Shelf assembly diagram
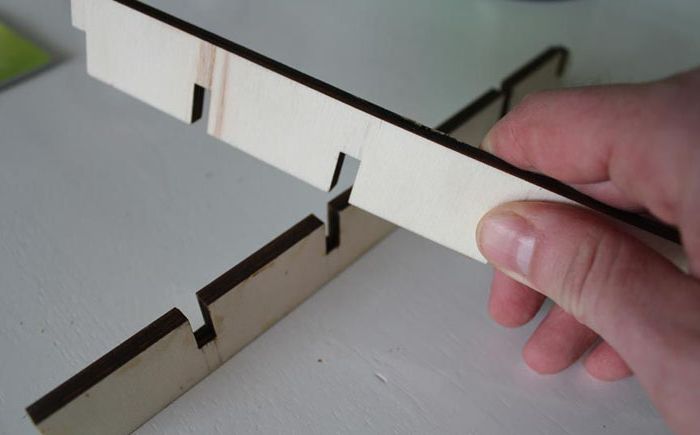
It’s time to assemble the shelf! It consists of many parts, so please be patient and go ahead with the puzzle.!
Assembling the shelf
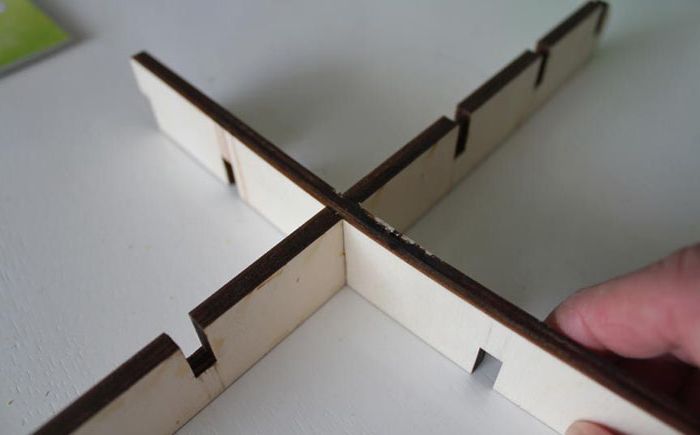
Using two parts screwed to the wall as a basis, assemble the entire shelf, securing the parts with glue. When assembling, it is not at all necessary to press the parts, but do not forget to wipe off the glue droplets with a wet rag, otherwise, as a result, ugly dried glue drops will remain on the shelf.
Assembling the shelf
Use duct tape or clamps to secure some parts during shelf assembly.
Let the glue dry.
Step 4. Installing the shelf
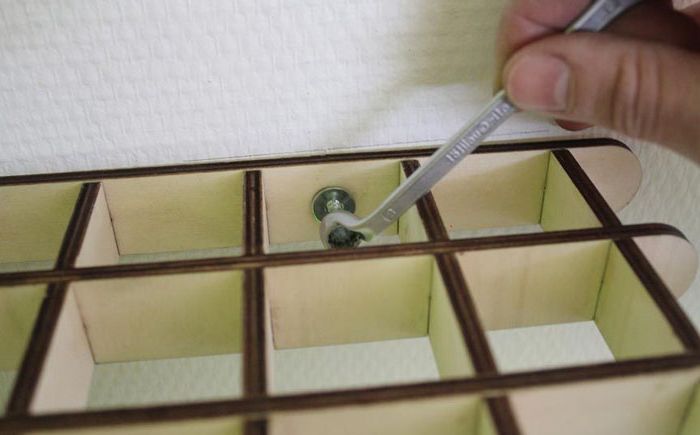
Shelf assembly
This is the last step. After the shelf is assembled, attach it to the wall. This will require 4 more screws, a wrench and a little patience. After installation, you can enjoy decorating it.
However, the wires do not need to be hidden. From them it will turn out to create original works of art right on the wall, you just need to show your imagination.

