These cute flowers will decorate both the window sill of the apartment and a small flower bed in the country or in the garden. Violets have long been popular. And it’s not only their ability to bloom almost constantly, but also that care is limited by several important rules. If you know how to keep track of violets, then such worries will not take much of your time. But the most important moment, on which the future of flowers depends, is planting. What are the subtleties of this responsible work?
What you need to plant violets?
We advise you to prepare in advance and purchase all the necessary materials. This approach will greatly simplify the task. If you do not know how to plant violets correctly, and cannot choose a method, then prepare a complete list of materials. Among them:
- several pots of different sizes;
- special soil for violets (you can find it in stores);
- plastic containers (you can take both yogurt cups and ordinary transparent ones);
- small paddle that allows you to work with soil;
- fertilizers (also suitable for violets);
- lamps (relevant for dark rooms and for the winter).

How to choose a pot for violets?
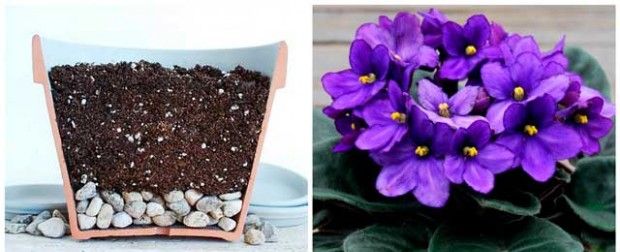
All plant lovers know that different flowers have different requirements not only for the soil, but also for the size of the pot. It may affect not only the size of the future plant, but also the number of flowers, the frequency of flowering and overall health. That is why many are interested in which pots to plant violets in. It is important to know that these flowers grow well in cramped conditions. Therefore, we recommend that you choose pots that will be two to three times smaller than the diameter of the rosette (the plant itself). For an adult plant, the standard pot diameter is 10-13 centimeters with a height of no more than 10 centimeters.
It is worth noting that violets grow slowly in very small and cramped pots, so it is assumed that the flower is regularly transplanted into a pot of a suitable size..
What soil is suitable for planting violets?
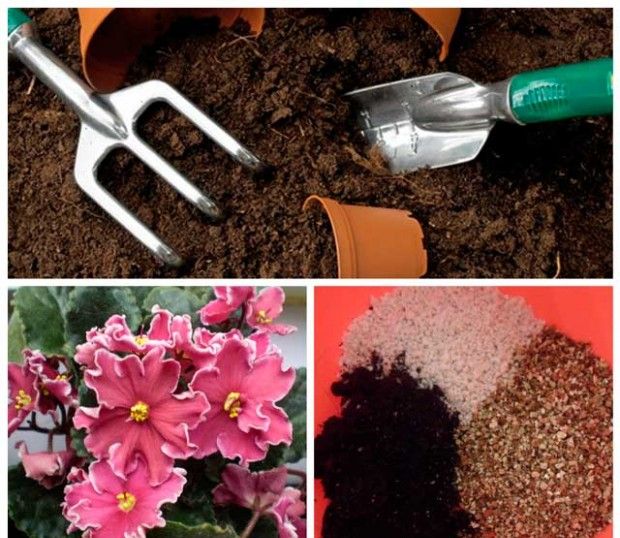
In any specialty store, you will find a primer that has been developed specifically for violets. Still, experienced gardeners and plant lovers prefer to create the soil for their flowers on their own. If you are ready to spend a little time on this process, then prepare materials:
- universal primer,
- river sand (not used if drainage is laid on the bottom of the pot),
- two handfuls of ash,
- finely chopped sphagnum moss (2 handfuls).
All ingredients are mixed and set aside for seven days. At this time, the soil should be saturated with oxygen. If you do not know which land to plant violets in, and are not sure of your own strength, then give preference to the finished product.
Violet planting methods and a detailed description of the process
Exist two main ways of growing violets: from the leaf and by seeds. The second option is preferred by professionals who have already studied all the features of the plant and are ready to spend their time on a flower. It is much faster to grow a violet from another plant. It only takes a healthy leaf and a little time.
How to plant violets from a leaf: step by step instructions
So, you have a violet leaf. What to do with it? And how to get a whole plant from one leaf? First, choose how you will grow «kids»: by immediately placing the leaf in the ground or by rooting it in water? The first method is faster, but the second is easier and more suitable for beginners..
Do you want to know, how to plant violets with leaves?
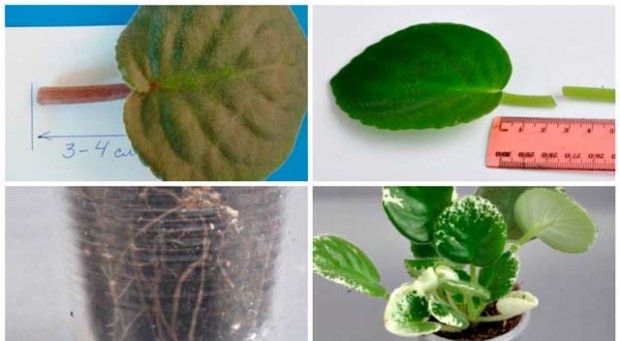
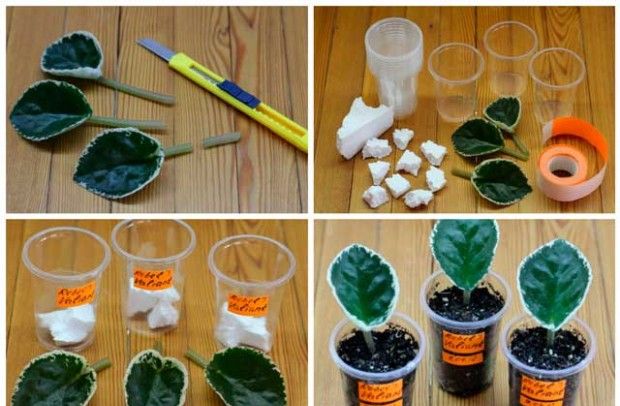
- A healthy leaf is trimmed so that the stem is no more than 1/3 of the total plant size. Then the soil is prepared: drainage and soil. An ideal pot for growing violets from a leaf no more than 5 centimeters in diameter. You can use a plastic yogurt mold, it works great.
- Make a small depression in the soil and place finely chopped moss there, it will help strengthen the leaf so that roots can appear. Not everyone knows how to properly plant violets from a leaf, so often «kids» does not allow a dense layer of soil to germinate.
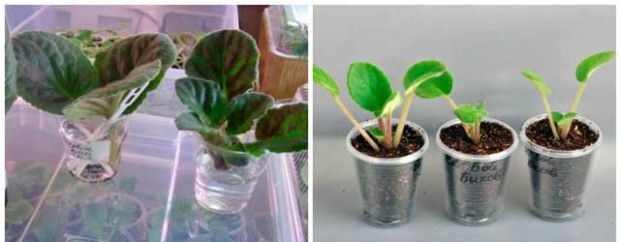
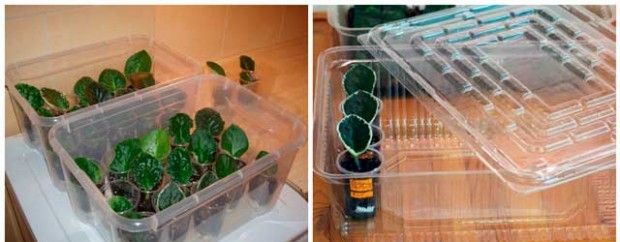
- Sprinkle the stem with earth, lightly pour warm boiled water and cover with plastic wrap (the most ordinary bag will do). Thus, you can create greenhouse conditions for the plant. Watch the temperature in the room, it should be kept at 22-25 degrees. Water the ground as it dries. After a while, you will notice small sprouting violets..
But there is also another option for preparing a sheet.
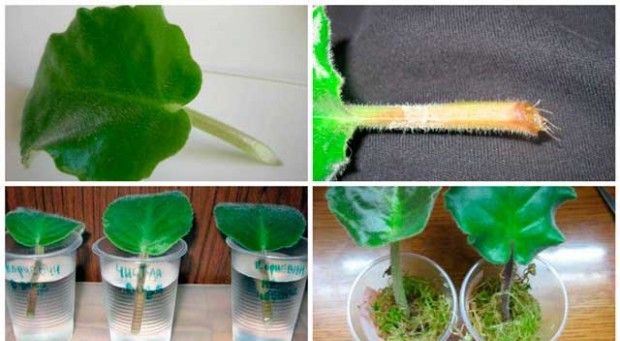
- Pure, settled water at room temperature is poured into a glass and a sheet is placed there. Monitor the water level and also observe the growth of roots. They will begin to appear in 7-9 days, and by the beginning of the second week the plant will be ready for transplanting..
- Once the roots have grown 1-1.5 centimeters, the leaf can be rooted. You can use a combination of two cups of different sizes (drainage holes should be made in the smaller one) or use expanded clay or other drainage. It is poured in a layer 1/3 of the total height of the pot, then the soil is located.
- Make a small hole in the ground where you need to plant the violet. The root system will prevent the plant from falling on its side. Sprinkle the sprout with earth, pour warm water.
- The plant is covered with polyethylene from above and ideal conditions for growth are created: constant temperature, light. Sprouts will appear soon.
Now you know how to plant violets in a pot. But there is another technique for growing plants..
Growing violets from seeds
- This will require prepare the following materials:
- forest moss or sphagnum,
- white plastic box (make drainage holes at the bottom),
- river sand,
- charcoal,
- drainage,
- universal soil,
- glass.
The sequence of growing violets from seeds:
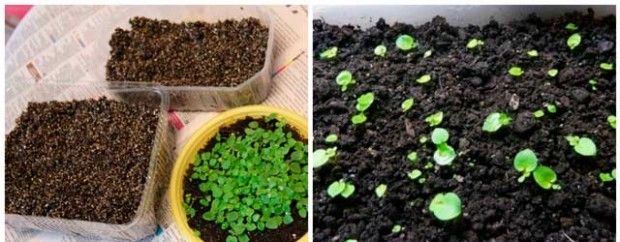
- Drainage is poured into the box. If the holes are larger than the selected drainage, then they can be partially closed with shards. A little charcoal is added to the drain. Then a thin layer of sand, the same layer of crushed moss and soil.
- The seeds are poured onto a white sheet and mixed with pre-crushed charcoal. Some gardeners also add a little sand..
- Sowing into the soil can be carried out in any convenient way: by forming grooves or not. «Greenhouse» covered with glass and exposed to sunlight. The soil requires regular moisture, but it must be done very carefully. It is best to water along the very edge of the capsule so as not to wash off the seeds. If you notice dew on the glass, wipe off excess moisture with a dry cloth and cover again. «greenhouse» glass.
- As soon as the shoots appear, they will begin to increase in size rather quickly. Of course, such a small area is simply not enough for a large number of outlets. Therefore, they need to be planted in small pots no larger than 5 centimeters in diameter. Transplanting should be done very carefully so as not to damage the fragile roots. Water the soil first and then gently pull out each rosette.


