It so happens that you find a wonderful lamp in the market or in a store, but, alas, it does not fulfill its main function. What to do, because you really liked the lamp? The answer is simple – revive it..
In our homes, you will not find anything. For example, an old non-working lamp, breathtaking in its appearance. You can, of course, buy a new one, but if you want just this, then the best way out is to carry out repairs.
It will cost a symbolic price even when replacing wires and other equipment needed to turn on the lamp. So, a step-by-step instruction for dismantling the lamp opens before the readers..
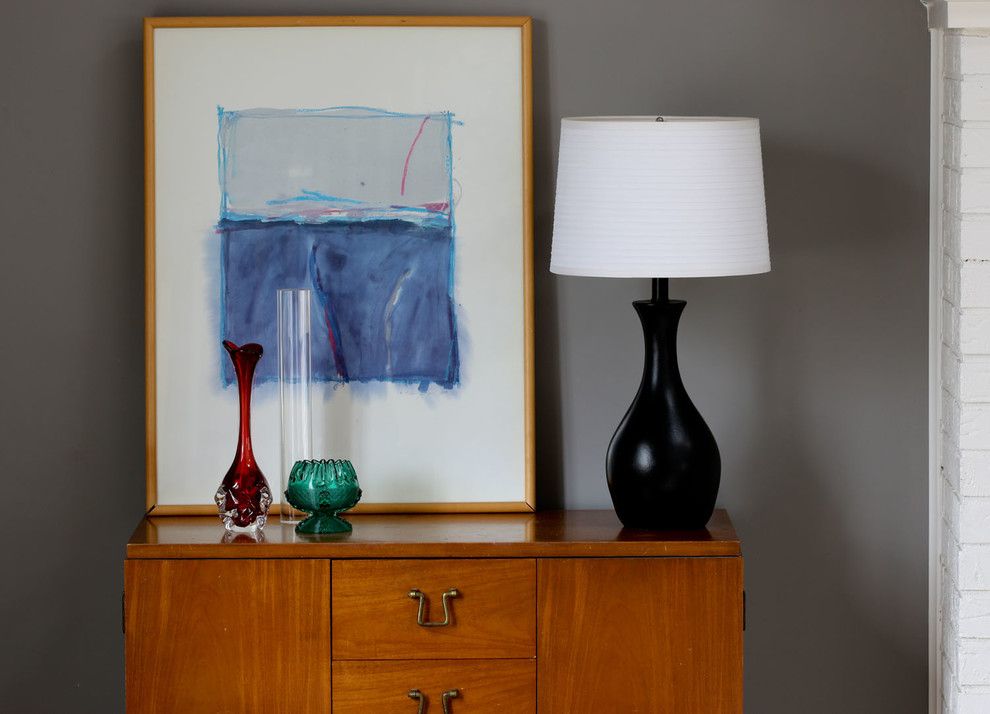
An elegant lamp in need of repair fits perfectly into the design of our living room. This is where she actually stands. Nice shape with black base and ambient decor.
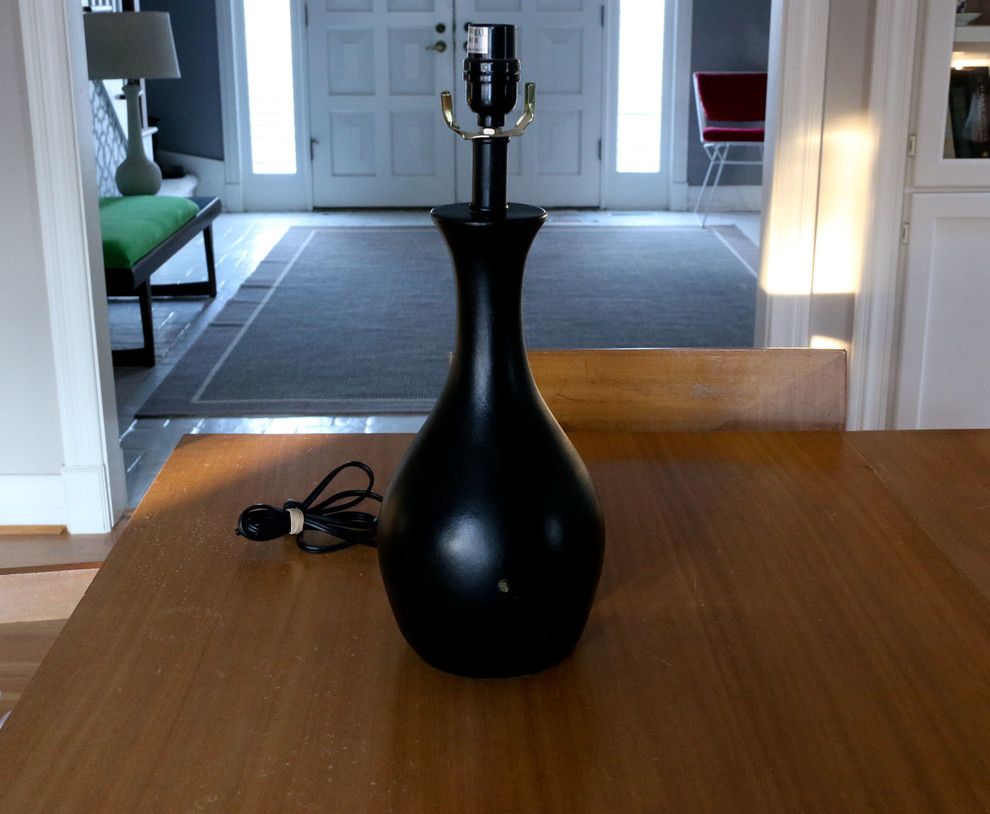
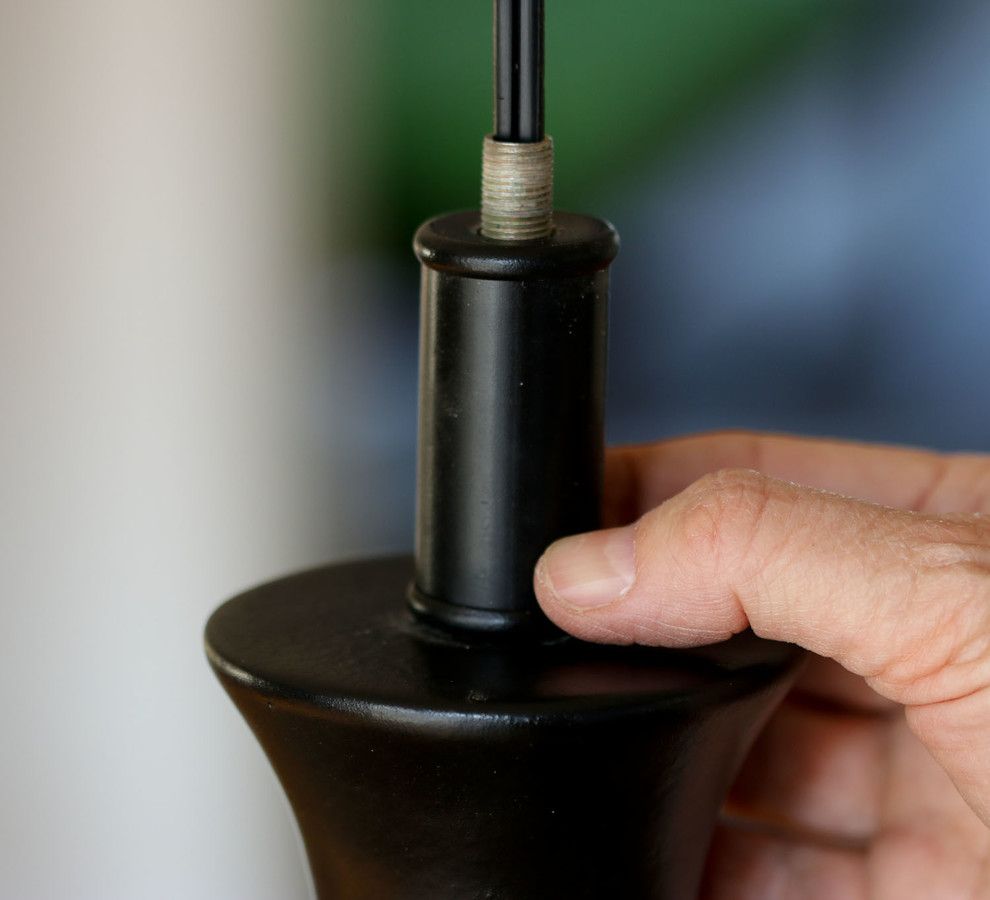
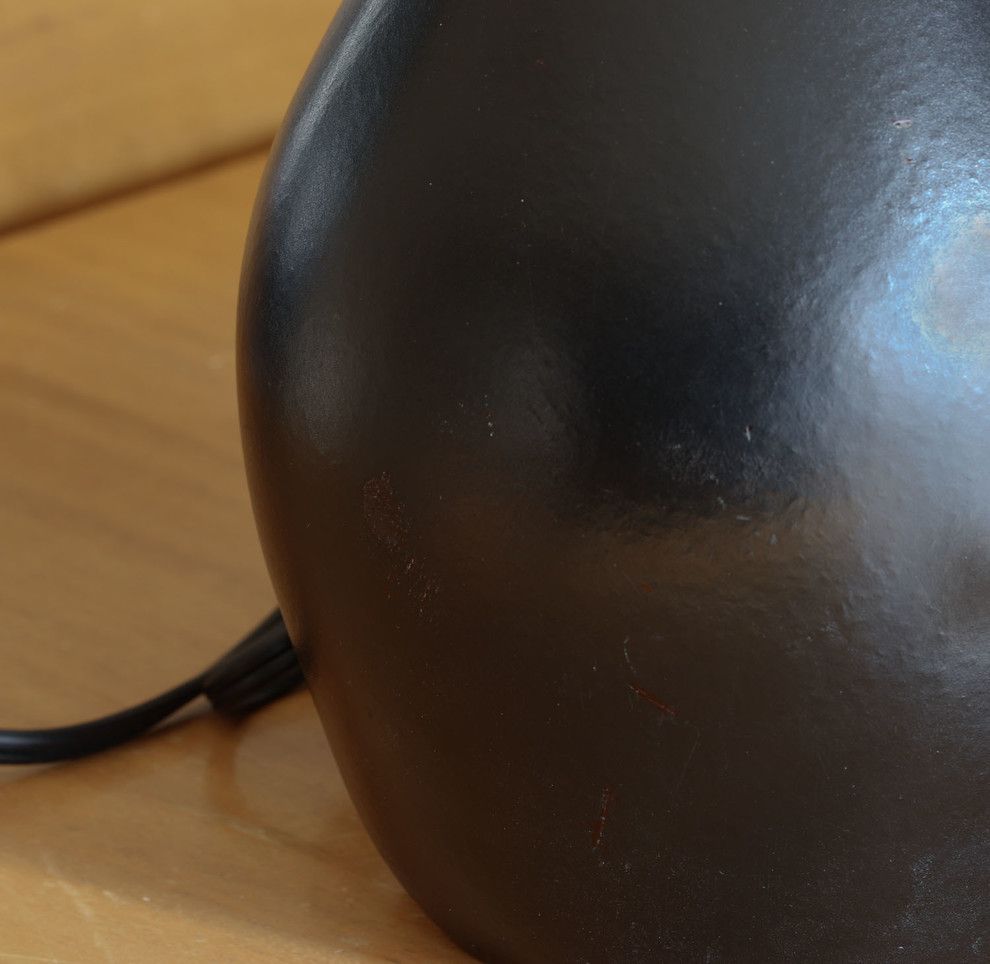
The upper part of the lamp is removed, it is necessary to replace the wiring and bracket. There is also an inconspicuous spot with worn trim.

The metal bracket was not bent well.
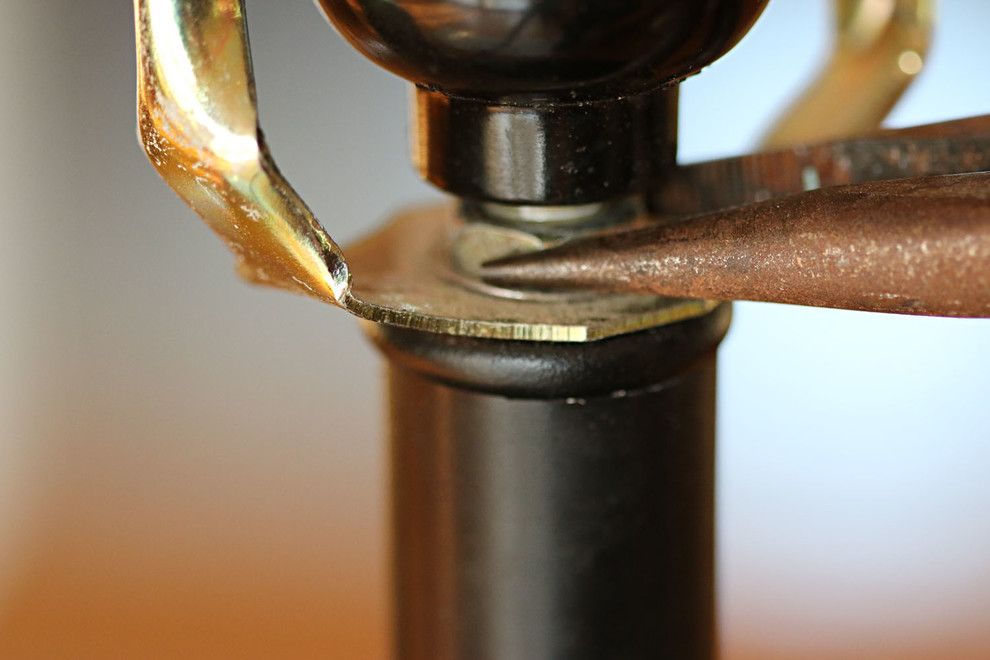
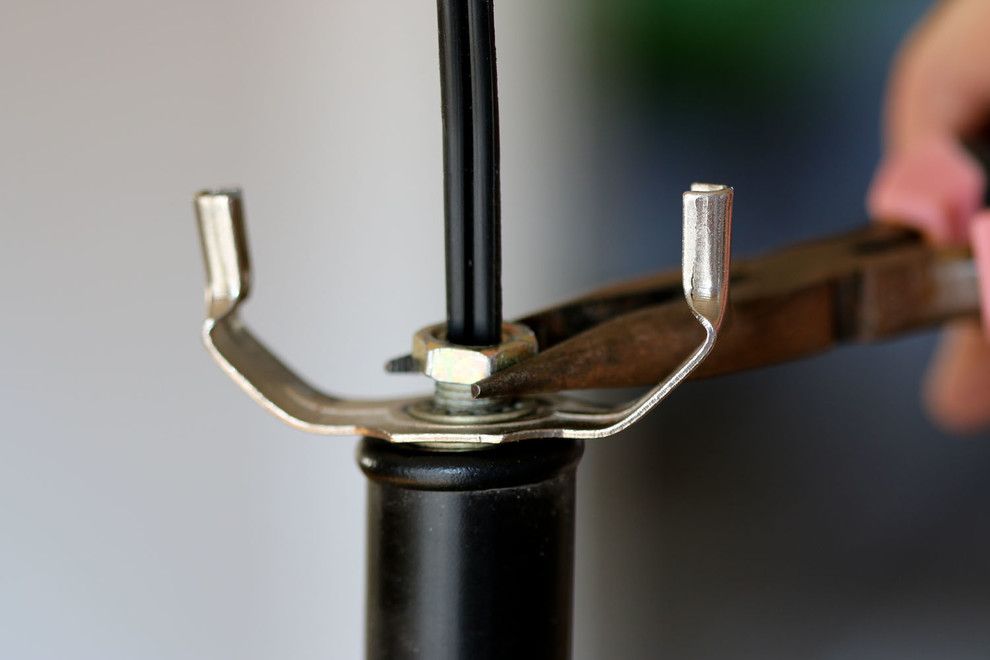
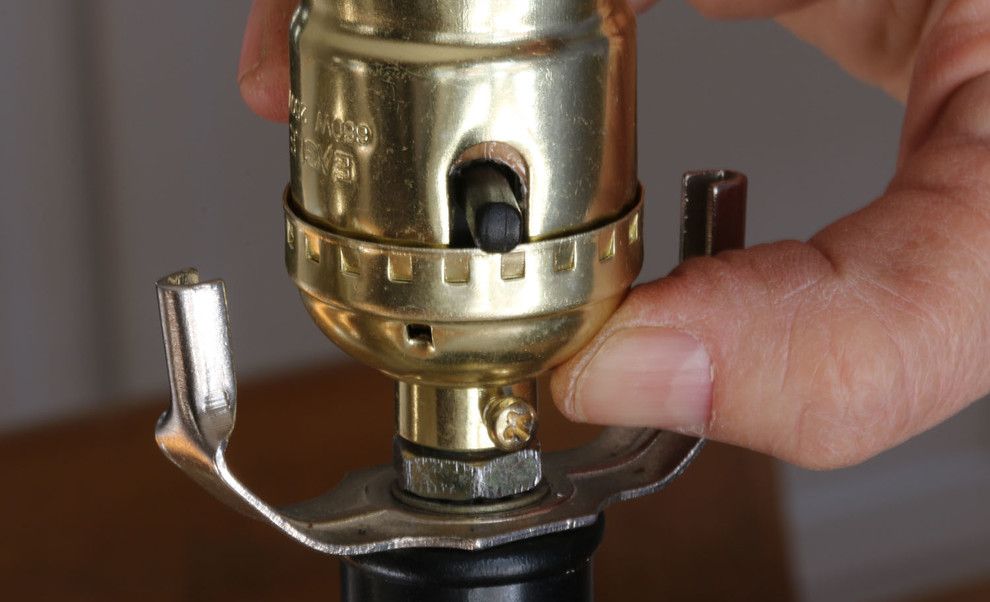
Removing the bracket. To remove the old bracket, unscrew the lock nut. Pliers come in handy here.
The lock nut unscrewed freely, but the lamp wiring was so tight that it seemed to be tied into a knot inside.
There was no need to replace the existing wire, but since there was a tight thread inside the pipe, the wire had to be cut to remove the metal bracket.
Replacing the wire. After removing the old wiring, we replace it with a new one.
Using duct tape and copper wire, the electrical cord was removed from the top of the column.
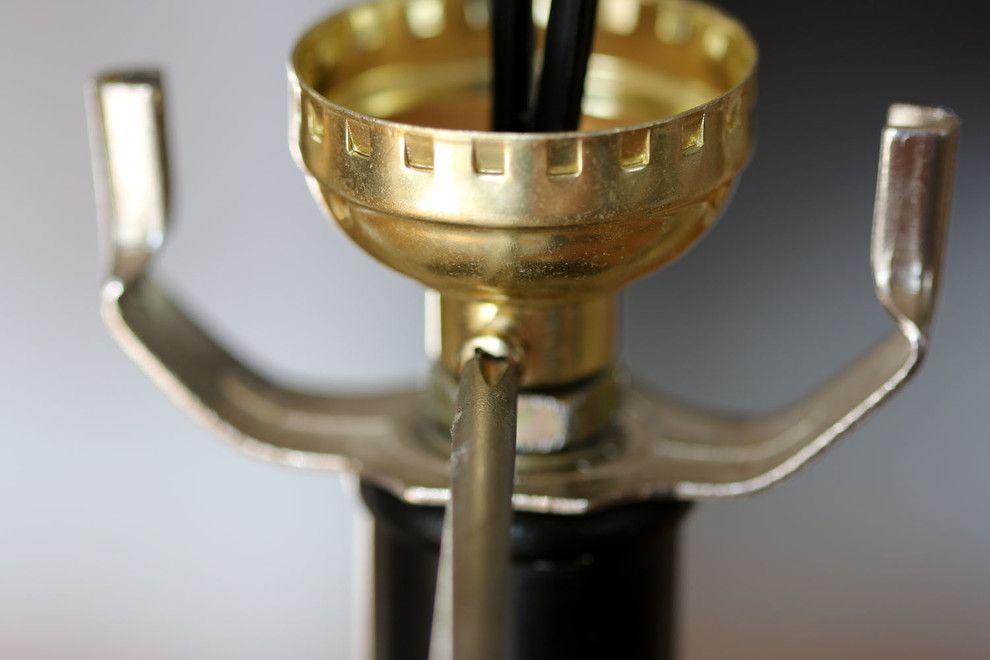
The black collar was replaced before installing the new bracket.
Screw the nut down until it stops, thus ensuring that the bracket is tight.
Preparing contacts. Separate the wire approximately 3 cm from the cut, following the instructions included.

Use a Phillips screwdriver to tighten the screw to slide the connector into place.
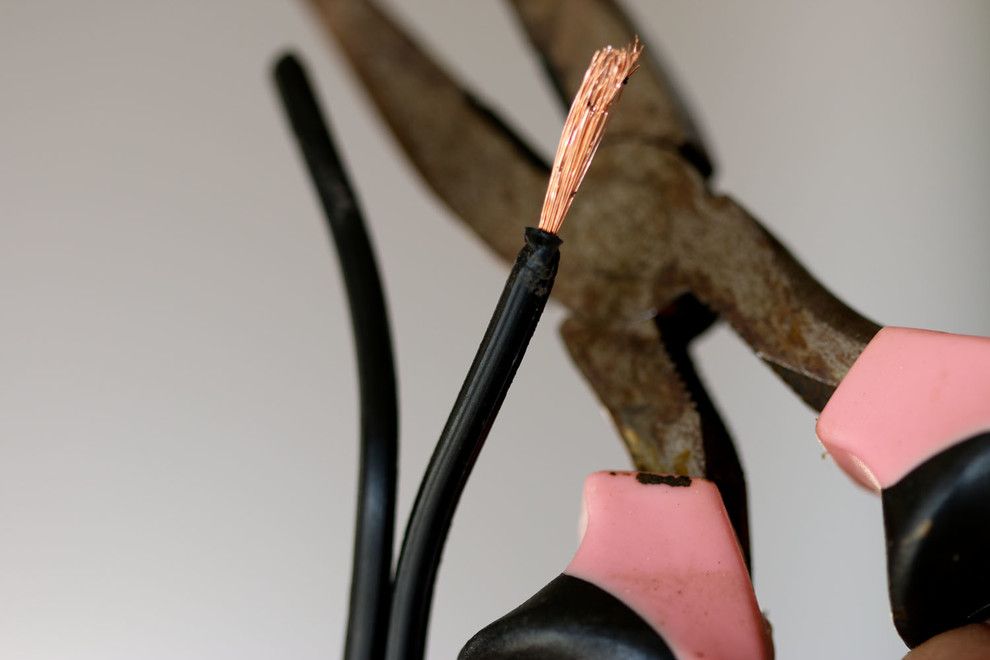
Remove the cover from the wire and make a small cut at the end.
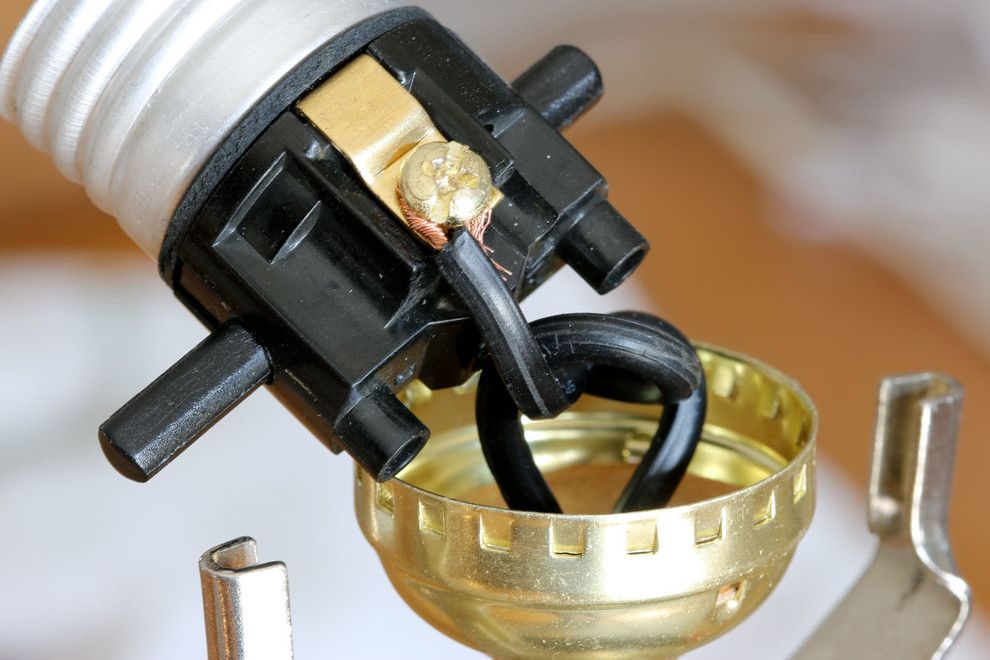
Make an underwriter knot on both sides of the wire. Wrap the end of the copper wire around the screw and tighten with a screwdriver. Follow the instructions here very carefully.
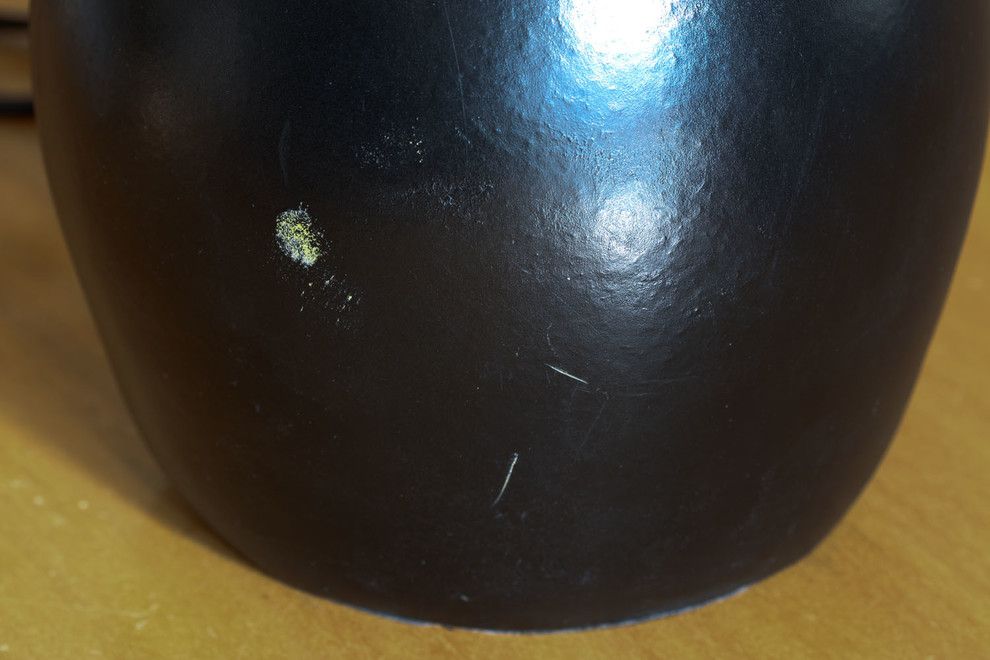
Final details. Disguise the white spot using a black felt-tip pen.
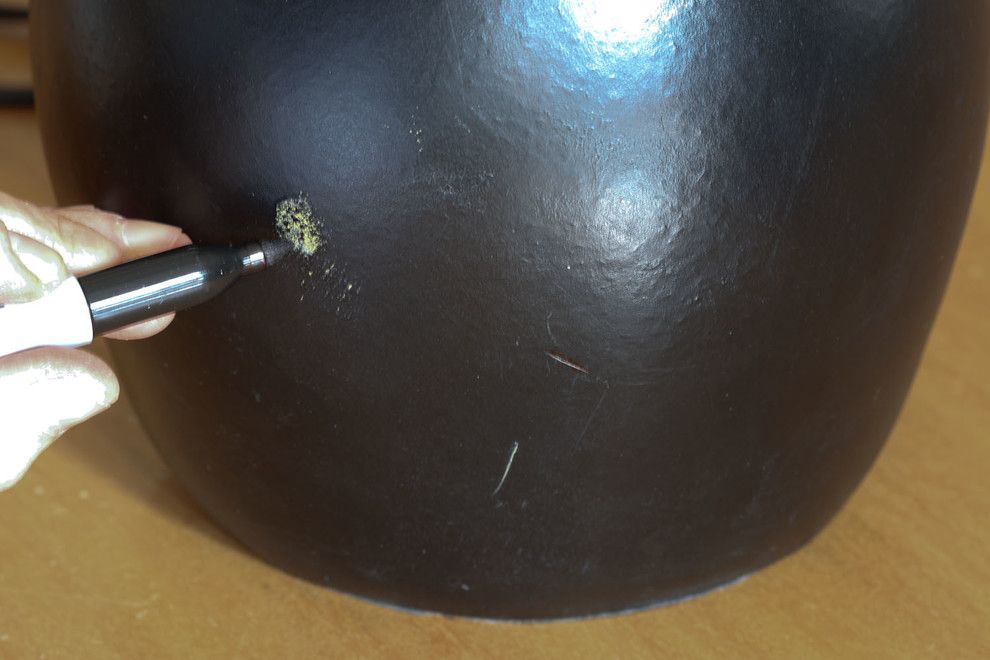
Instead of dyeing the entire base, it is better to hide the stain under the persistent color of the felt-tip pen using a spotting technique. The painted spot will no longer draw attention to this place.
After masking, attach a new lampshade.
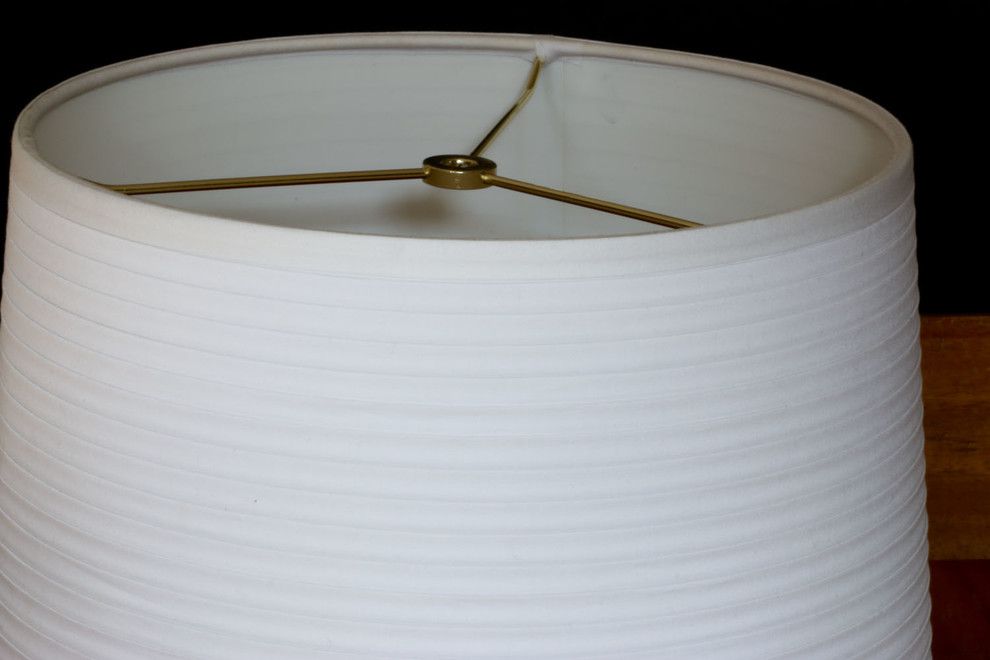
White corrugated lampshade is the perfect complement to a simple black lamp.
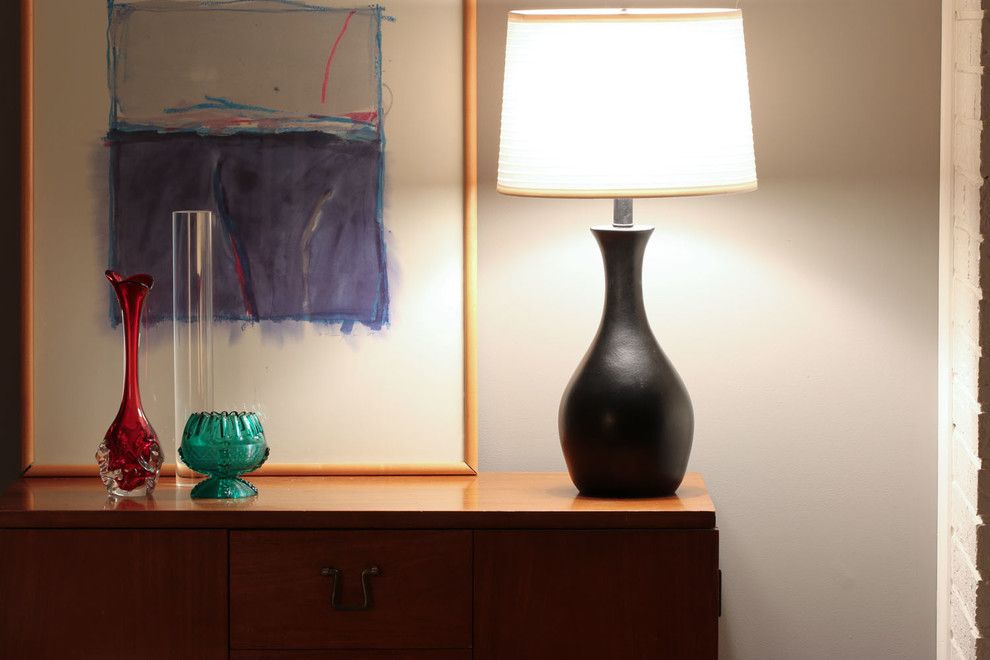
The new lamp adds the necessary light and looks great as a piece of furniture.