Stunning Talavera backsplash tiles with your own hands
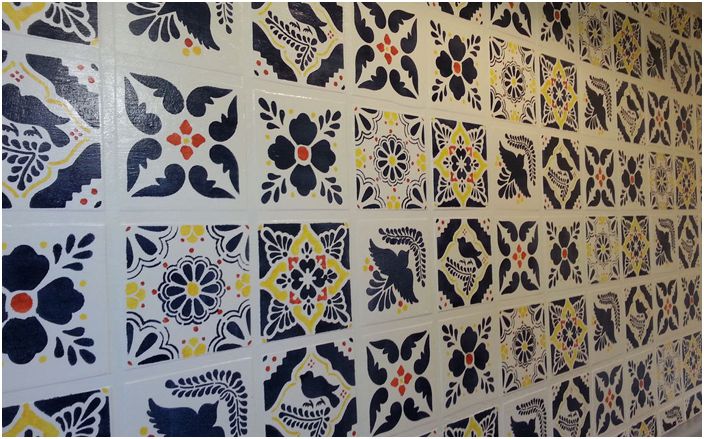
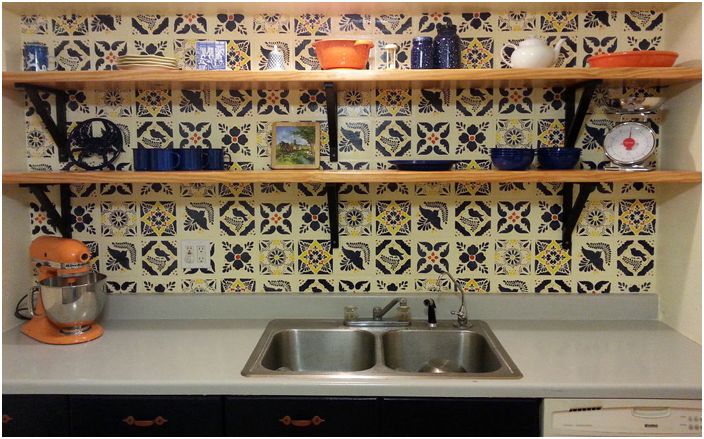
It’s no secret that renovation is not a cheap pleasure, so any savings are welcome. When it comes to the kitchen, in most cases ceramic tiles are indispensable. Most often she is faced with the so-called kitchen apron, i.e. panel behind stove or sink. We offer an original solution that will transform the kitchen beyond recognition.
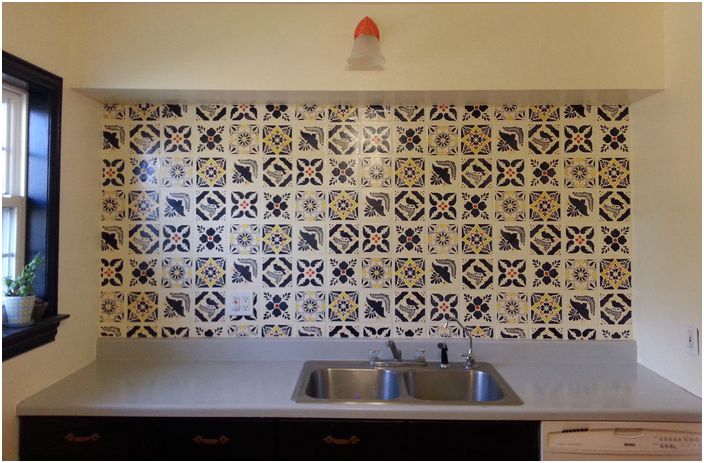
Talavera tile for kitchen apron
The widest range of tiles is presented in modern building hypermarkets. One of the most popular is the tiles of the Spanish manufacturer Talavera, distinguished by their unique patterns. You can try to make it yourself, or rather create an imitation of it. This option will help not only save money, but also avoid plastering uneven walls..
Step 1: Selection of materials
Selection of materials
We will need:
• drawing stencils,
• adhesive spray with a temporary effect,
• putty for walls,
• large spatula and container for putty,
• insulating tape for painting,
• carpentry square, tape measure and pencil
• sandpaper,
• paint for walls to create a background (matte is better),
• paint for stencil drawings (preferably thick), you can combine latex wall paint with water-based paint.
• brushes, roller, pieces of foam,
• polyacrylic or other clear varnish and nylon brush.
Step 2: Securing the tape. Creating a simulation of tile joints
Fastening the tape. Creating a simulation of tile joints
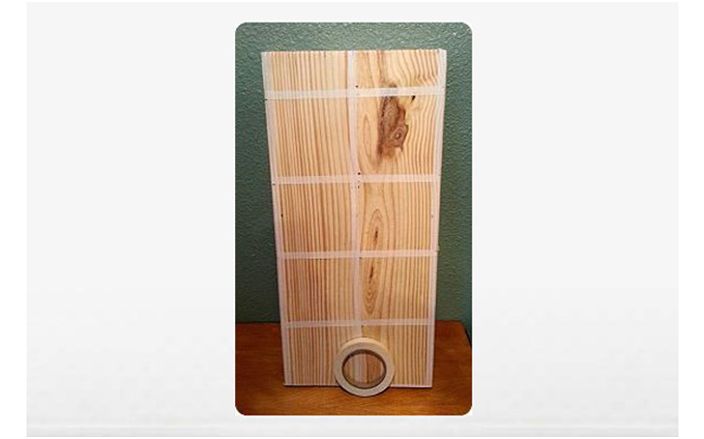
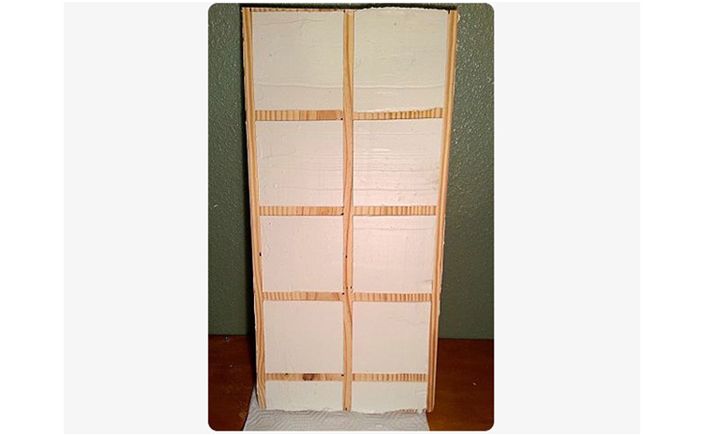
Make sure that the surface of the walls is clean, and only then can you start working. You need to measure the wall and make a markup (if the stencil is 12.5 x 12.5 cm in size, then the markings should be made a little wider, for example 13 cm, so that they can be better laid out). Do not forget to consider the width of the tape (about 1 cm). Measure at multiple locations to create a grid, and use a carpentry square to make sure the lines are square. After finishing the markup, stick the tape.
Step 3: Applying the putty
Putty application
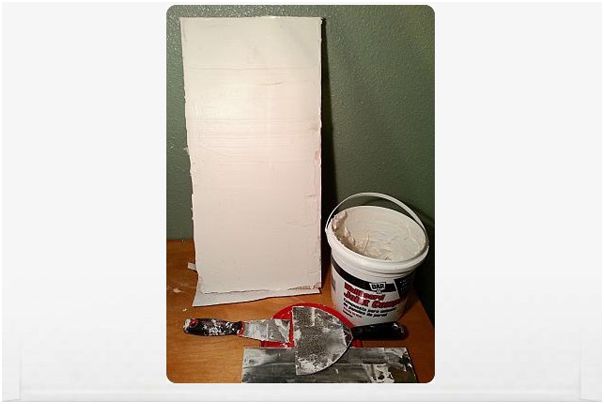
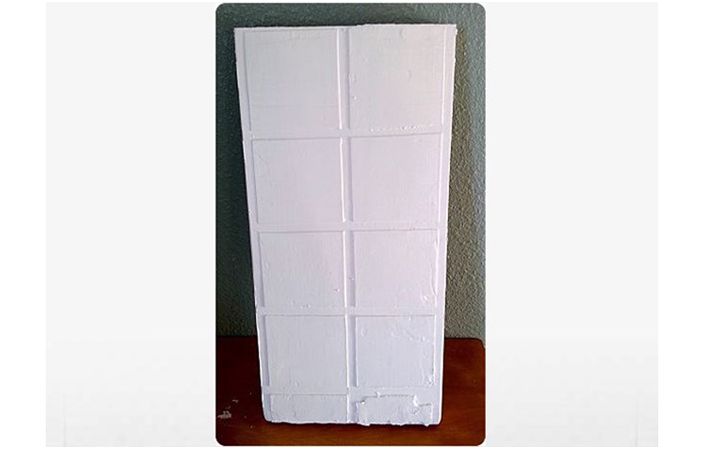
Apply the wall putty with a large trowel, smooth it out for an even, thick finish.
Step 4: Remove the tape
Removing the tape
Apply a coat of paint
Remove the tape while the putty is still fresh, as it will be difficult to do later. Let dry and sand the bumps with sandpaper. Apply a coat of wall paint to create the background.
Step 5: drawing the pattern
Drawing a picture
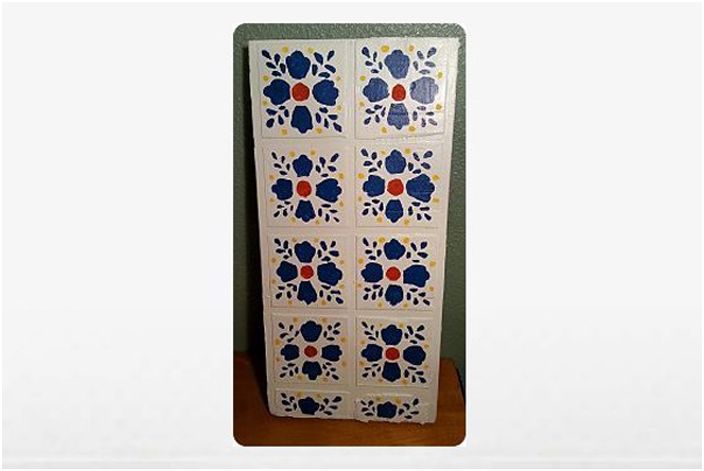
Lay out the stencils on a flat surface and compose the composition that you would like to display on the wall. Then apply glue spray to the stencil and glue it in place of the marking. Use a small roller to apply the selected paint to the stencil, it is better if it is a thick, matte paint. First apply all the elements of the same color, and then proceed to the next. Small elements of the pattern on the stencils can be painted over with pieces of foam rubber. Let the paints dry and remove the stencils.
Step 6: applying clear varnish
Applying clear varnish
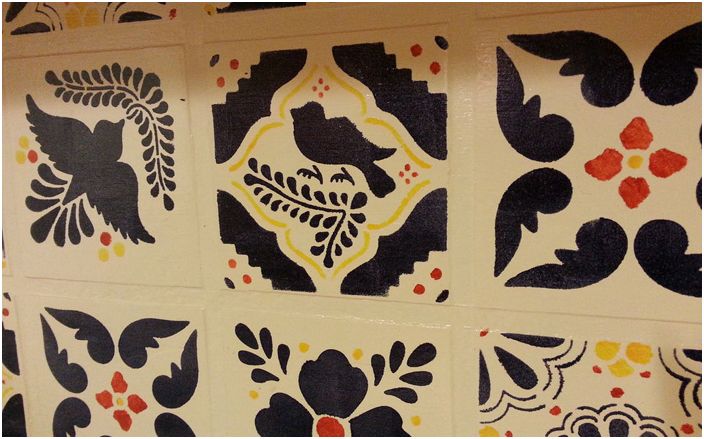
Cover the entire surface with polyacrylic or other clear varnish. It will perform a protective function and give our tiles a glossy shine. The varnish is applied in several layers, letting each of them dry before applying the next. In addition, it must be applied in one direction. Step back a couple of steps from the wall and evaluate your work. Can’t be distinguished from real tiles!

