Rules for successful wall painting
How to renovate the interior at the lowest cost? One of the best ways to transform space is by painting the walls! It’s inexpensive, practical and trendy, but how do you get it right? We have compiled our own memo for those who are planning to refresh their interior!
1. Calculation of area and cost
Calculation of area and cost
To correctly calculate the required amount of paint, it is necessary to measure the surface of the walls. Usually 15 liters is enough for 60-80 square meters of area. Arriving at the store, it is not difficult to notice that there are paints that differ strikingly in price. The secret is that cheap options are usually not washable and can cost up to 7 times cheaper than washable counterparts. As for the type of material itself, experts advise to dwell on acrylic paints that dry quickly, look great and have almost no odor.
2. Tools for work
Tools for work
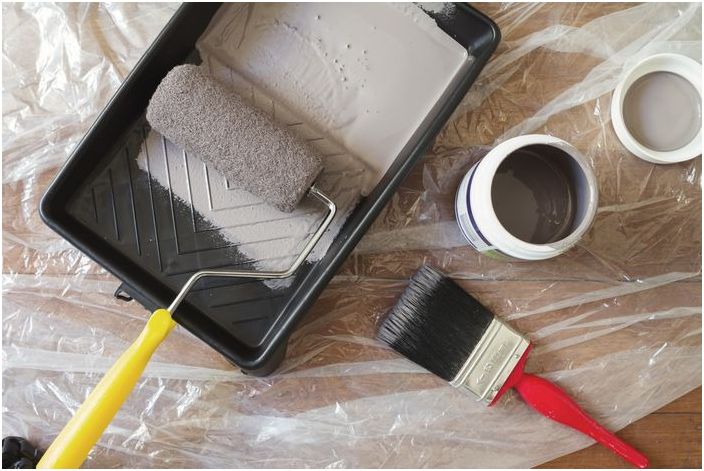
In order not to forget anything in the hardware store, you need to compile a list of materials that you may need during work in advance. For example, in addition to paint, you need:
• special oilcloth to cover the floor;
• construction tape to protect outlets and switches from paint;
• wide roller for painting the ceiling;
• a small brush for painting over hard-to-reach places and corners;
• wide brush for applying the primer;
• medium sized roller for painting walls or a special spray gun;
• container for paint thinning;
• putty knife and putty to eliminate imperfections on the walls;
• rags, gloves, respirators.
It seems that the list is not small and not at all budgetary, but in fact, all these tools are inexpensive and will cost, along with paint, much more profitable than the most average wallpaper.
3. Surface preparation
Surface preparation
Before you start painting, you need to get rid of old wallpaper or paint, smooth out irregularities with a putty, and cover with a primer. Then you will need to wash the floors so that there is no dust in the room, which easily rises and can stick to the painted wall. In addition, you need to make sure that there is no drinking on the walls themselves. To do this, it is better to walk over them with a clean, damp, lint-free cloth, and then let them dry..
4. Painting the ceiling
Ceiling painting
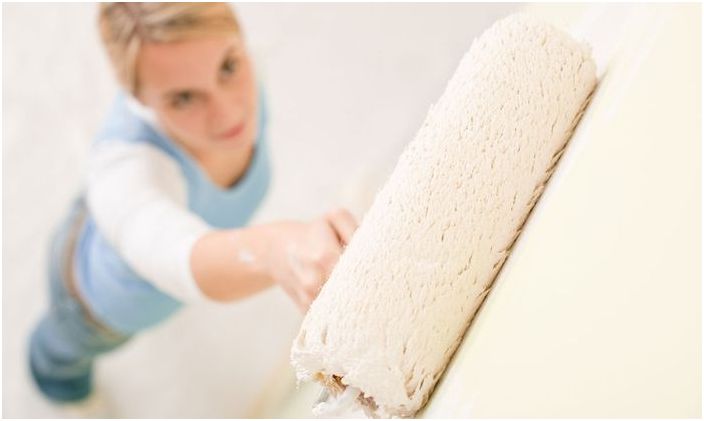
First of all, you need to start painting from the ceiling, so that later you do not stain the walls with paint or whitewash. But before that, you need to prepare well the surface of the ceiling and walls itself, as described in the paragraph above. It is necessary to paint the ceiling with a sufficiently squeezed roller so that paint does not drip from it, but also so that it is not semi-dry. It is desirable to apply several smaller coats than one thick one. You need to paint starting from the edges of the walls, and moving towards the middle of the ceiling. Particular attention should be paid to the transition from the ceiling to the walls..
5. Dyeing technology
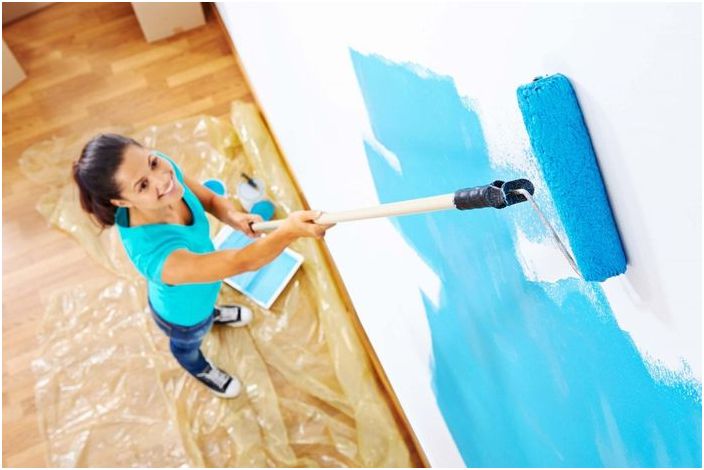
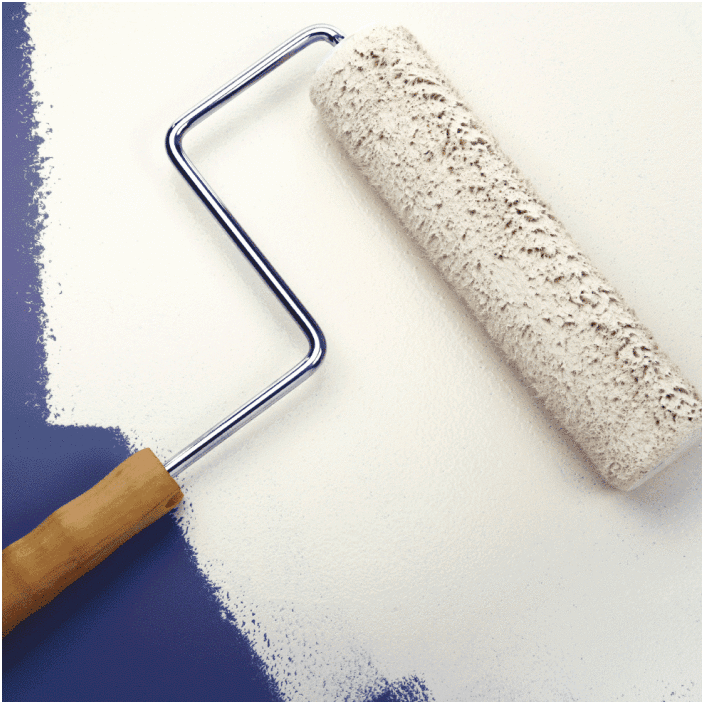
To paint the walls evenly and not leave ugly gaps, you need to paint a little overlap. And in no case should you leave work when only part of the wall is painted. It is necessary to paint over the remaining surface, otherwise the dried part of the wall will visually differ from the one that will be painted over later. To achieve the effect of uniformity, to avoid gaps and stains, you will need to paint the walls with paint several times.
Staining technology
This season, designers have come up with many interesting types of cladding. We found the coolest and most practical options. They will appeal to those who love original solutions in the interior.!

