Many people are accustomed to perceiving furniture as something permanent and not subject to change … As a rule, pieces of furniture are rarely bought and expect to use them for a long time. And this is justified: the furniture is not cheap, this part of the interior is quite heavy and it is simply difficult to perform any manipulations with it. What to do if new funds for the purchase are not foreseen, but you really want to update the situation? You can try to use skillful hands and decorate old furniture with decoupage.
A little about the history of decoupage
French word «decoupage» translated into Russian as «cutting out». The decoupage technique entered our life most fully in the 20th century, but the origins of this decorative art go back to the distant 12th century, and not French history, but China. Chinese poor people used to decorate their homes with carved fragments in this country.
Records of decorating furniture with paper cut pictures can be found in historical documents from Germany and Poland. They date back to the 15th century.
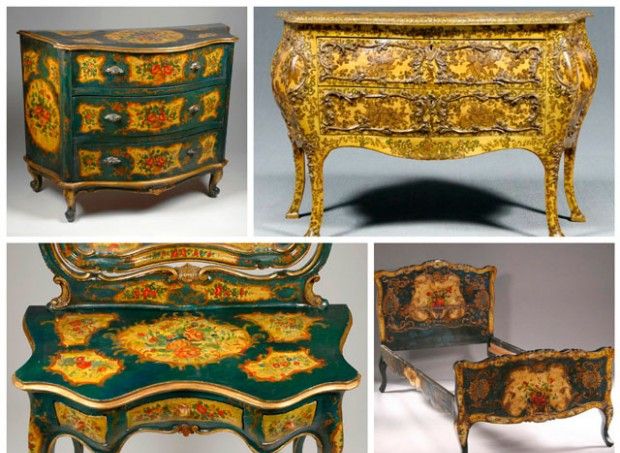
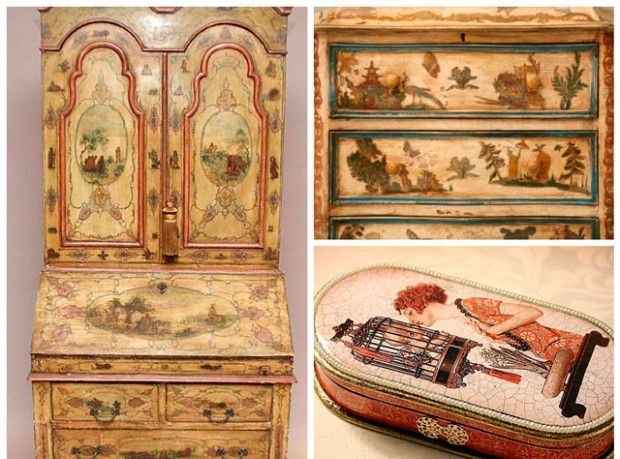
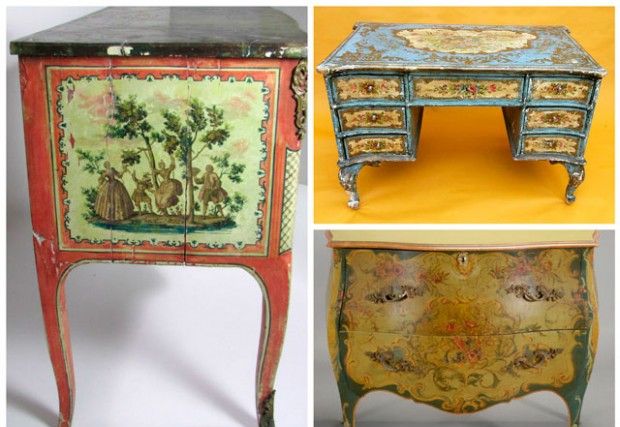
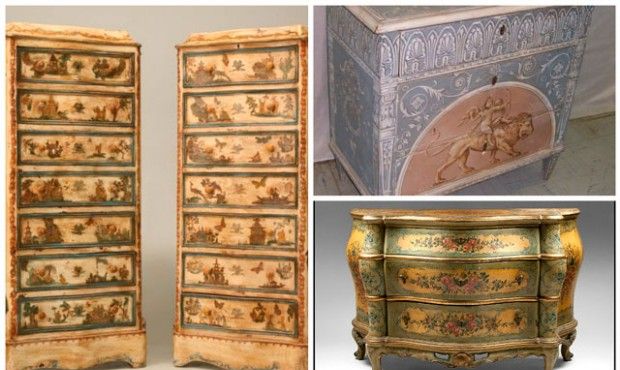
The highest point of decoupage art is noted in Europe in the 17th century. It was at this time that furniture imported from China and Japan with beautiful inlay became popular. But such furniture was not affordable for many who wanted to buy it, and they brought such items in limited quantities..
It was then that the mahogany specialists from Venice showed their ingenuity and a little cunning. They simply cut out oriental motifs from paper and glued them to furniture surfaces, covering them with a multi-layer amount of varnish. Cabinetmakers had to apply 30-40 layers of varnish each in order to achieve an analogy with furniture imported from eastern countries..
Local Venetian craftsmen appreciated their «masterpieces» much cheaper, so they bought up more willingly.
Following the furniture, similar imitation pictures were glued to the walls and ceilings of dwellings. Basically, this was done by people of low income, trying to follow fashion in the interiors of wealthy people.
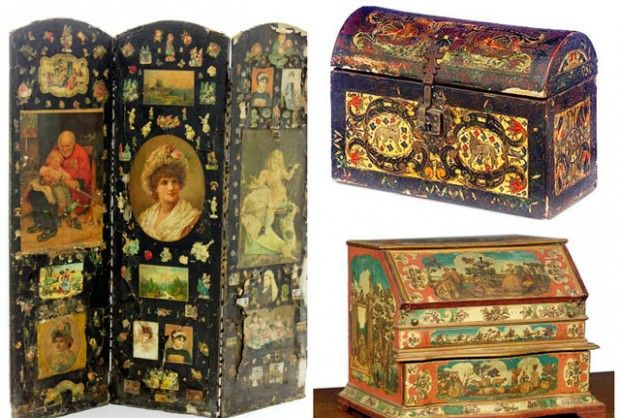
Gradually, decoupage began to win the hearts of ladies more and turned into a means of decorating various female objects and gizmos: fans, screens, caskets.
Techniques and materials have undergone changes over time, but the most important thing remains – decorating something with the skillful use of decoupage principles.
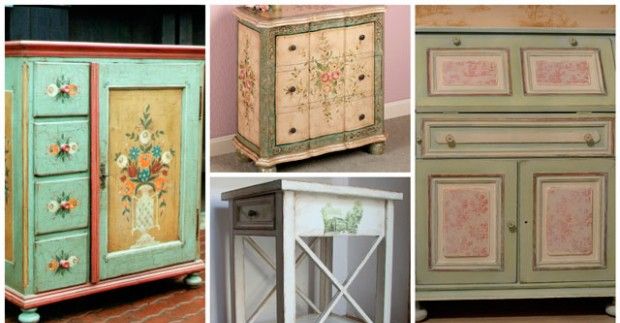
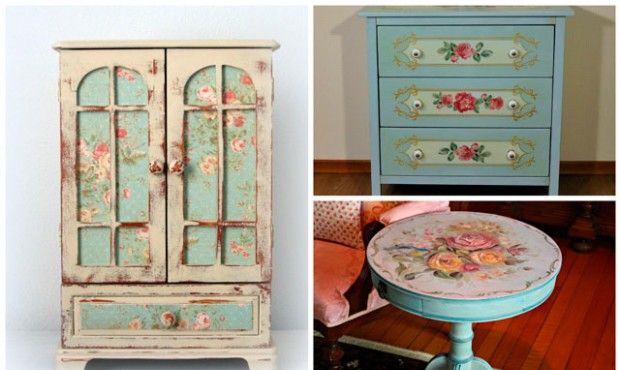
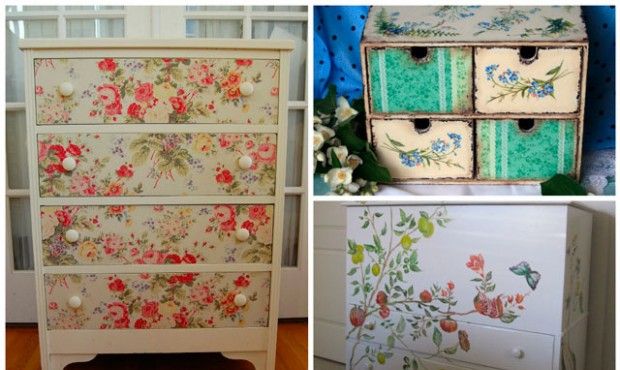
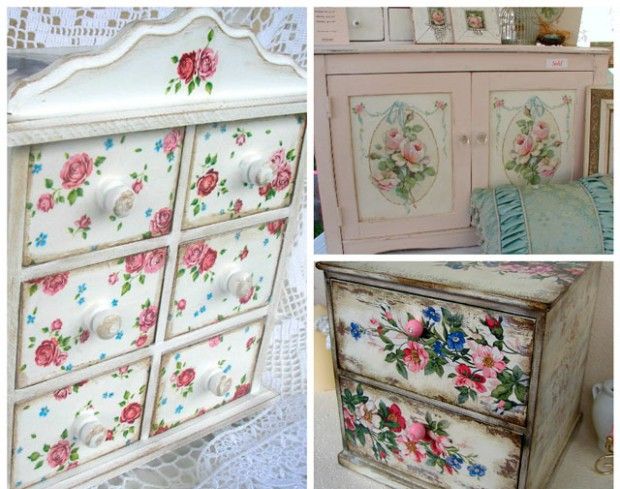
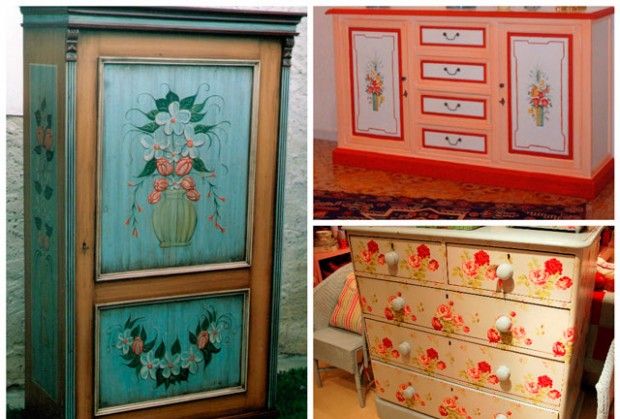
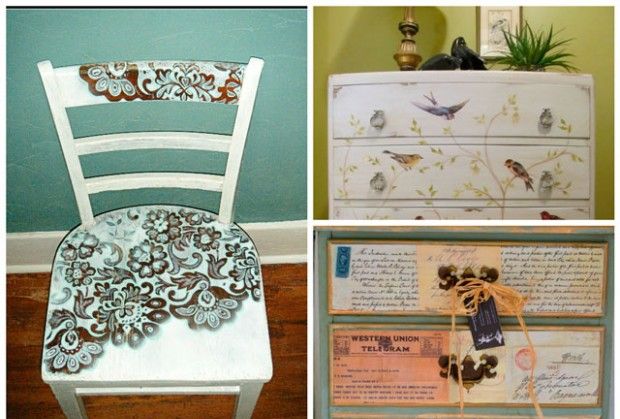
Today, decoupage technique is an integral part of styles such as Provence and shabby chic..
Decoupage techniques
There are five main types of decoupage:
- Direct (the image is glued to the outside of the thing or object to be decorated).
- Reverse (used to decorate transparent glass surfaces, in this case the picture is glued with the front side to the back of the glass object).
- Volumetric (some of the decorative elements are deliberately made above all others, for this they use many layers of decoupage fragments or special modeling masses).
- Smoky (this type of decoupage is to imitate artistic painting, the border between the image and the surface is almost invisible, a smoky halo appears around the picture).
- Decopatch (the entire surface of the object is pasted over with paper pieces of different textures – napkins, corrugated, sheet paper, etc.)
The choice of decoupage technique depends on the decorator’s idea, the style of decoration of the entire room, in which «introduced» items with decoupage.
Materials for decoupage
Decoupage does not require a lot of materials.
With paper pictures and suitable glue available, you can get a wonderful decorative element. There is also a small nuance – to give individuality and nobility to products decorated using decoupage technique, additional materials may be needed..
Paper application
The pictures you like from postcards, colorful magazines, labels and even wallpaper – all this can become an object that is pasted during decoupage. Calendars, newspaper notes, wrapping paper in the skillful hands of decorators can find their second life, as a decorative element.
Help napkins
The main materials that are affordable, and in quality, and in variety are paper napkins. You can use normal three-layer napkins and small four-layer paper handkerchiefs. These napkins are sold both in household supermarkets and in specialized handicraft shops. By purchasing napkins in «goods for needlework», you can buy them one by one, choosing the only one that you need according to your creative idea.
Decoupage cards
There are also special glossy cards with pictures on sale – thematic sheets of paper of different sizes, which are grouped into so-called decoupage cards. These «helpers» for needlewomen can be produced in a double-sided version (for reverse decoupage) and several identical copies (to add volume).
The advantages of decoupage cards are that they practically do not tear when wet, almost do not change their size when glued. If napkins are glued mainly on a light surface, then fragments of decoupage cards can be used on dark coatings. The cards are very elastic and abrasion resistant.
Textured paper
For decoupage large and glass surfaces, you can use rice paper. It is easy to use and even a novice needlewoman can handle it. The only requirement when working with it is not to cut out fragments, but to pull them out. The paper is fibrous, easy to apply to the surface. Raw materials for its production – rice straw.
Rice paper napkins will give the product an original and unusual look, because they completely repeat the shape of the object (due to the fibrous structure).
There is also mulberry and banana paper, which decoupage masters also love. Rough and loose, such paper, includes various inclusions, it is used in background and textured coatings.
Glue
To make the decoupage product look neat and of high quality, you need to purchase a water-based glue. Of course, it is best to use a specially designed glue, but in the absence of such, you can use ordinary PVA.
Surface coating materials
For staining, aging surfaces, use:
- acrylic and oil paints;
- pigments;
- metallized pastes;
- bitumen.
In order to make the coating look like gold-plated, use gold leaf, metallized foil.
The materials used by the masters of decoupage are not limited to those listed above, in fact there are much more of them..
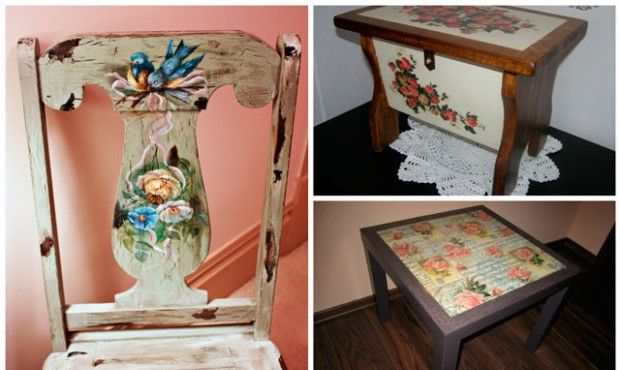
Decoupage furniture with do-it-yourself napkins: step by step instructions
Space for your creativity and the embodiment of decoupage ideas in life – furniture. For starters, you can practice on something inexpensive – a highchair, stool, coffee table.
If you decide to change the look of your furniture with decoupage, use these step-by-step instructions:
- We create in our head or on a piece of paper a project of what we want to get as a result of decoupage.
- We purchase the necessary materials that are suitable for the concept (decoupage cards, napkins, glue, varnish)
- We sand the surface of the furniture with fine sandpaper.
- We fill the pores of the furniture (if any) with special products.
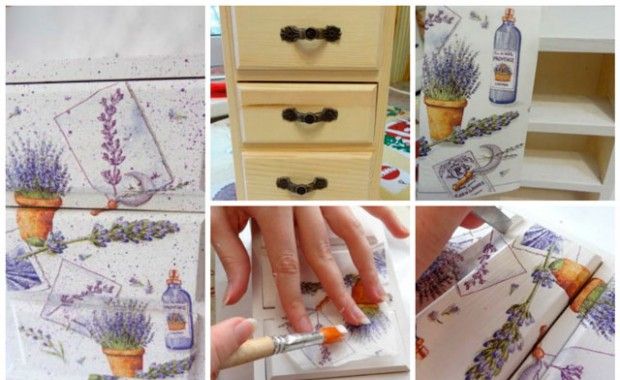
- Cut out a piece of napkin that we will glue to the furniture.
- Cutting out the desired fragment, separate «extra» layers, leaving only the outer, with a pattern.
- We coat the fragment with glue using a small brush. For convenience, you can put it on plastic or a stationery file.
- Carefully, so as not to damage the cut out piece of napkin, transfer it to the prepared surface of the furniture (it is very convenient to do this using a file) and iron it with a brush, trying «kick out» all bubbles and smooth out all creases.
- After waiting for the fragment to dry (do not rush !!!), cover the glued picture with a transparent water-based varnish.
It is advisable to repeat the last point at least three to four times, moreover, the time between varnish coatings should be sufficient for the previous layer to dry (at least one hour).
DIY decoupage of old furniture: video
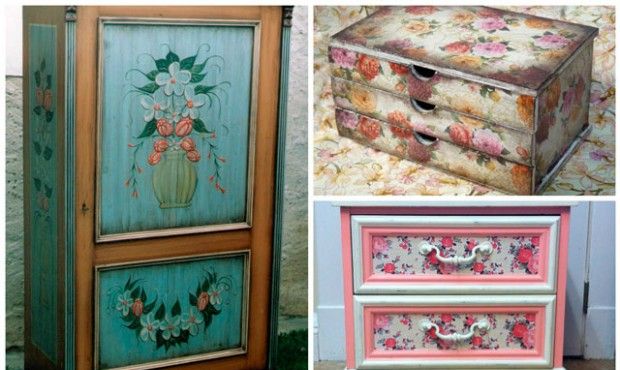
Decoupage is a great option for transforming old but dear furniture. What if the furniture is outdated, and you do not have the funds to purchase a new one? What to do if an interior item is very dear to you and represents some important piece of your life?
You can try to change the look of old furniture by using decoupage.