From time to time, we all want to do something with our own hands, create beauty and share this achievement with the world. Making handicrafts from natural materials can be counted precisely in this category of hobbies. Working with natural material not only calms, helps to escape from the everyday hustle and bustle, but can also become a profitable business..
Useful to read: Summer crafts from natural materials
Making a variety of handicrafts from natural materials is a great hobby not only for adults, but also for kids who will get a lot of positive emotions from the process. A beautiful craft will be a great gift or a good addition to the interior, because hand-made products are valued much more expensive than similar items from the store.
DIY crafts from natural material: master classes
In order to learn something, it is completely unnecessary to take courses or study manuals on your own. It is enough to visit the master classes of specialists or watch training videos, where you can learn all the nuances of working with natural materials. The craftsmen will not only conduct an excursion into the specifics of manufacturing, but also talk about what materials and tools will be needed in the process. There is a separate master class for almost every question that can cause doubts in a beginner. Here you can see not only the specifics of making crafts, but also learn the secrets of professionals.
Wood crafts
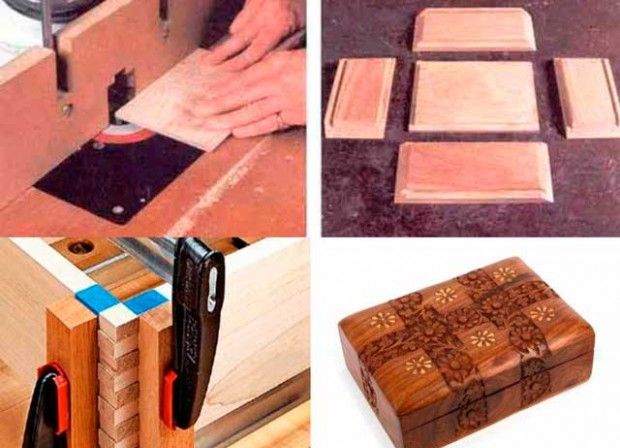
Wood is a beautiful and malleable material that anyone can learn to work with. It’s best to start with small things: photo frames, caskets etc. However, a beginner may be faced with the need to purchase special tools. The specifics of the equipment directly depends on what you are going to create.
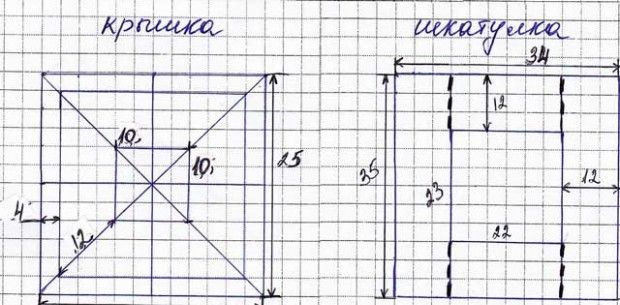
To create a wooden box, we first need to make stencil blank. The stencil can be of any shape and size. To do this, draw a drawing where we indicate the parameters of each detail of the future craft. To make the space between the lid and the sides even, it is better to glue a single whole from the blanks, and then evenly separate the upper part from the lower.
For work we need such instruments, as:
- clamps for gluing boards;
- jigsaw;
- ruler;
- grinding skins;
- glue;
- glue brush.
It is best to use soft woods – pine, alder or linden. There should be no cracks, chips or knots on the wood. When assembling the box, it is better to use wood glue, ideal for working with wood.
- We transfer drawing on planks. For this, it is best to use a ruler and a simple pencil..
- Then you can safely cut out details jigsaw. The walls of the future box should be of the same thickness (about 1 cm).
- It is necessary polish all parts with sandpaper, after which we adjust the joints.
- Now you can safely proceed to gluing parts. Here we use a clamp, as this will better hold the glue together..
- The resulting details fasten carpentry glue, clamp into a clamp until completely dry.
- After drying, you can fasten the lid and the main part of the box with beautiful loops, which are sold in specialized stores..
- Optionally, the box can be varnish or decorate with fittings (legs, corners, handles).
Stone crafts
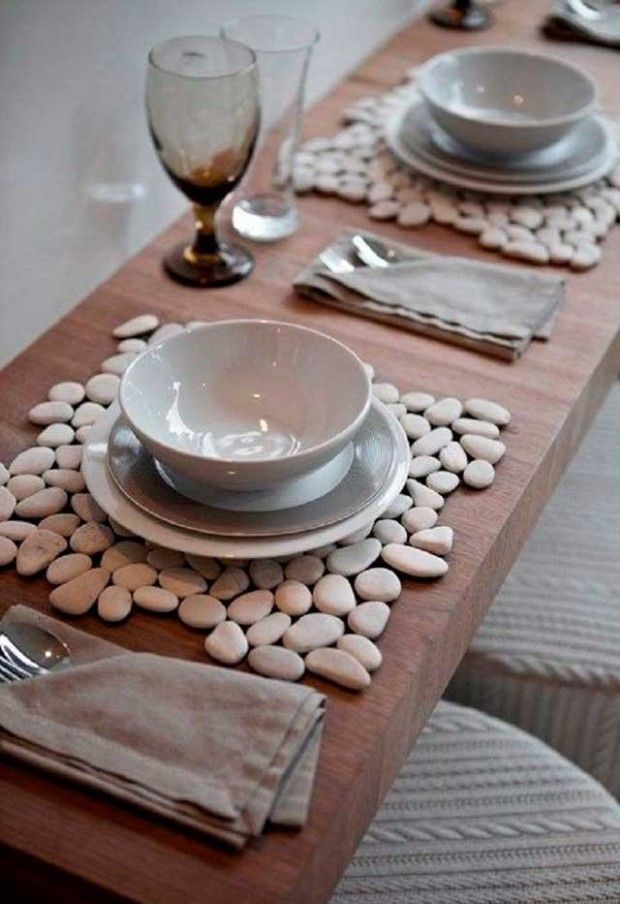
A huge number of interesting things can be made from natural stone: from a beautiful decoration to an original rug. It all depends on what kind of stone you are going to use in your work..
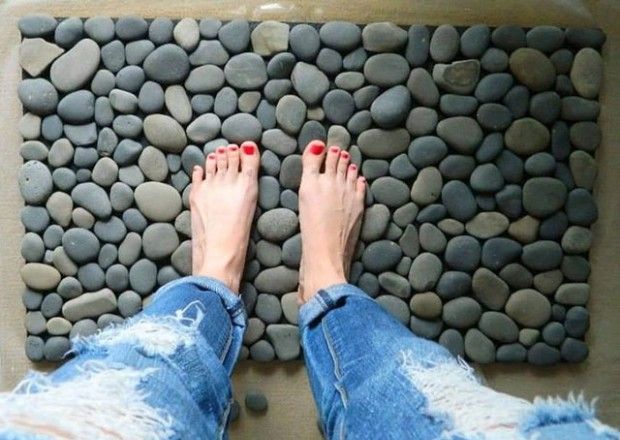
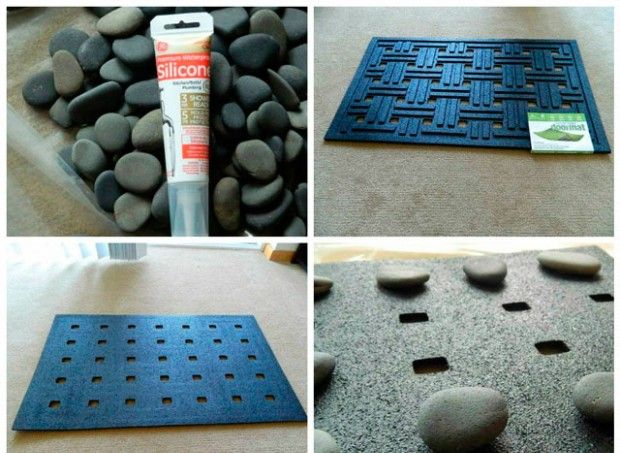
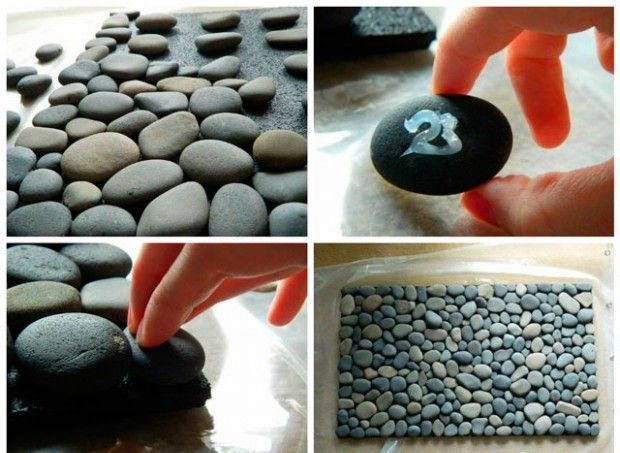
To create a beautiful bathroom rug you can use ordinary pebbles. We will take as a basis a rubber mat for bathrooms of the required diameter.
- We take several kilograms of pebbles. It is better to take 5-6 kilograms at once.
- We use universal for gluing polymer glue, which can be bought at any hardware store. We also need yacht varnish.
- Select the pattern and turn the rug over. We transfer picture onto the surface of the mat. For these purposes, we use a marker.
- We wet our hands in water and lay the pebbles on the resulting drawing in the right order until the desired pattern is formed. Then one by one glue stones to the rug.
- Carefully blot the joints with a brush so that there are no voids.
- We make from scotch tape «formwork». We cover the rug with varnish several times. Let the product dry on the back.
That’s all! A beautiful pebble rug is ready!
Applications of leaves and flowers
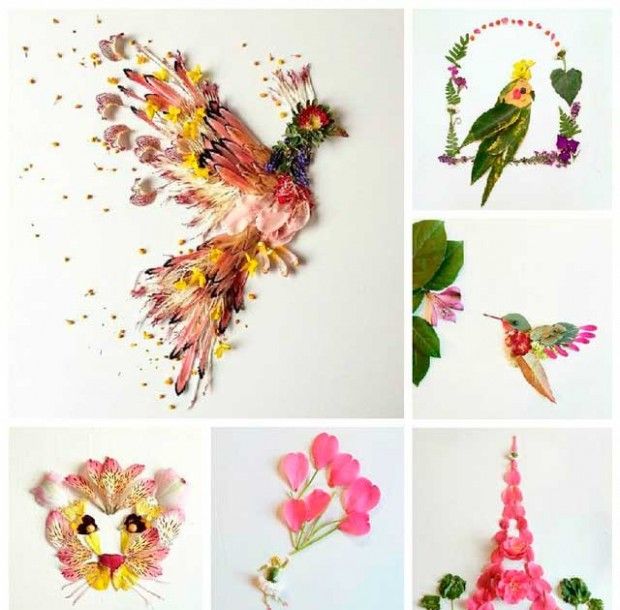
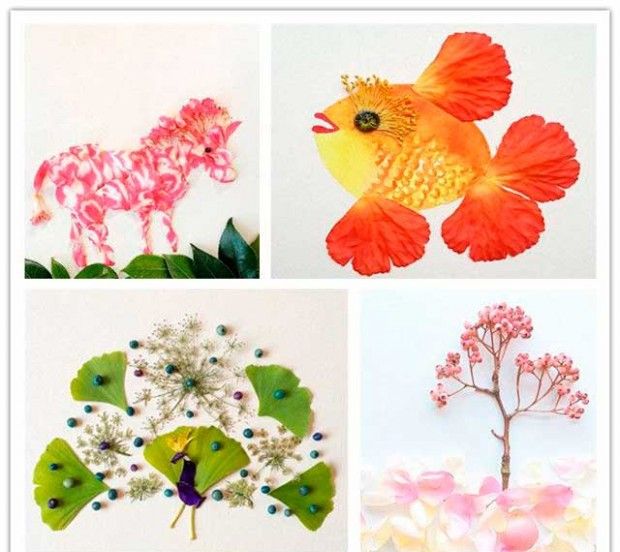
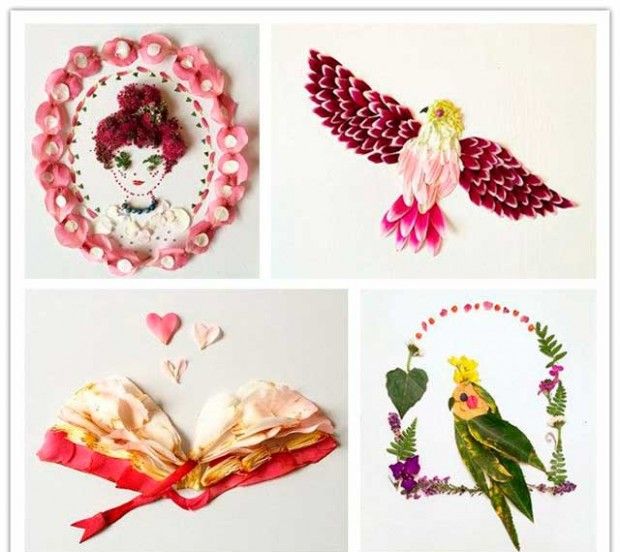
Bright, multi-colored leaves and flowers delight us every season, however, they are able to give others around positive emotions all year round. Leaves and flowers can be used to make beautiful appliques that decorate boxes with dignity, create a colorful ornament on the tabletop, or conduct a personal design experiment. Wholes are created from flowers and leaves paintings and panel, which will then take their place of honor in your home. For work, dry leaves, herbs and flowers are used.
The surface of the material must be perfectly flat, so for drying leaves or flowers are laid between dense pages of books for several weeks. After drying, you can start working. For gluing applications to the surface of the paper, use PVA glue, any special tools are often not needed.
- First, on a sheet of thick paper, lay out the leaves and flowers in the right order, forming a drawing.
- If necessary, trim foliage or floral material to create a symmetrical shape.
- We fix the result with glue.
DIY decor from shells
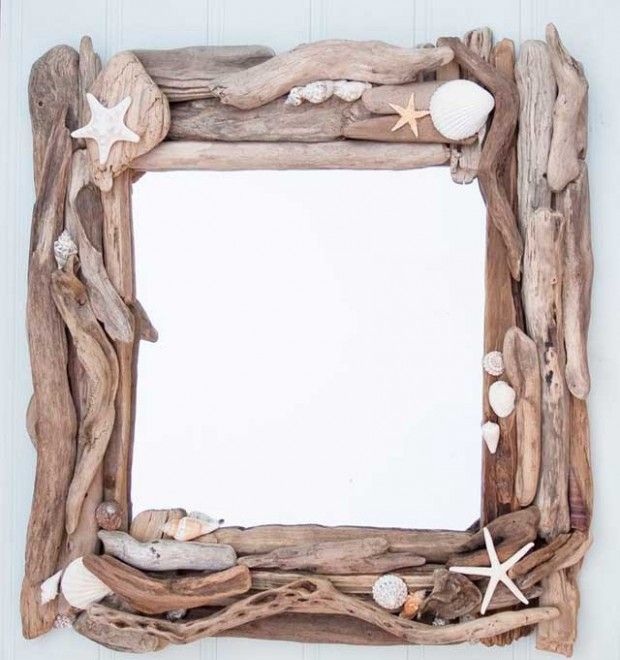
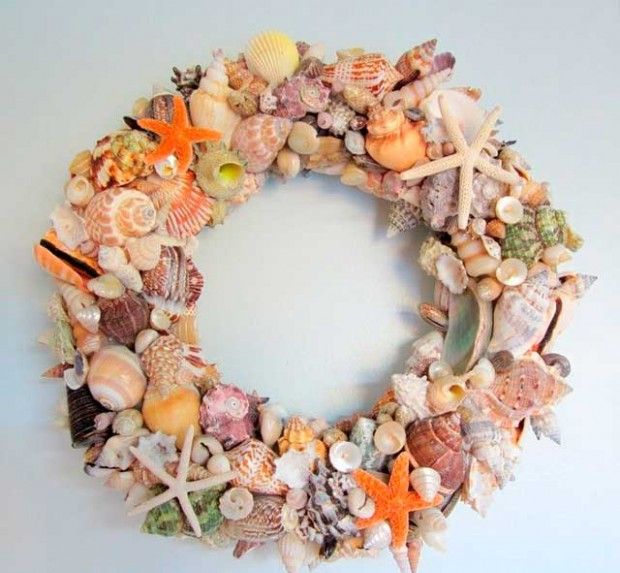
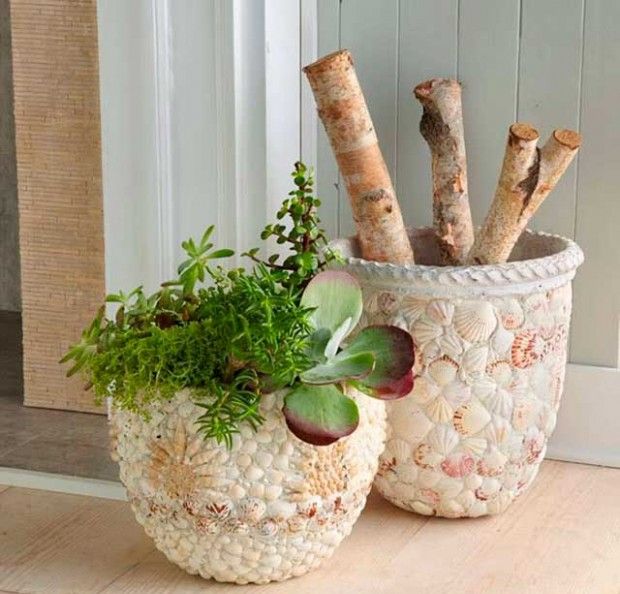
Beautiful seashells from the beach may well become an interesting decorative element in the interior of your home. Such a craft will not only bring originality to the atmosphere of the room, but also remind you of fabulous days of relaxation on the banks of a river or sea. You will need glue and a finished product, which we will decorate with shells. It could be normal Photo Frame, picture frame, lamp and much more.
When working, you can use shells of different sizes. A large shell will turn into an unusual one in a matter of minutes vase, stand for soap or vase for decoration. A washbasin of the right size is ideal as a lampshade, small washbasins can be used as candlesticks. It is enough to show imagination and ordinary things will turn into real works of art.
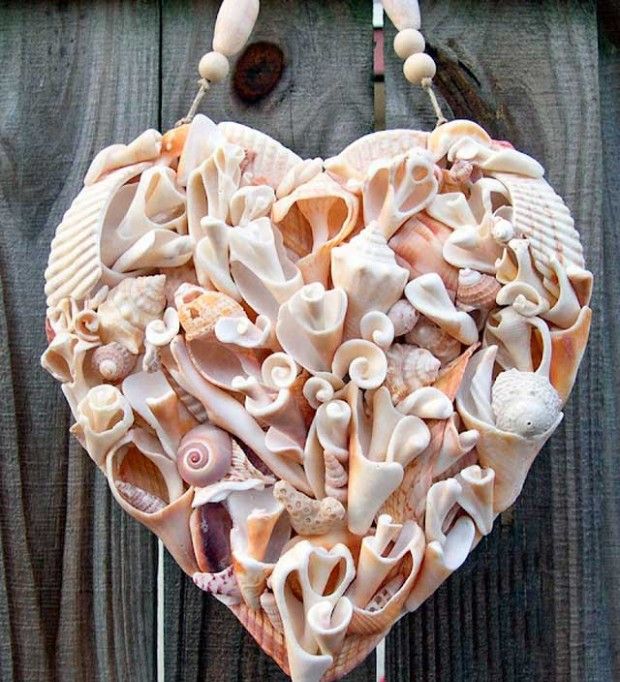
For work, many masters recommend using liquid Nails, which hold the parts firmly and dry quickly. You can also use regular all-purpose adhesive.
Take the blank and stick the shells on its surface in the right order.
Feather crafts
Feathers are a rather unusual material and usually do not require any additional equipment to work with. However, the product may simply fall apart if the base of the pen is not firmly attached and locked in one position..
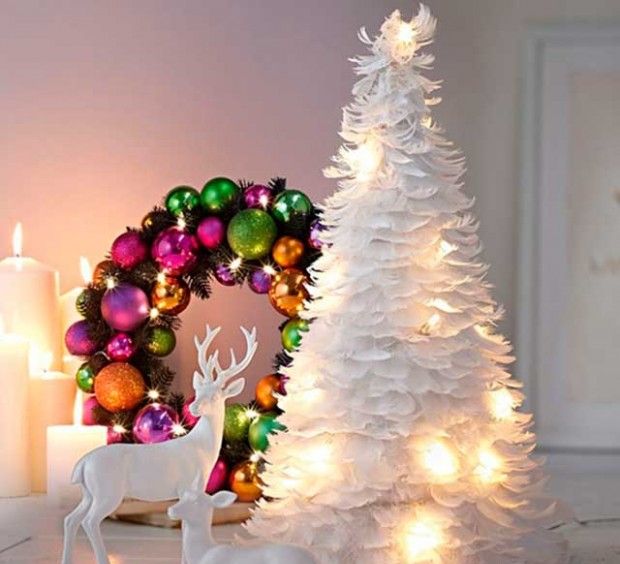
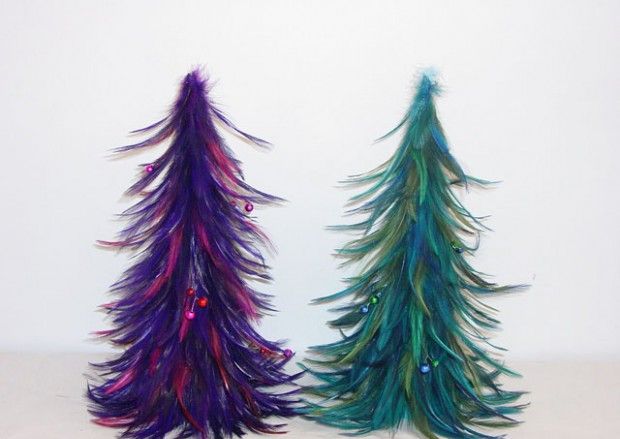
To create a beautiful Christmas trees made of feathers we need:
- white paint;
- cardboard paper;
- feathers of any color;
- glue;
- brushes;
- small beads.
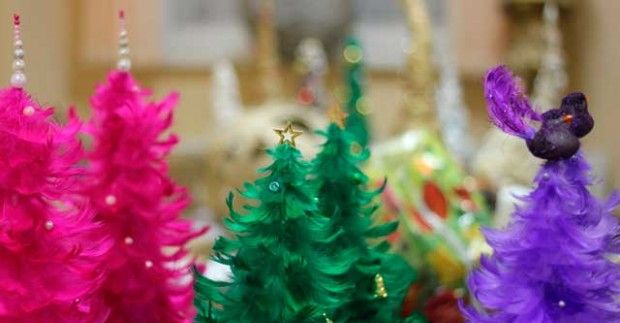
For work, it is worth purchasing several sets of pens. The kits sell feathers with a special curve that we need, and a certain size. You can take feathers of different colors or make a solid Christmas tree.
- We make from cardboard cone – this is the form of a future craft.
- Glue the feathers towards the cone, starting from the bottom edge. You can use a hot gun or PVA glue. Glue should be applied with a brush to the base of each feather and glue the blank to the cardboard.
- After completing the work, you can glue to each feather for beauty bead.

