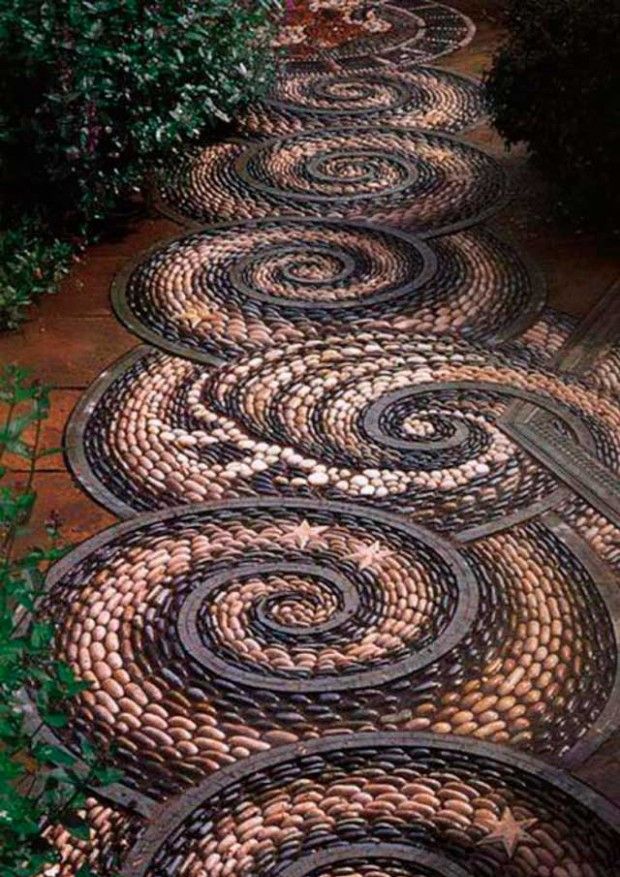
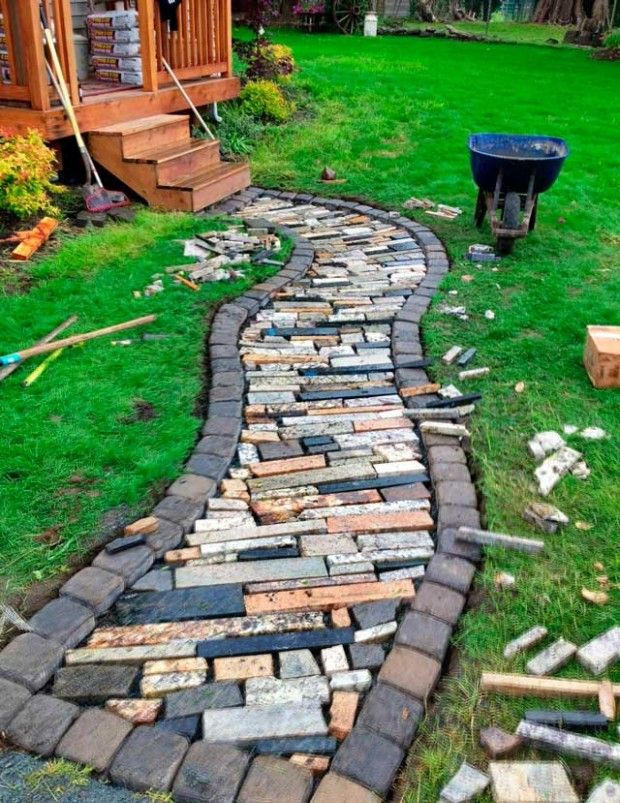
The most suitable material for paths and pavements is paving slabs. Garden paths can be made of various materials – wood, stone, plastic, rubber, concrete. They can be combined, colored and shaped. The offer in the stores is huge, but you can do it all yourself, and the big plus is that you can add your own design to everything. This article will show you how to make your own paving slabs..
We advise you to read: Laying paving slabs with your own hands
The principles of manufacturing paving slabs
Making a tile for your own summer cottage with your own hands and giving free rein to your imagination is quite simple. The only thing you need to remember before starting is that it will take some time. But you will save money and create your own design of your landscape.
The main thing is to choose high-quality materials, observe the manufacturing technology and withstand the allotted time. Then your labors will not be in vain. Plus, if you’re creative, you can create truly unique designs. The quality of the tiles made by hand, of course, in any case, will differ from the production ones, but for summer cottages this is absolutely not critical.
Required materials and tools
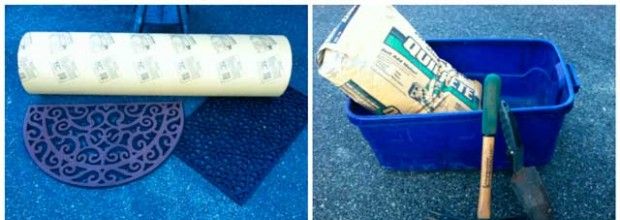
As for the tools – you will need container, or a large basin (a bucket may also work) for preparing a mixture; also need measuring jug or a cup. Find a tool to stir this very mixture – you can use a special drill bit, mini concrete mixers or vibrating table. These tools are classified as professional.
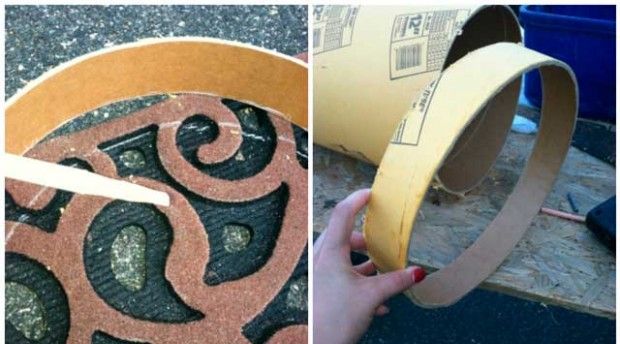
Also you can use Master OK, to align the shapes, and to make the shapes themselves – molds. You can buy special molds for pouring, or you can get creative with this building. You can create shapes of various shapes using any containers that will not fall apart when pouring the mixture. It can be all kinds of containers, plastic boxes. You can also do it yourself formwork.
- The main component of quality tiles is cement. Take cement m 500 or m 300, you should not take another.
- Sand, best river, sifted. Small stones are acceptable – on the contrary, they will make your tile stronger.
- Water. You can take it from the same river, it must be clean. Not in any way dirty, stagnant.
For the manufacture of colored tiles, it is worth using inorganic pigments, they are resistant to alkaline environment, temperature, light and weather.
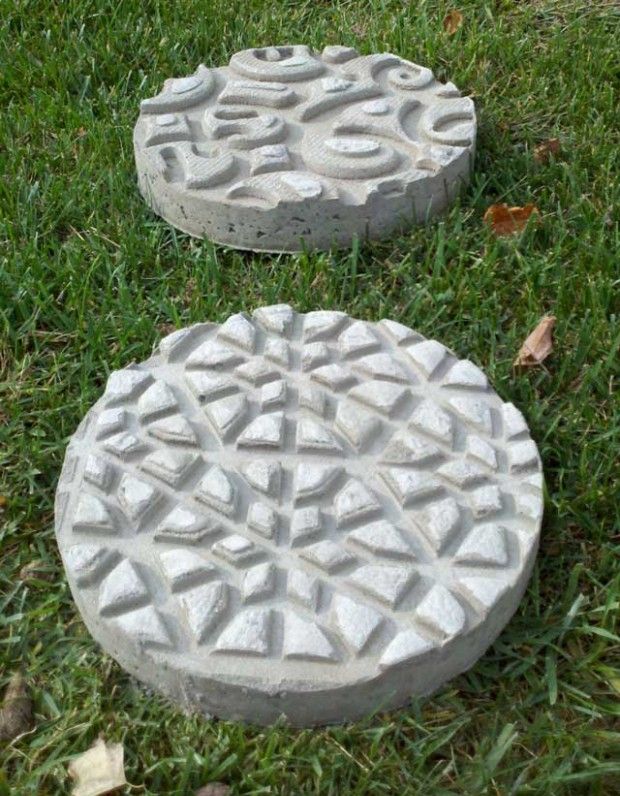
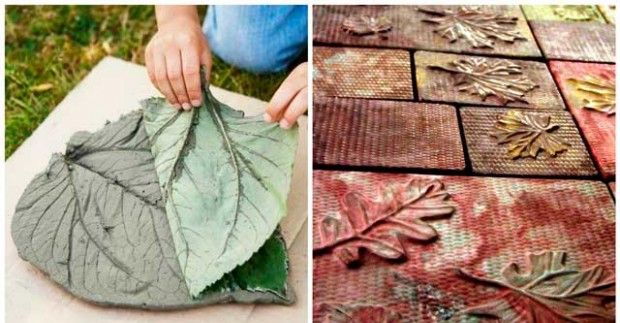
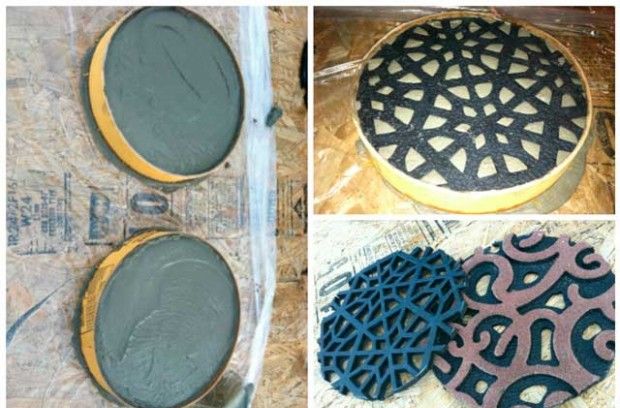
All your imagination is used to create the scenery! For example, after putting the mixture in a mold, attach the previously plucked plant leaves to the surface; looks very beautiful and exotic fern leaves. Then you can immediately remove them so that they do not stick and you get a pattern. You can apply not only leaves – they will also work flowers, fruit, pebbles; the latter can not be removed. Stones in concrete look beautiful when the tiles are sprinkled on top completely pebbles and left to dry. You can also do lettering, that will remain on the tiles forever.
How to make paving slabs with your own hands: step by step instructions
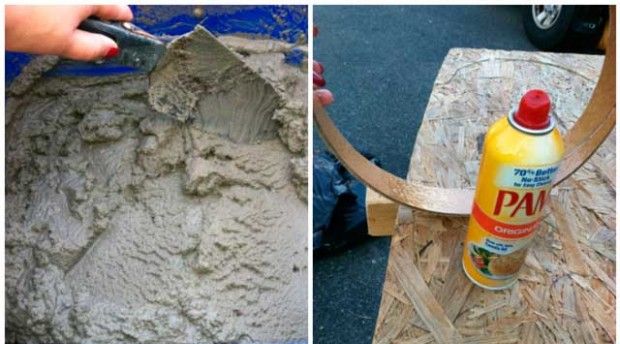
Now let’s get down to business. First, let’s prepare ourselves solution. We take cement and sand in a ratio of 1: 3, this is the best ratio of ingredients, mix in a mixing container and gradually add clean water. So much water should be added so that the solution is not thick, but not liquid either, that is, it should not be lumps and hang on the walls, but it should not be liquid at all. If it is too thick, you will not stir the ingredients and the solution will not distribute properly. If it is too liquid, it will deteriorate the quality of the tile, it will become less durable.
To improve the quality and durability of the tiles, you can add dry water-repellent additives for hydroesolation, they are good because they do not penetrate into the pores of concrete, but create a hydroesolation barrier on the surface. No matter how well and carefully the concrete is prepared, it will still have pores. You can also add reinforcing fiber, to improve strength. Everything must be mixed as thoroughly as possible..
Pouring mass
To pour the solution into the mold, the mold itself must grease, for example an emulsol, or any oil will do. But if you buy a special form for a tile, then perhaps it does not need to be lubricated, you must then read the instructions. Next, fill in the solution. You can pour the solution up to half and put the iron rods then pour the mold completely. This will give the tiles more strength..
Pressing
Vibrocompression is used in production. When making tiles on your own at the time of pouring, it is worth creating vibrations (you can pour the solution on the table by shaking it, so the solution will be evenly distributed and excess air in the solution will disappear). if you have vibrating table, then you can use it. It also costs a trowel right away remove excess and shape the surface.
Staining methods
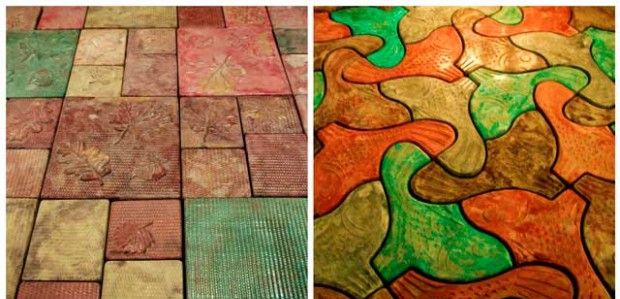
If you want to make colored tiles, you should use inorganic dyes. Can be used iron oxide pigments which contain iron oxide. It is worth adding 4-5% of the volume of cement. The higher the consistency, the brighter and richer the tile color will be.
The color also depends on the color of the cement, which is why there are no clear recommendations for adding color.
There is a second way to paint a tile – it is coloring the already made laid tiles in the desired color. But this method is not durable and the helmet can wash off over time..
Drying and removing tiles
This is followed by the drying stage, which is also equally important. The form should be removed in shady place cover with foil and leave for 3-4 days. Concrete increases strength only when wet, so the solution should be slightly moistened so that maintain moisture.
After three days, you can remove the tile, but you need to act very carefully, because it will not have time to gain the necessary margin of safety. Next, it is worth laying in a dark place and drying for 2-3 weeks, preferably maintaining moisture throughout the entire period. Complete drying is achieved approximately one month after pouring. It is then that you can lay it on the site.