Increasingly, in the field of modern home and office renovation, an interesting novelty is used – a self-leveling floor. This seamless polymer coating is attractive in appearance and comes in a wide variety of attractive colors. Another advantage is the rather simple installation process. If you have the most basic repair skills, you can create a self-leveling floor yourself, at home.
Features of the self-leveling floor
The basis of the composition that is used to create a self-leveling floor is polymer mixture. It is applied to a concrete base or wood floor, cement-sand screed or ceramic tiles. A properly created self-leveling floor is characterized by durability (about 20 years old) and burnout resistance. Dust does not adhere well to the surface of such a floor, ensuring hygiene and ease of cleaning.
During installation, the self-leveling floor, as it is clear from its name, is simply poured onto the base surface. When solidified, the base of the self-leveling floor creates a thin but durable layer, which does not require special care to maintain.
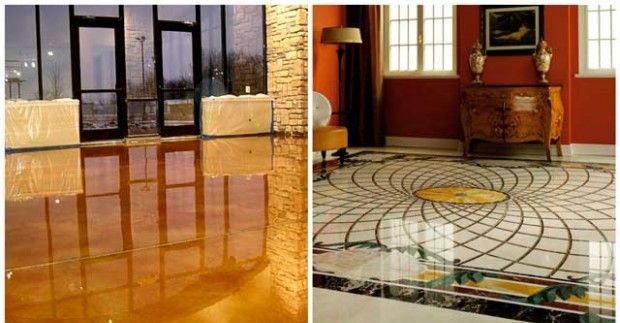
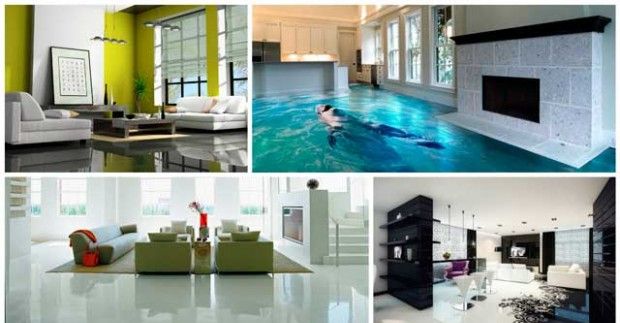
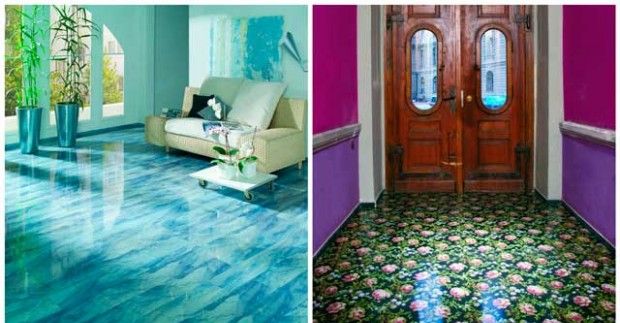
There is also a special decorative type of self-leveling floor, the so-called, 3D floor. During its installation, a multilayer structure is used, based on a layer with a decorative pattern, covered on top with a transparent layer of varnish. A floor like this can have a fantastic volumetric design that will give your living room or bathroom a stunning style..
Types of bulk composition
According to the specifics of the process of its creation, mixtures for self-leveling floors can be leveling and self-leveling.
- Leveling compounds somewhat more difficult during installation. They need to be evenly spread over the floor surface using wide spatulas, which requires certain skills, and for a novice builder it can be quite difficult.
- Self-leveling mixtures are applied using special pumps, after which they spread independently over the surface of the base, while they are distributed evenly, and create a perfectly flat surface without requiring human participation.

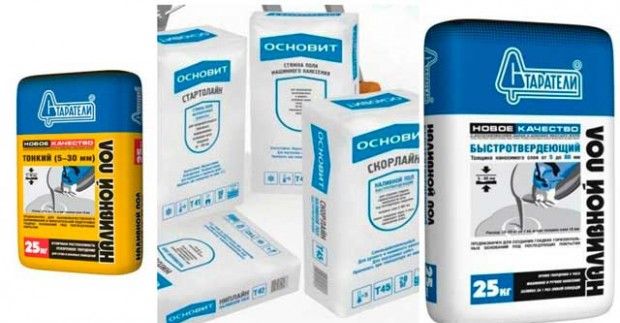
Given the characteristics of the room, one of several types of composition is used to create a self-leveling floor. Here are the main types of bulk (leveling) mixture:
- polyurethane;
- cement-acrylic;
- epoxy;
- epoxy-urethane;
- methyl methacrylate.
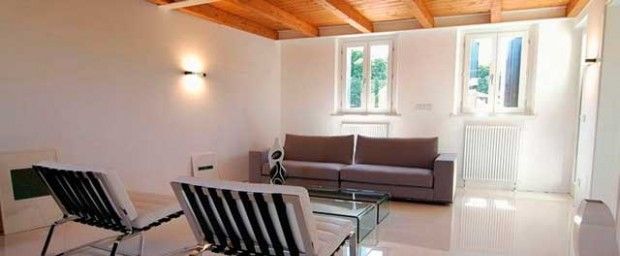
For residential premises (living room, bedroom, bathroom), polyurethane mixtures are usually used for self-leveling floors. These blends have an attractive gloss and a variety of colors..
An important point when choosing a mixture for a self-leveling floor is such a characteristic as the drying time of the mixture applied to the floor. If you need to apply several layers, for example, when creating a 3D floor, this information will help you plan the work correctly..
Self-leveling floor tools
So, you have already chosen a suitable mixture, decided on the color and type of self-leveling floor. Prepare all the tools to get started. Here’s everything you need to create a self-leveling floor:
- spatula for leveling mortar;
- needle roller;
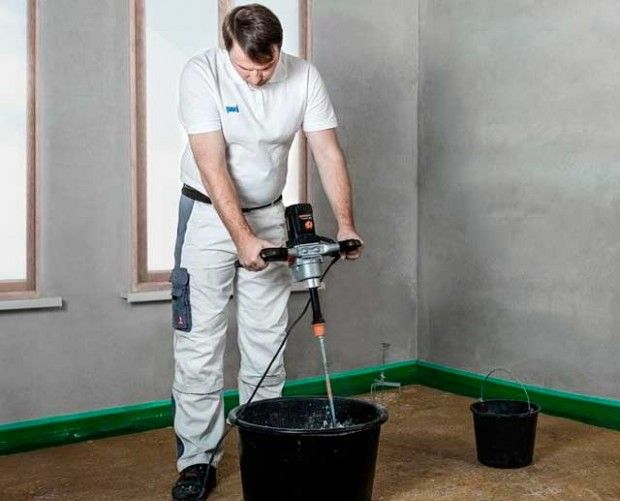
- electric drill for stirring the solution (with a nozzle);
- a container for preparing a mixture, with a volume of at least 20 liters;
- polyethylene film;
- squeegee for adjusting the solution layer;
- special pads for shoes, for movement on the applied liquid layer.
Now that all the tools are selected, let’s move on to the process of installing the self-leveling floor at home and on our own.

>Self-leveling floor with your own hands: step by step instructions
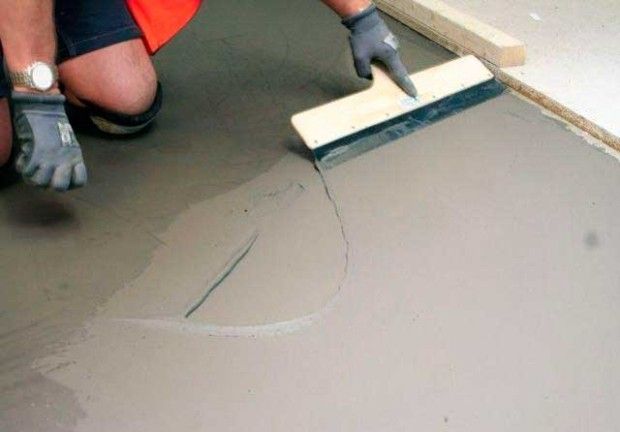
- We are the first prepare the surface, on which we will apply the self-leveling floor. For a concrete base, the moisture content should be about 4%, but not more than this value. If the concrete base is new, then its age should be at least 30 days, that is, approximately 1 month. In the case of installation on an old concrete base, it will need to be thoroughly cleaned of small debris, dust is removed with a vacuum cleaner. If necessary, potholes and cracks should be repaired with mortar. After these works, you need to check the horizontality using a level ruler, about two meters long.
The room in which the work will be carried out should have a temperature in the range of 8 – 20 ° C, the humidity should be approximately 50-70%, which will help to avoid condensation. Also take care of the elimination of drafts..
- Using a drill with a mixer attachment, dissolve the mixture, observing the proportions indicated in the instructions. At the beginning of this operation, it is imperative to pour the dry mixture into water in order to avoid the formation of lumps, which are absolutely unacceptable when creating a self-leveling floor..
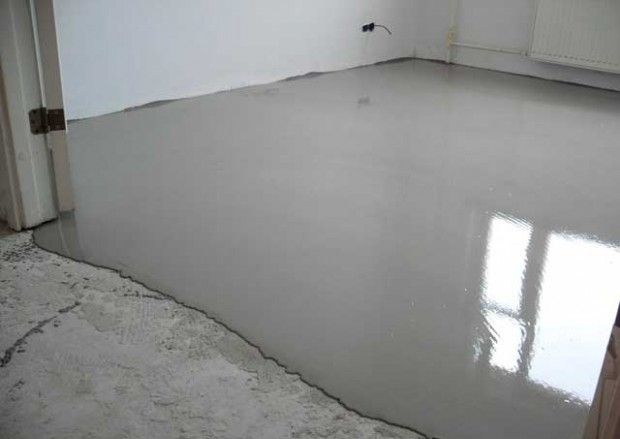
- Finally, we start creating the self-leveling floor. Most often, this major step takes a little time. Prepared liquid mass pour evenly on the surface of the floor, as we remember, prepared in advance. If the area of the room where the work is carried out is very large, then you should not try to fill it right away. Using special dividers, you can carry out this work by area. After all the prepared mixture is poured onto the floor, using a squeegee, adjust the desired layer thickness, evenly distributing the mixture over the entire area of the room.
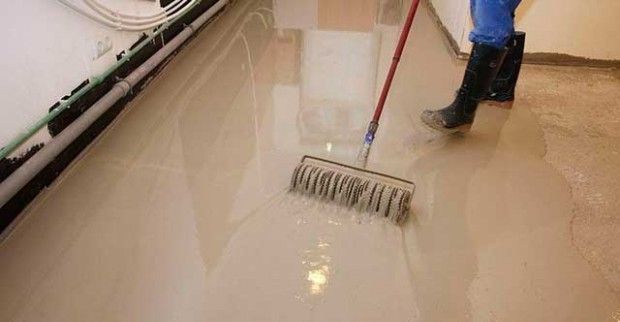
It should be noted that when pouring the floor, you need to move from the far corner of the room to the exit. Also, at this stage, you cannot take breaks from work, you need to fill the room (room) immediately. It is possible to work together, when one master pours the solution, and the second evens out the surface of the liquid mass using a needle roller.
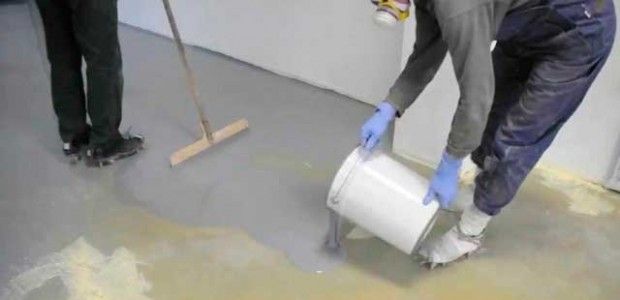
- Once the solution has been poured and evenly distributed throughout the room, a roller (needle) must be used to eliminate bubbles air. If this is not done, then after the solution dries, the so-called «lunar craters». If the mixture is applied in several layers, you must first wait until the primary layer has completely dried, there should be no moist dark spots on it. Usually, it takes about 24 hours for a 3mm layer to dry.