The drawings on the walls were done long before our era. Hundreds of years later, rock paintings make «interior» caves are not only attractive but also unique.
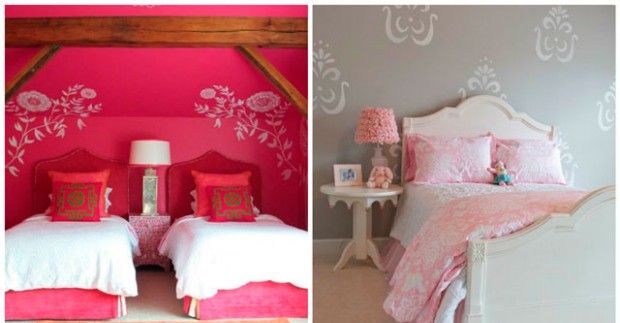
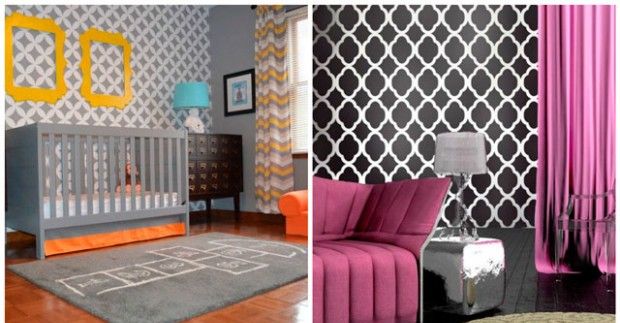
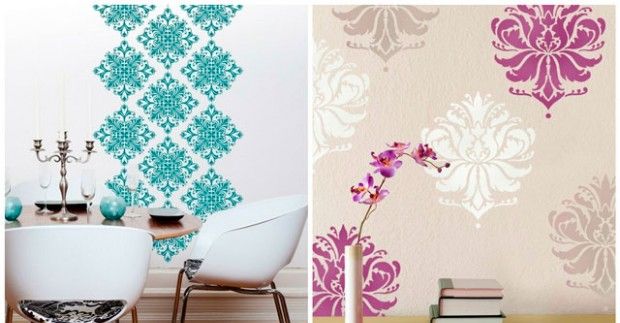
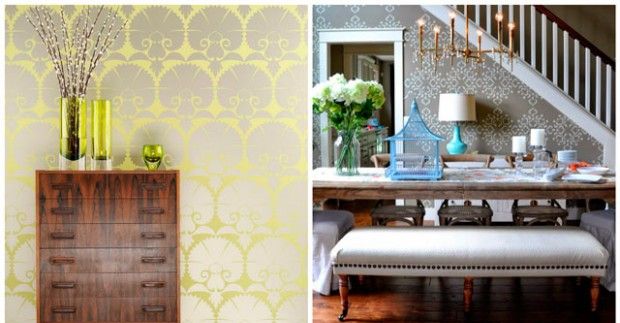
Nothing has changed. Well-chosen, and properly executed, wall painting will help transform the room.

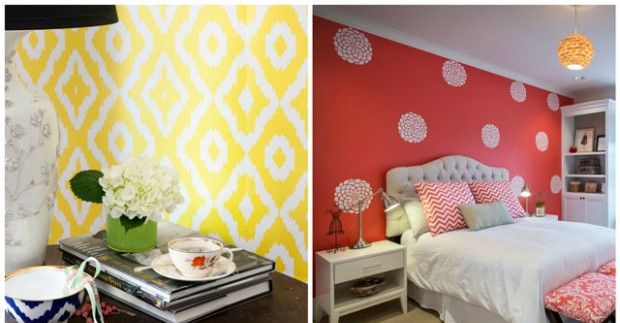
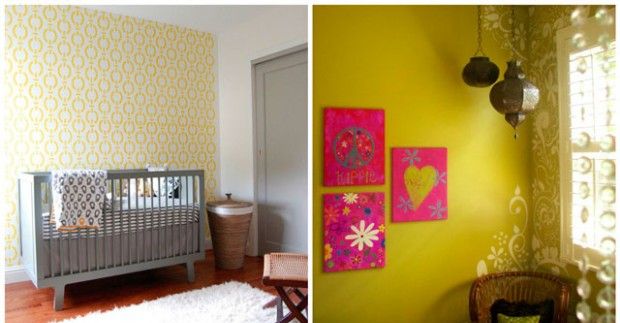
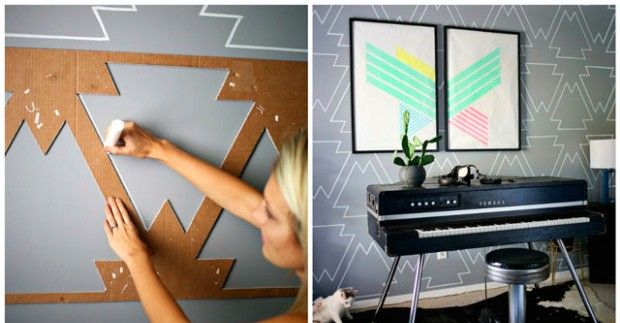
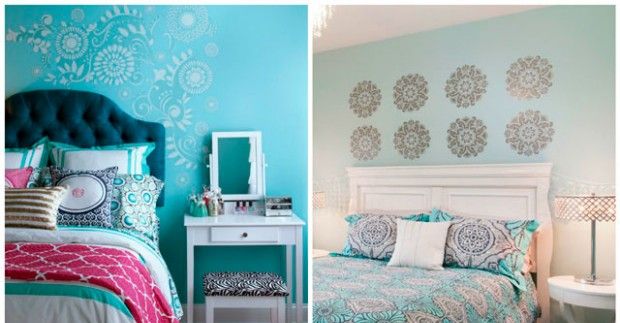
Stenciling a wall is an easy way to achieve the desired zoning of the space. By making small changes, you can hide the flaws in the layout or, conversely, pay attention to the advantages.
The execution of this painting can be both very difficult and very simple. The difficulty of the work is largely determined by the chosen technique of execution, the size and number of details in the drawing. You should figure out what is right for your home.
How to make the right choice: types of stencils
Determine with which number of shades will work:
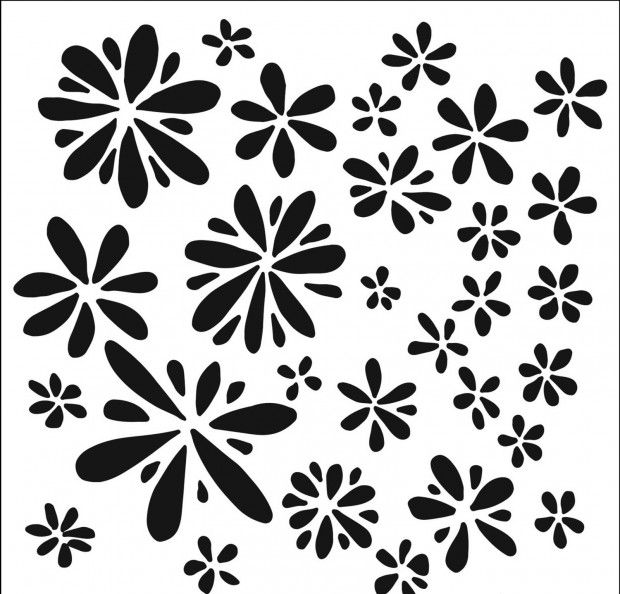
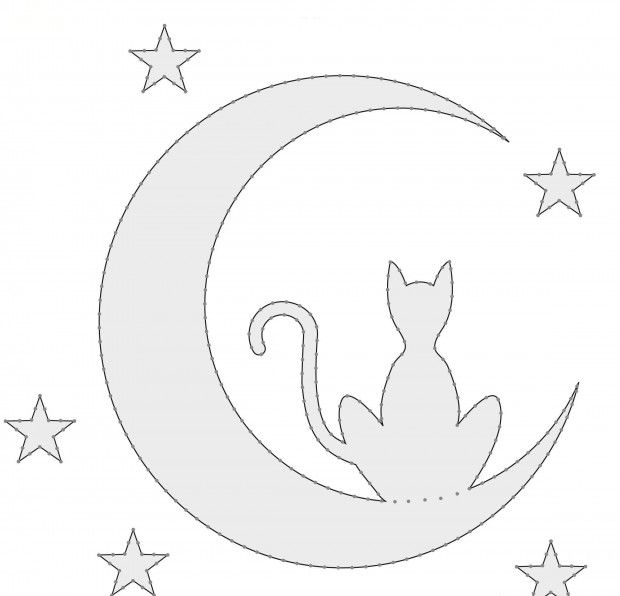
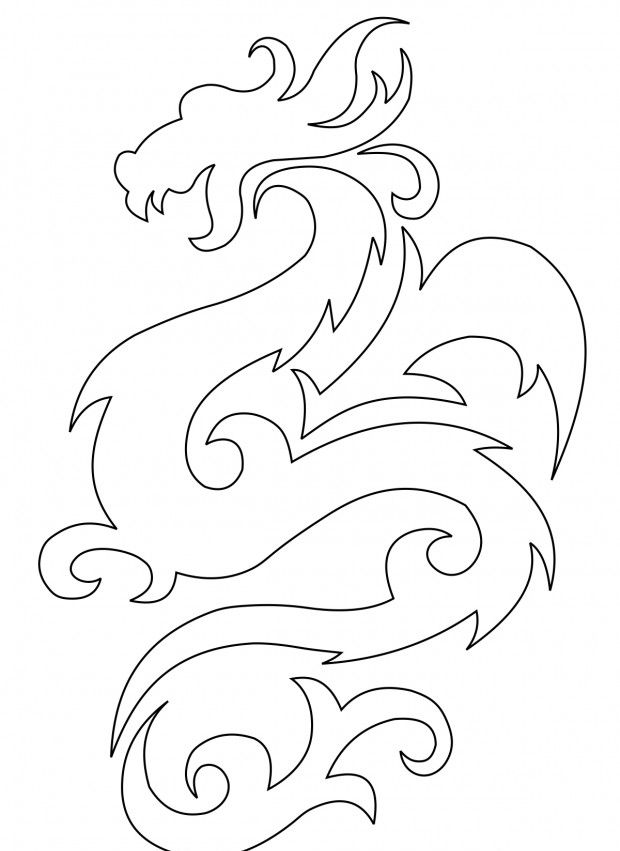
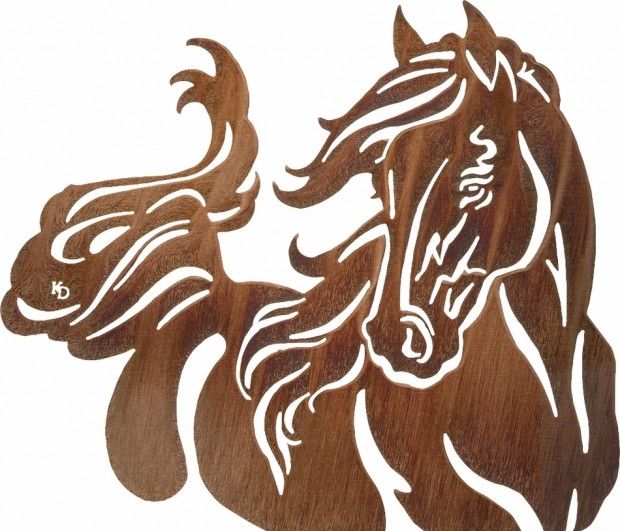
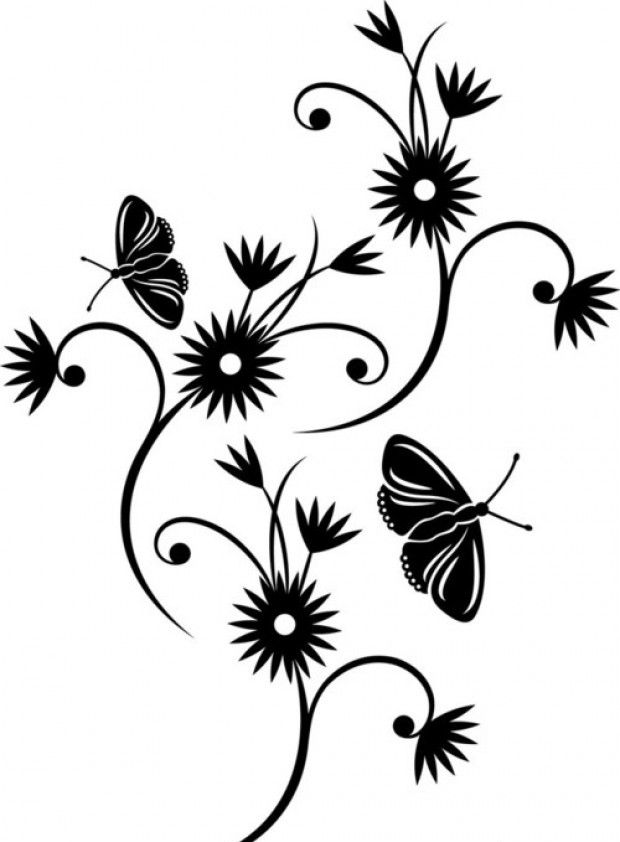
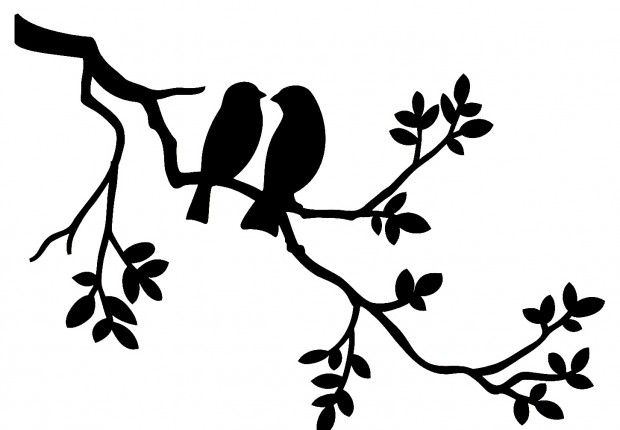
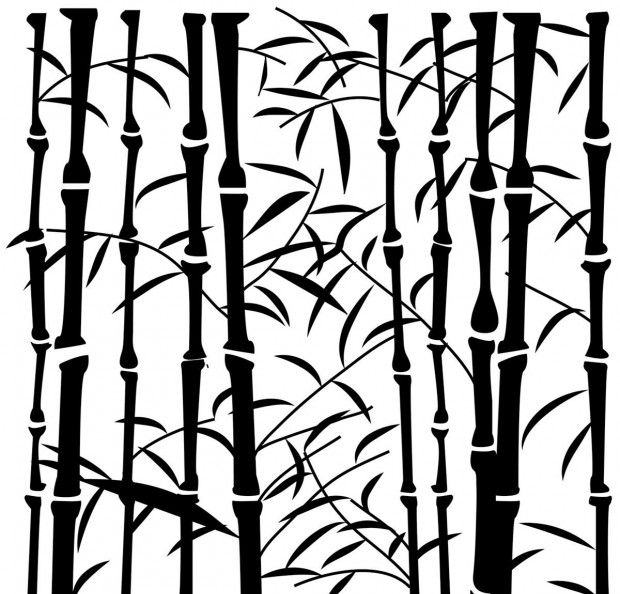
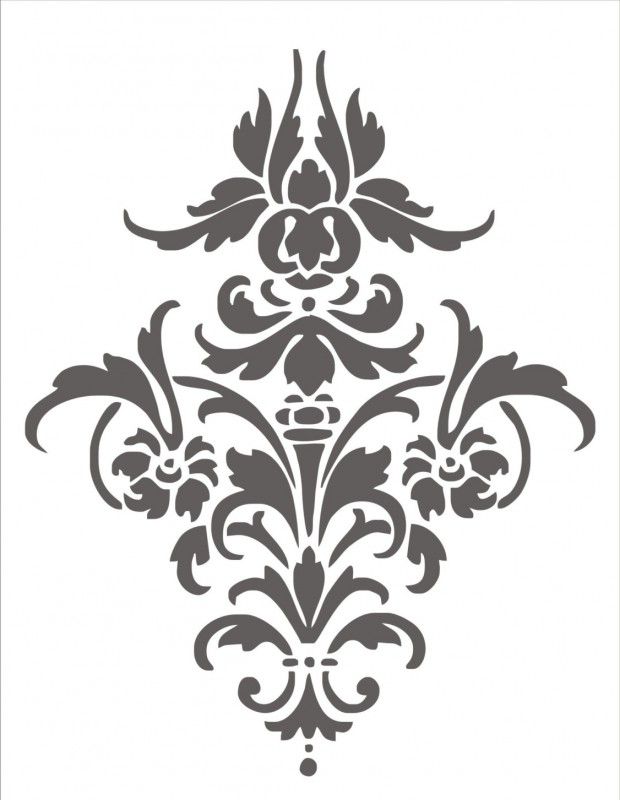
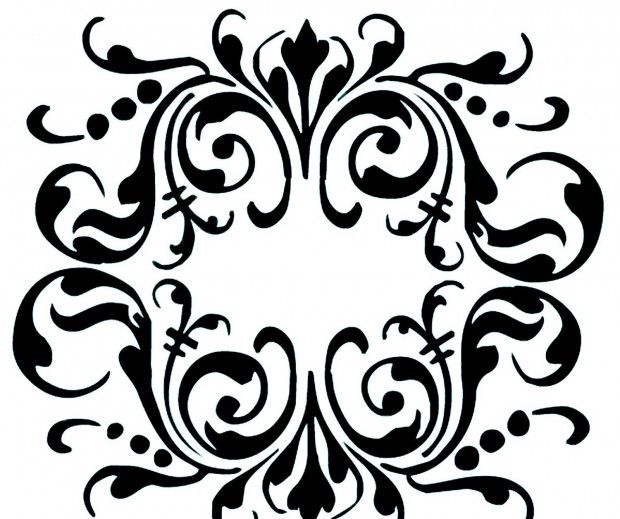
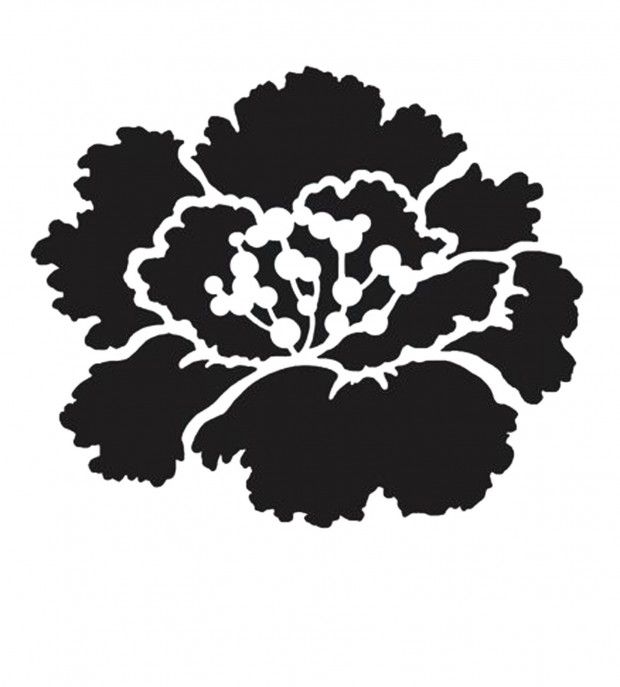
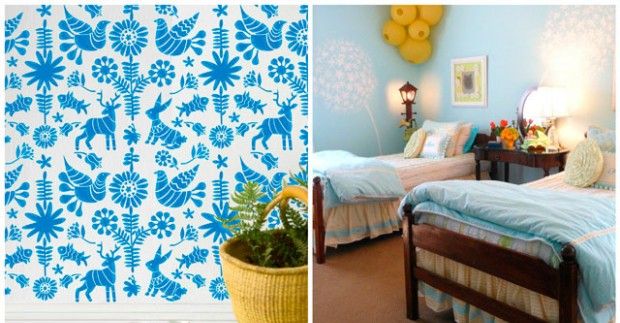
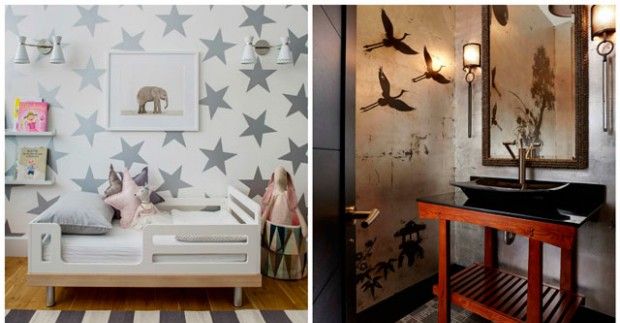
- One tone of paint. They are used when it is necessary to apply various inscriptions or graphics. This method is popular when drawing silhouettes or ornaments..
- Several shades or colors are used at the same time. It makes it possible to create whole pictures. This technique is chosen when they want to apply an auxiliary to the main drawing in order to highlight or hide some part.
Volumetric or embossed. Instead of paint, at the initial stage, a putty is used (the thickness of the coating does not exceed 3 mm), which gives the surface a certain silkiness. Then, paint is applied to the pattern. To perform such work, you need to confidently wield a spatula. Correct lighting and accurate execution can achieve a 3D effect.
Reverse stencil, where the paint is applied not inside, but outside the stencil. The main drawing (a clipping is a part that is usually thrown away) is fixed to the surface and painted not inside, but behind it. Either a small area is painted, creating a kind of contour, or the entire surface outside the cutout.
Decide on stencil quality. Think about how many times you want to use your stencil.
- Disposable. One or two patterns are applied. The quality of the material is not so important, the main thing is to withstand our manipulations.
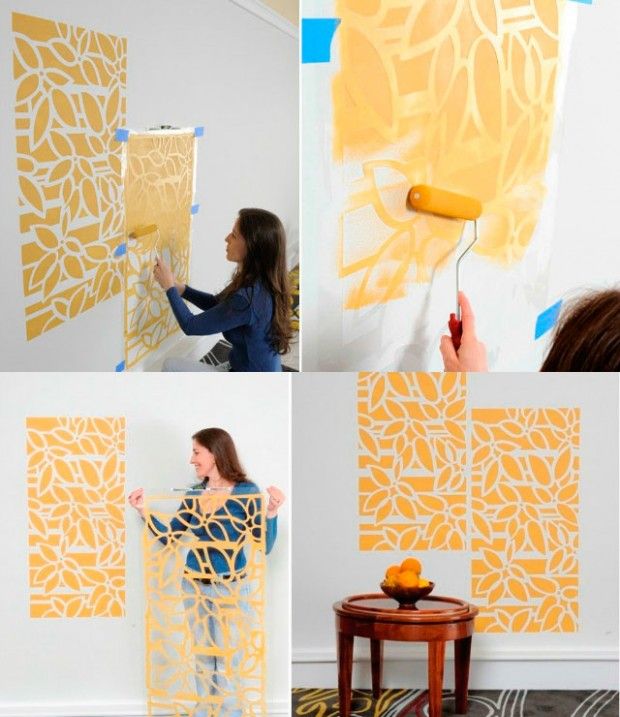
- Reusable. When doing large-scale illustrations or when you want to create a wallpaper effect. The stencil is made of durable material that is resistant to moisture.
You should not rush when choosing, it is better to think carefully and prepare everything..
Making a stencil yourself
Having decided on the pattern, we will select material for the stencil and start making it.
For disposable, For small templates, you can use plain office paper, cardboard or other thick material. For example, plastic wrap, foil, parchment. If the budget allows you to better choose a self-adhesive film (it is strong enough and able to withstand moisture).
Follow these steps:
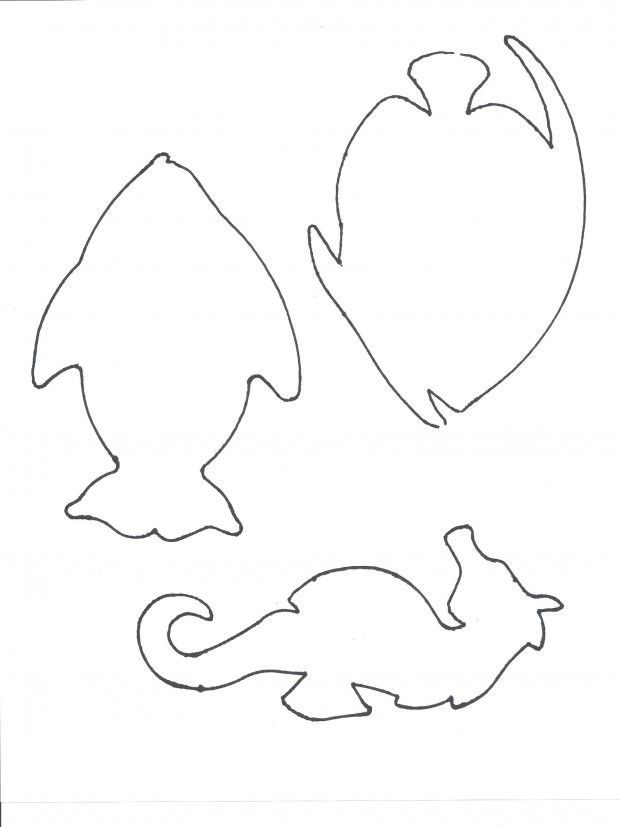
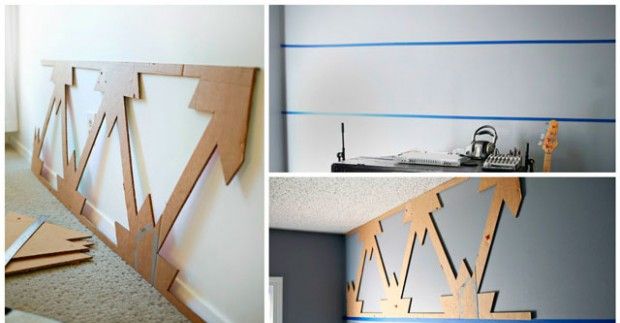
- Draw or transfer the drawing you like to the prepared base. In some cases it can be simply print out on the printer. In others, it is better to use tracing paper. If it is transparent film or parchment (secure the layout with a needle or tape so that it does not move), carefully trace the image with a marker. A not very dense substrate (for example, plain paper) can be made harder by gluing tape over the entire surface.
- Lay out the workpiece on a surface that you are not afraid to cut. With a stationery knife (if more convenient, then use scissors) carefully cut out inner areas of the contour, so that the main drawing is hollow, but at the same time all the details of the image are well kept.
Tip: Try to make even cuts, then the template has fewer gaps with the surface. The drawing is clear and beautiful. Watch out for small details. They must be securely attached.
For complex or repetitive illustrations, do reusable template. Choose very thick cardboard, acetate film or thin plastic sheets will do.
Tip: You can laminate paper, it will acquire the necessary moisture resistance. Heavy cardboard will become tougher when coated with waterproof paint.
Do the same as in the previous case, taking into account some of the nuances:
- When making large or complex drawings, you should break them up into parts that will be combined during the transfer to the wall. Otherwise it will be very difficult to keep them during painting..
- You can fix the dimensional drawing on the basis using masking tape, scotch tape, or even stick it (at several points).
- Cut out contours can be strengthened by gluing them with tape. Pressing the middle of the tape to the cut out border, fold its edges along the borders (one edge of the tape inward, the other outward). Achieve a snug fit of the material to the surface, the cuts will be smoother.
How to use wall stencils?
Exist a few rules to achieve the desired result:
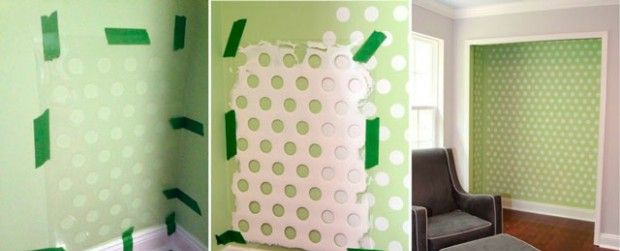
- Correctly placing the stencil on the prepared wall surface will help markup. This is necessary when applying an ornament (a slight skew is sure to catch your eye). Large drawings that were divided into parts, after marking, will exactly fall into place.
- The stencil needs to be securely anchor on the surface. When using self-adhesive tape, remove the protective layer and stick on the wall. Cardboard, plastic, paper are fixed with masking tape, tape. As a last resort, press firmly with your hand. Other materials should be fixed with special temporary adhesives (eg Spiri or Takter). They do not leave visible marks, but they hold the stencil securely enough.
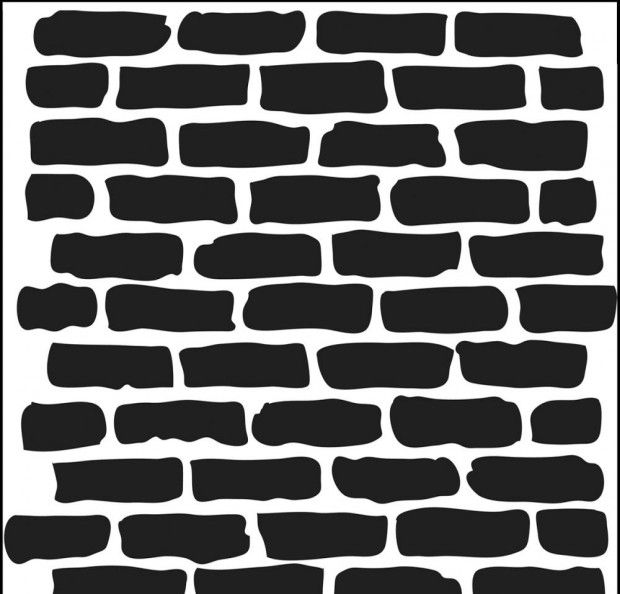
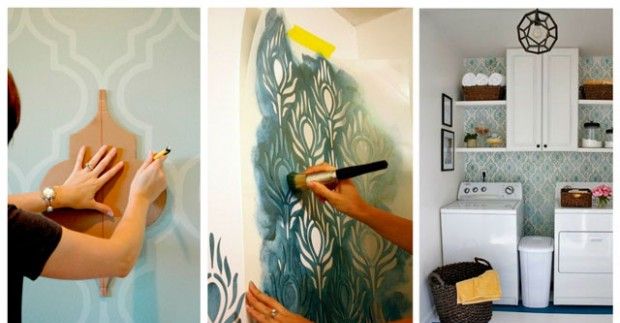
- Choose paint depending on the surface. For concrete or brick, acrylic paint is suitable. Use a small amount of paint on a paintbrush or sponge, otherwise it may overshoot the stencil. Try to distribute the paint evenly.
- When choosing a multi-color stencil, consider in advance color scheme. Which will be the first, second, etc. Apply the subsequent colors after the previous patterns have dried. Carrying out a volumetric drawing with a stencil, the paint is applied after the putty has dried.
- Application technique reverse stencil pattern requires a preliminary calculation of the density of paint application and the width of the halo. An image of a material impervious to paint is fixed on the wall. The paint (spray) creates a halo of the desired shade. Keep the sprayer at least 20 cm away from the wall.
- The stencil is removed from the wall immediately after the paint is applied. When using it repeatedly, be sure to wipe it off before using it again. When applying putty, on the contrary, leave the stencil to dry..
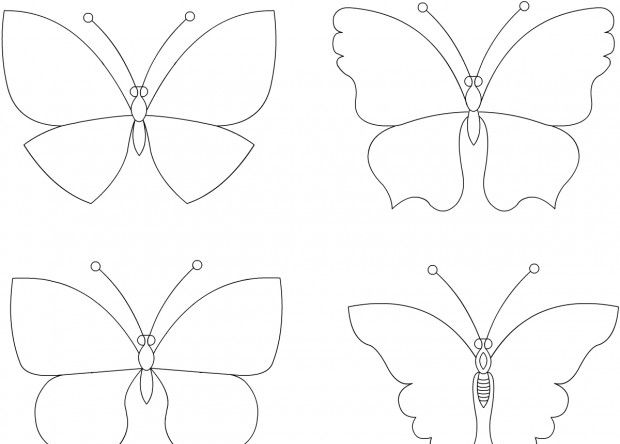
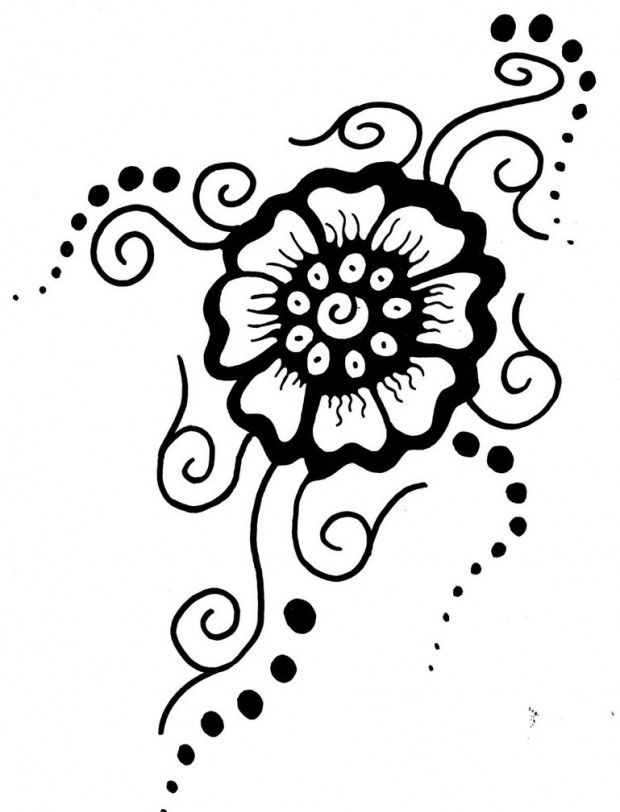
Stencils for walls: templates