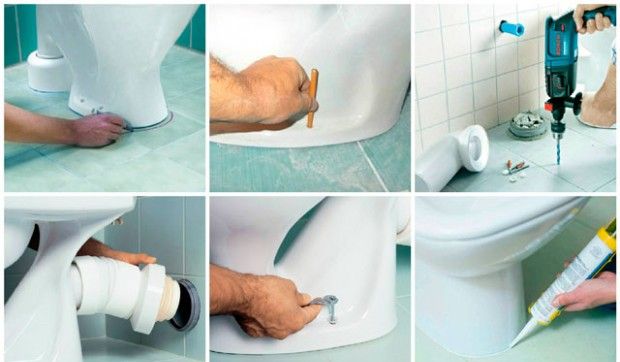
Tiling the toilet almost always occurs in the absence of plumbing units – a toilet bowl and accessories. This is due to the fact that then lay the tiles «round» much more difficult. Difficulties will arise when laying ceramics on the walls – the toilet will simply interfere. Therefore installation «amenities» plan after the completion of all finishing works. There are several ways to install plumbing..
Preliminary preparation for installation
The work comes down to marking the place for the toilet itself, removing the sewer drain and pipes with cold water. The ends of the drainage and filling system must protrude from the surface by at least 15 cm, otherwise a high-quality connection will not work and work will also have to be done to build pipes. To prevent this from happening, a sufficient distance is taken care of at the stage of rough leveling of the walls and floor..
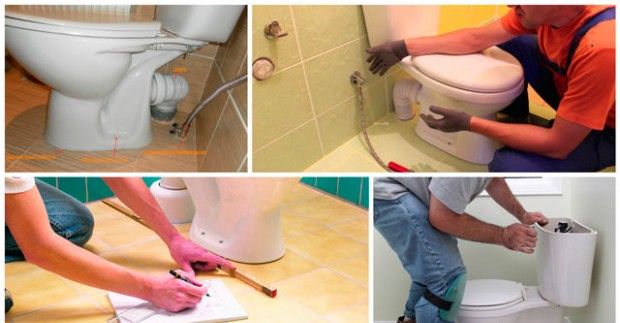
Tools and materials
In addition to the toilet, you will need:
- Corrugated drain pipe.
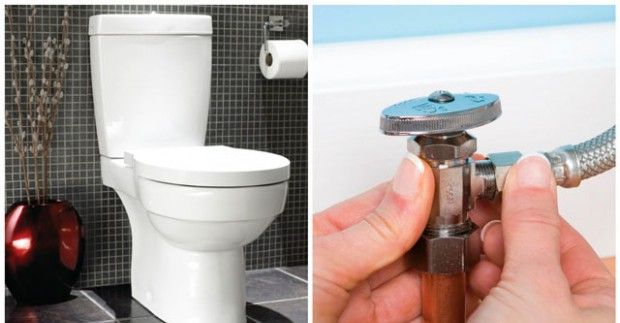
- Cold water hose and ball valve to pipeline.
- Fum tape or tow.
- Sealant or epoxy. For decorative embedding – the remains of grout from tiles.
- Drill with drills for ceramics and concrete.
- Adjustable wrench.
- Screwdriver.
- Kern.
- Pencil, chalk.
- Spatula, cleaning products.
The fasteners are usually included with the toilet bowl. If this is not provided for, anchor bolts are purchased in accordance with the diameters of the holes. It is important to purchase them in anti-corrosion design – leaks or condensation in the toilet are inevitable, which will certainly respond with rust.
Method of attaching the toilet bowl to tile No. 1
The least costly effort. Suitable for mounting a toilet with «ears» – lower parts with drilled technological holes for fastening. The algorithm is as follows:
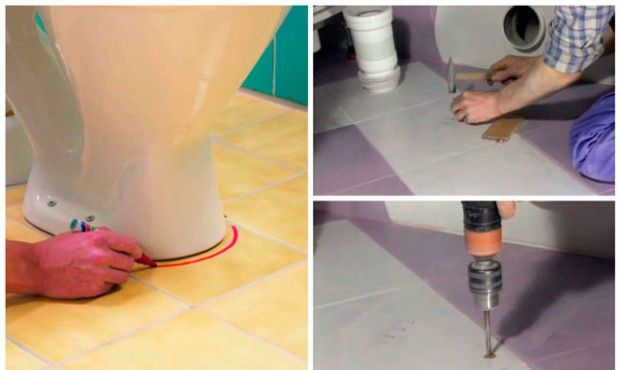
- The toilet is installed in the required place. It is important to estimate the distance of the drain hole to the sewer pipe in order to stretch the corrugation effortlessly. The contours of the pedestal are outlined with chalk and the centers of the holes are marked with a pencil, setting it strictly perpendicular to the floor. Otherwise, there is a risk of moving the plumbing while tightening the bolts..
- At the marked points, the tile covering is knocked down with a core. This will prevent the drill from sliding off the mark during operation. To do the job neatly, it is recommended to moisten the packing area.
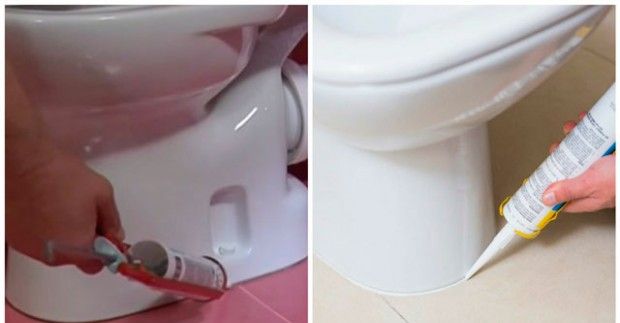
- Drill holes for the bolts and try on the toilet in place. If everything suits you, the plumbing is removed and a sealant or resin is applied along the contour of the chalk line. So, it is possible to avoid moisture under the toilet in the future. All holes for fasteners are filled with a sealant to seal the fasteners and waterproof concrete.
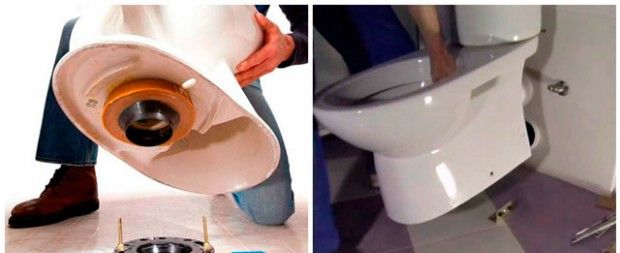
- Install the toilet along the contour and begin to tighten the bolts. They act evenly so as not to move the plumbing. The sealant squeezed out under the weight is immediately cleaned off with a spatula. After installation, a strip of sealant is decorated with grout.
It remains to mount the components – corrugation, tank – and connect the entire structure with the cold water pipeline.
Method of attaching the toilet bowl to tile No. 2
Installation of a toilet bowl without protruding elements is distinguished by the aesthetics of the result. It is somewhat more complicated and it is impossible to carry out the work correctly without an accurate algorithm. So:
- A distinctive feature of the design will be the drainage holes of the sewer system as close as possible to the plumbing. To do this, first carry out a set of work with pipes. It is advisable to do this before finishing the bathroom with tiles..
- Further, similar to the first method, outline the contour of the base and place marks for fasteners.
- Part of the toilet – hidden fixing – is installed on the floor. It is screwed to the floor with bolts, holes for which are drilled in advance. The installation is rigid, displacement cannot be allowed, therefore, the fasteners are wrapped one by one, constantly monitoring the contours.
- Then, the toilet is inserted into the bottom and secured through the side factory holes. You should not be zealous – there will be an adjustment when installing the sewage system.
After the structure is fully assembled and satisfactory in use, the fastening bolts are closed with decorative plugs and the toilet takes on the appearance of a solid ceramic. Installation is simple, but requires care.
Toilet fixing method No. 3
In the event that a heated floor with a water or electrical system is installed in the toilet, drilling holes for fasteners cannot be carried out – there is a risk of violating the integrity of the waterproofing or wire. In this case, the fastening takes place using adhesive mixtures – resins, liquid nails, silicones with additives. How to do it right:
- The contour of the plumbing base is outlined.
- The top layer of the tile is removed with a coarse sandpaper or a narrow special diamond wheel to create a rough surface. This will provide better adhesion to the plinth. Similar work is carried out with the toilet..
- The layer of the fixing compound is placed thick, at a distance of 2-3 mm from the outlined contour. This is necessary in order for the bulk to remain inside. The extrusions are removed immediately, otherwise they can only be disposed of together with the ceramic tiles. The joints between the floor and the edge of the base are rubbed with a decorative compound.
Here are all the processes. They are not available to amateurs, especially if the tiles are expensive, it is better to outsource the work to professionals who give a guarantee for their own installation. If, nevertheless, it is decided to do on our own, then training on a piece of tile is necessary.
The procedure for attaching accessories to the toilet
First, a corrugation is mounted to the outlet and to the sewer riser. You should not skimp on quality when buying – it ensures the tightness of the drain and prevents unpleasant amber from entering the room. Then, a cistern is installed on the toilet by means of the bolts included in the kit. Further, the installation of the plumbing structure to the water supply is carried out. Only in this order will proper operation be ensured.

