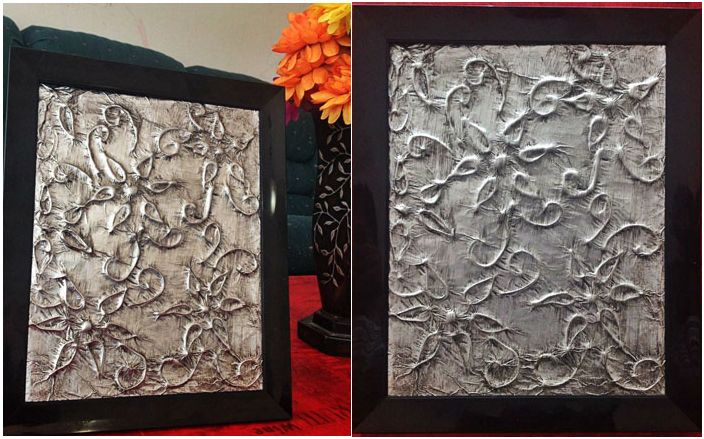
Embossed foil wall panel in 30 minutes
The interior of an apartment can tell as much about its owner as its appearance. Everyone wants to stand out from the crowd at least with something and carefully select interior items for their home, trying to fill it with warmth, comfort and individuality. We propose to create an exclusive embossed wall panel that will look simply amazing and will decorate any room. It is somewhat reminiscent of chasing, but much easier to manufacture..
In order to feel comfortable at home, you need to think through every detail, and perhaps create it yourself. Even the most insignificant, at first glance, decorative element can radically change the atmosphere of the house. Since ancient times, people have decorated their homes with paintings, flowers, animal skins, and paid huge sums of money for art objects. But it is much more pleasant to create something original with your own hands, and, every time passing by your masterpiece, be proud of yourself.
So, let’s start making an embossed foil wall panel. It only takes us 30 minutes.
Step 1: Selection of materials and tools
Selection of materials and tools
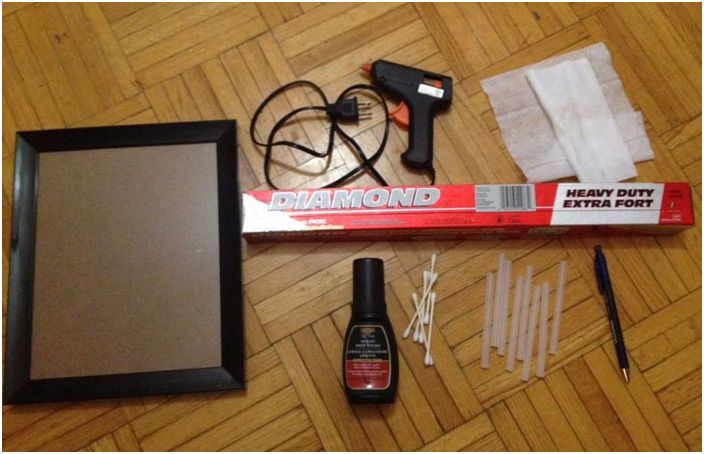
We will need:
– glue gun,
– glue sticks for gun,
– thick aluminum foil sheet,
– liquid shoe polish,
– paper,
– cotton buds,
– photo frame (without glass),
– paper napkins,
– pen or pencil.
Step 2: sketching
Sketching
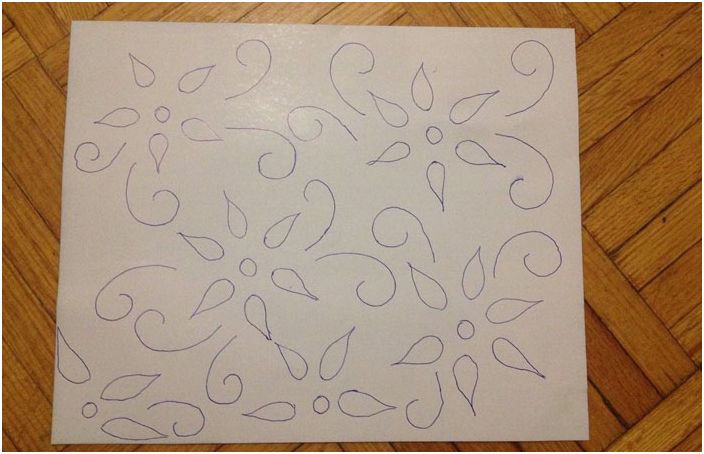
Take a piece of paper, cut it to fit the photo frame. Sketch the drawing with a pencil or pen. If you do not know how to draw, you can find ready-made stencils for drawing on the Internet..
Step 3: working with hot glue
Hot glue handling
Hot glue handling
Hot glue handling
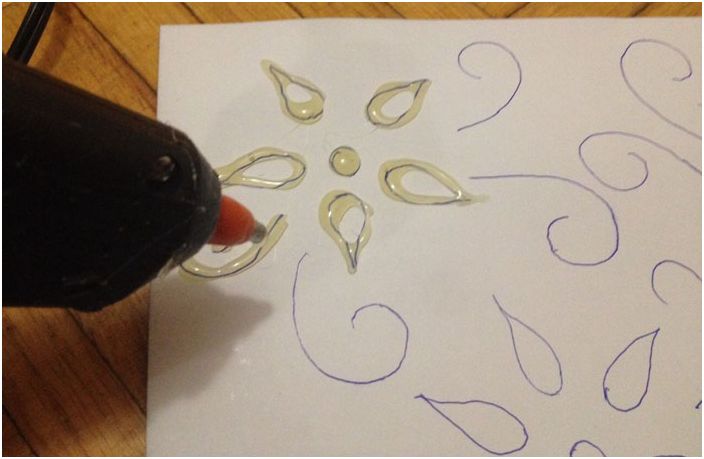
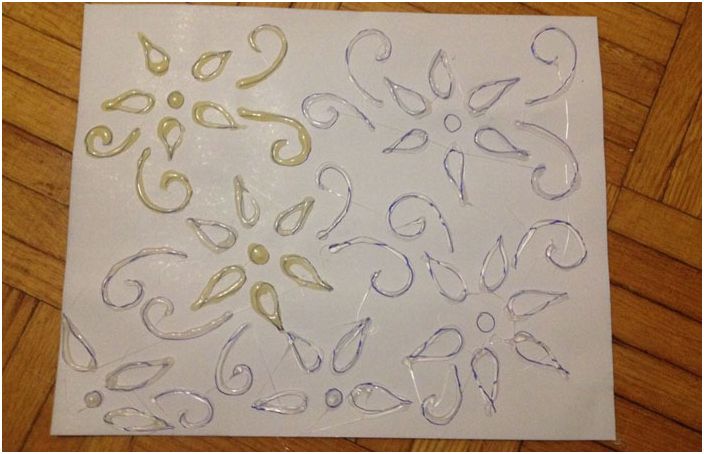
Trace the contours of the design with hot glue using a heat gun. Let the glue dry (this will take about 2 minutes).
Step 4: embossing
Embossing
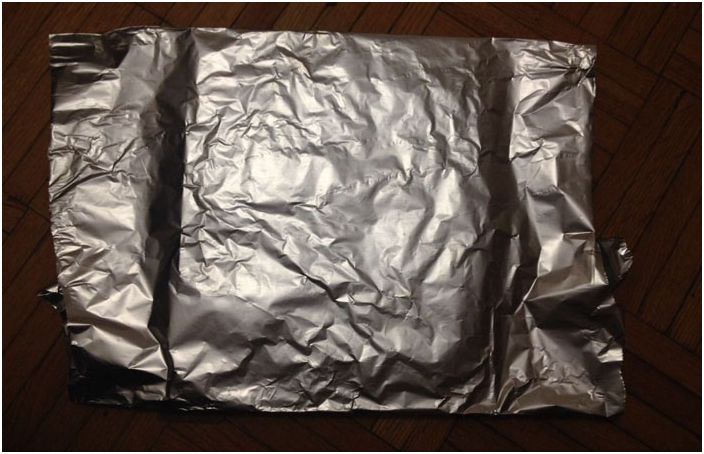
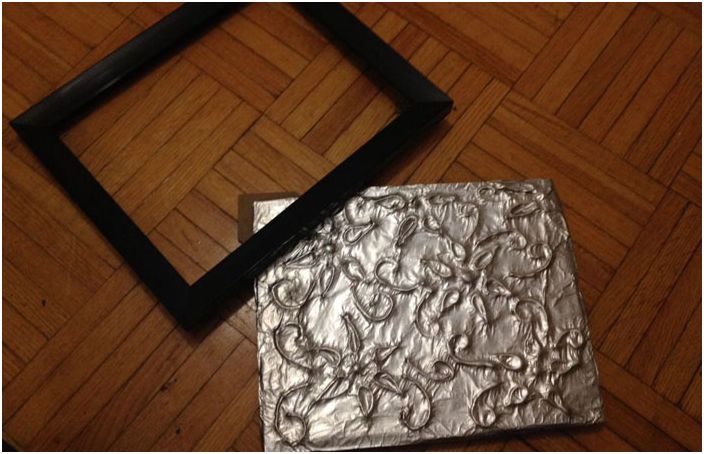
Wrap the pattern with foil, fold its edges from the back.
Embossing
Embossing
Embossing
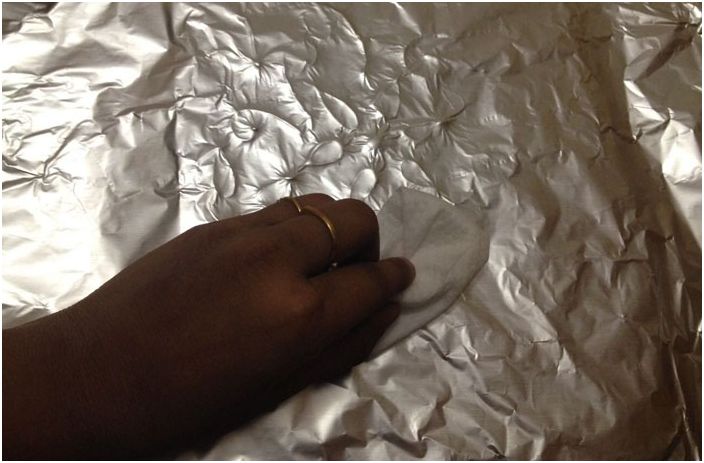
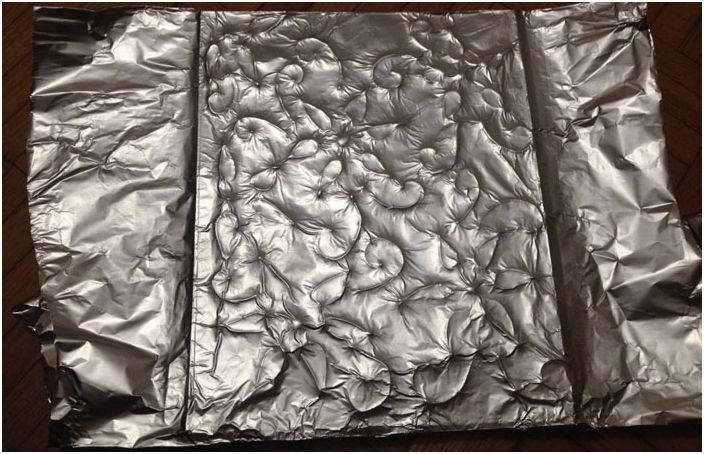
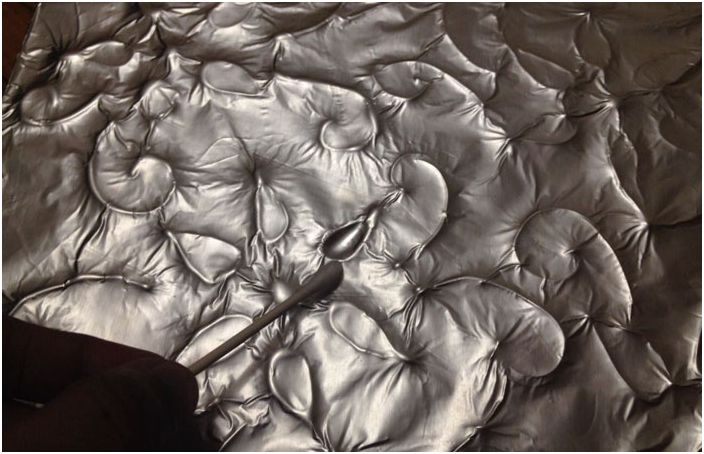
Press down on the foil with your fingers, then use cotton swabs to push the embossed glue pattern onto the foil. Be careful not to break it.
Embossing
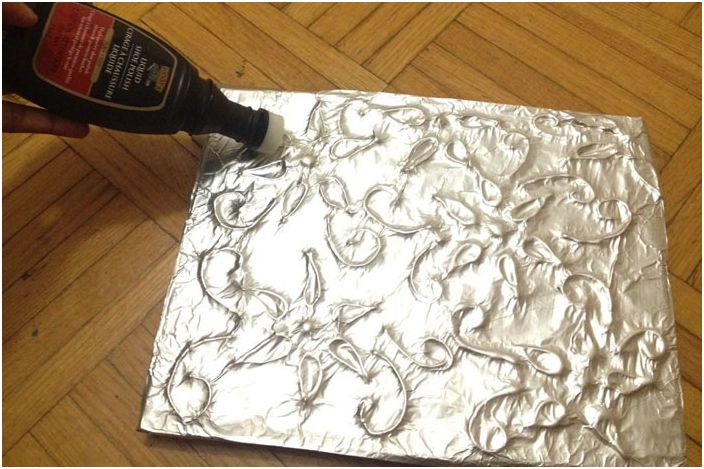
Then apply a thick layer of liquid shoe polish to the entire surface of the panel. Leave it on for a couple of minutes and then gently wipe it off with a soft cloth. No need to wipe dry, just get a little wet.
Step 5: Place the panel in a frame
Placing a panel in a frame
Placing a panel in a frame
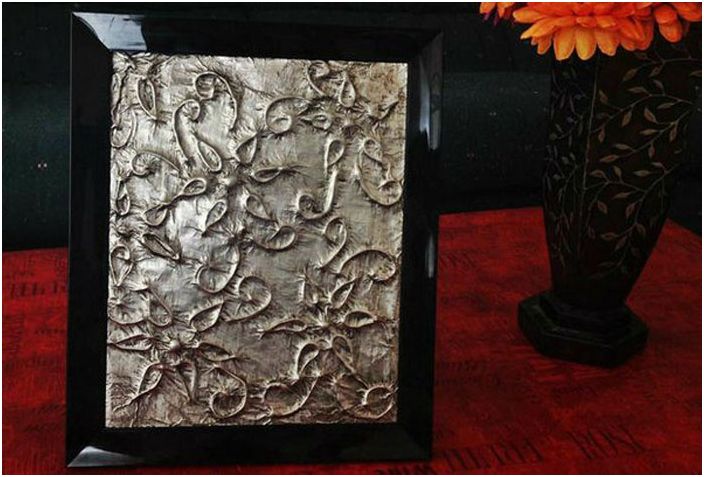
After the cream dries, place the panel in a photo frame.
The masterpiece is ready! Now it remains to find him a worthy place in your house..
It doesn’t take millions to decorate a house beautifully. We offer an overview of simple ways to refresh the interior of an apartment without large material costs.

