Reusing an old suitcase: DIY stylish locker
Almost everyone is faced with the problem of cluttering up the apartment every day. There are many things that no one uses, but they constantly catch our eyes, such as umbrellas, old sunglasses that are a shame to throw away, etc. All this needs to be put somewhere. In addition, for sure in every apartment, somewhere in the mezzanine, there is an old suitcase, with which no one will go anywhere. Here he will help solve the problem. We propose to turn it into a very convenient wall cabinet.
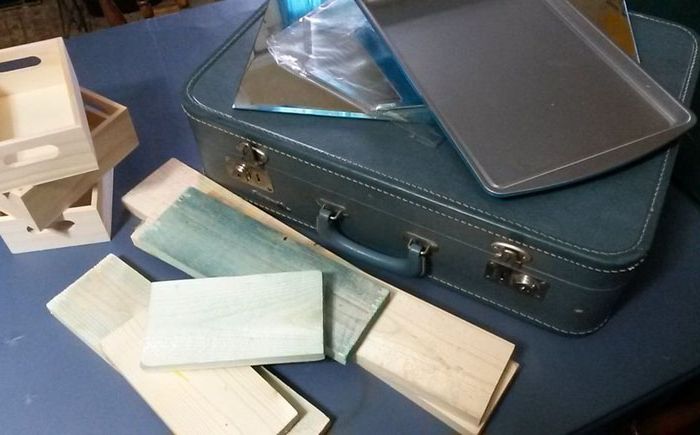
Step 1: Selection of materials and tools
Selection of materials and tools
You will need:
• a suitcase made of dense materials (a cloth suitcase will not fit),
• mirror,
• unnecessary paper (old books, maps, magazines, etc.),
• tightly bound book (0.5 – 0.6 cm),
• board 1.5 cm thick,
• brush,
• glue similar to that used for decoupage, for example Mod Podge,
• silicone adhesive,
• leather,
• rivets and tools for working with them,
• wooden boxes for drawers of the cabinet (if you cannot find ready-made ones, you can order them at the nearest carpentry workshop),
• nuts and bolts,
• plywood,
• magnetic metal plate.
Step 2: Destroying the suitcase
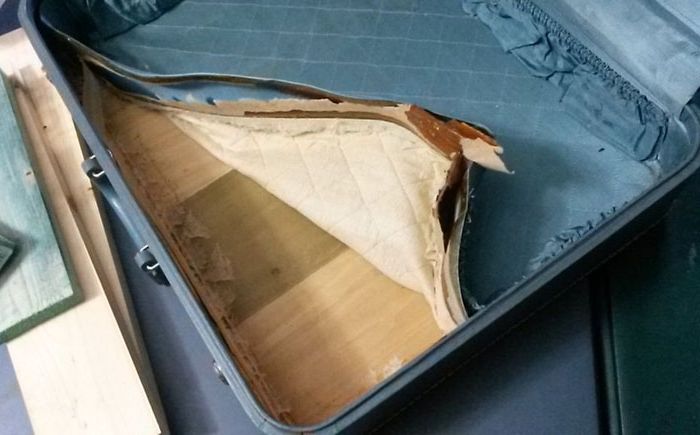
Destruction of the suitcase
We tear off the fabric from the inside of the suitcase. This is usually very easy to do. You need to firmly grasp the sewn pocket and pull it sharply.
Step 3: pasting the inside of the suitcase
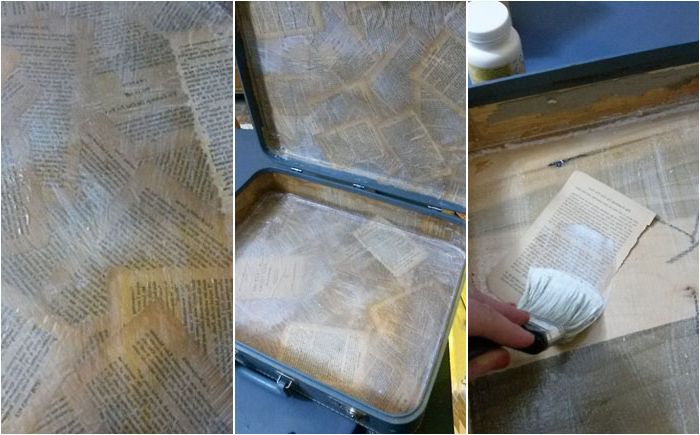
Pasting the inside of a suitcase
The inside of the suitcase is greased with glue, 1 layer of paper is glued (pages of old books, magazines), which is again covered with glue. The edges of the pages may lift slightly with moisture, but they will smooth out when dry. The glue should dry for several hours..
Step 4: shelves
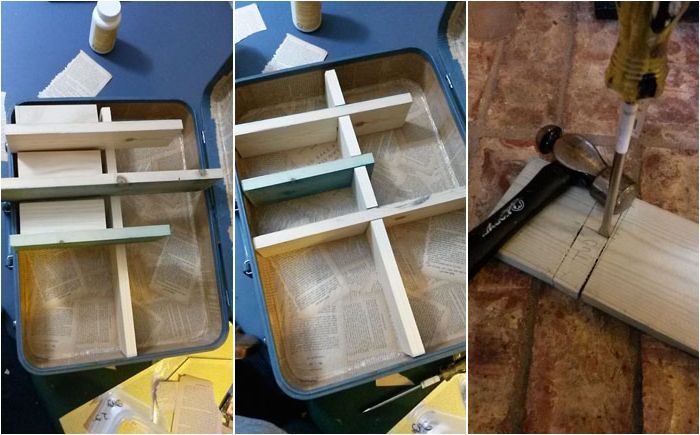
Shelves
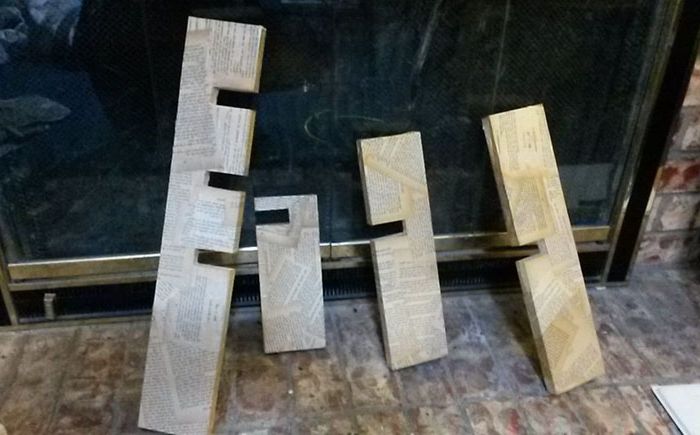
A piece of board is cut to a length equal to the height of the suitcase (cabinet). Then boards for horizontal shelves are prepared (the length can be chosen arbitrarily, if desired). Planks for horizontal shelves are stacked on a central, vertical plank so that drawers fit between them. A mark is made on one of them in the place where it intersects with the vertical. The notch markings need to be made a little deeper than the middle of the board. The saw cuts, then using a flat-blade screwdriver and a hammer, remove the incised part. The same board is used to make markings for the cuts on the remaining horizontal shelves. Install horizontal shelves on a vertical board and mark their placement. The same cuts are made on it as on the horizontal shelves..
Step 5: pasting the shelves
Pasting shelves
The shelves are greased with decoupage glue and pasted over with paper on all sides (except for the inner part of the cuts). Leave to dry for a few hours.
Step 6: fastening the shelves
Shelf fasteners
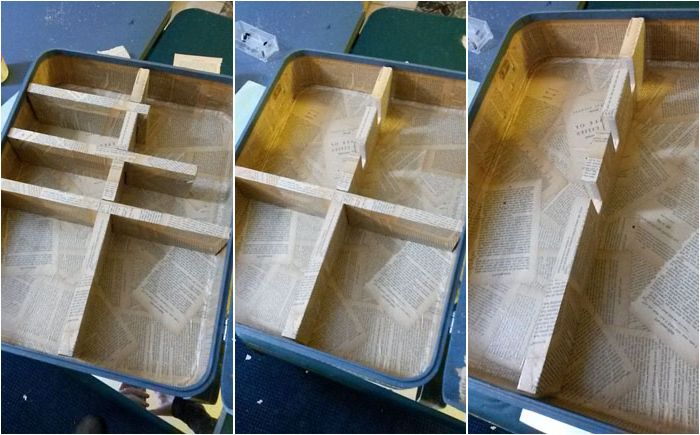
The shelves are installed in the suitcase and the sides of each are marked on the bottom of the suitcase. A drill is drilled 2-3 holes for each shelf according to the marking. Re-insert the center board, it should be positioned exactly along the marking lines. The board is fixed with 20 mm screws, they are screwed from the back of the suitcase.
Step 7: working with drawers
Working with drawers
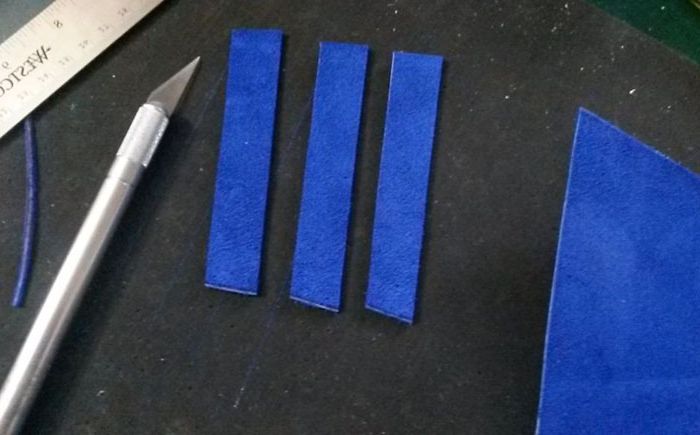
Cut pieces of leather to make handles for each drawer.
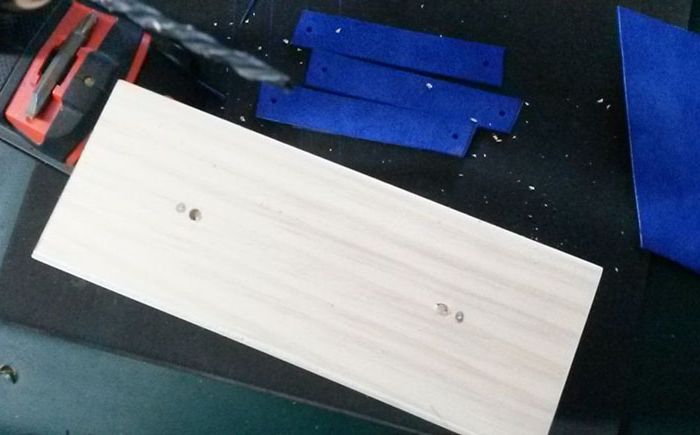
Drilled holes
Drilled holes
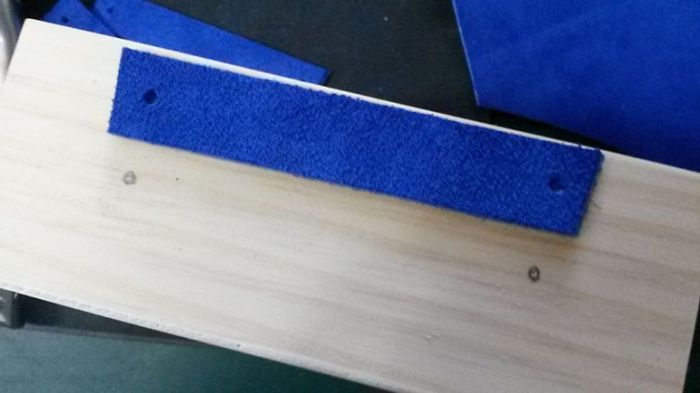
A hole punch makes holes on both sides of each piece of leather. To do this, they are attached to the drawers and each hole is marked. Holes are drilled according to the marking. The front of the boxes is covered with decoupage glue. If you wish, you can paste over the boxes with paper. The glue should dry (several hours).
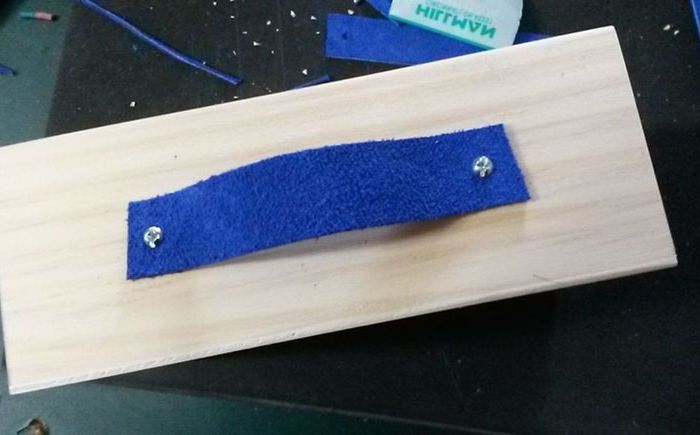
Attaching the handles
Leather handles are fastened with bolts and nuts.
Step 8: finishing the front
Front finishing
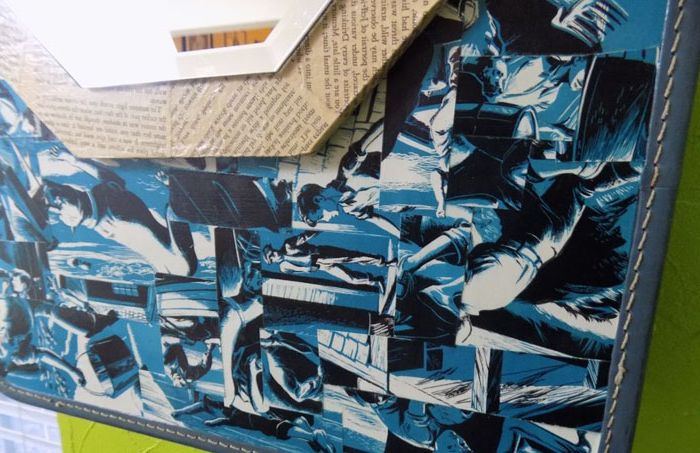
Decoupage glue is used to cover the outside of the suitcase. The mirror is put on plywood and encircled; you need to make a couple of centimeters of overlap. Now the plywood is cut out according to the markings and covered with glue.
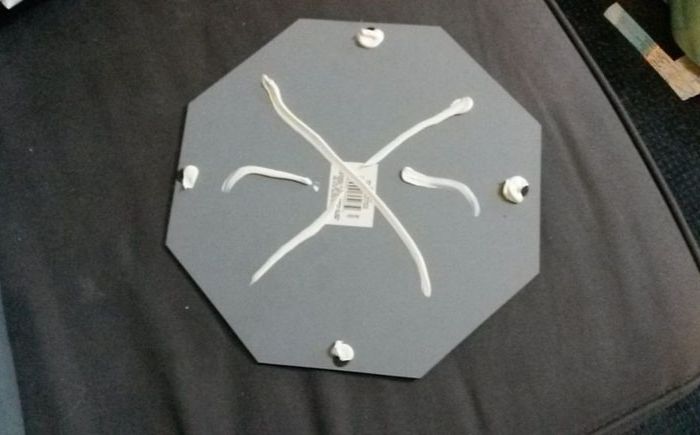
The mirror is glued to the plywood with silicone glue
The mirror is glued to the plywood with silicone glue. If such a fastening seems unreliable, you can optionally use any hardware for additional fastening. Plywood is glued to the surface of the suitcase, later it will be fixed with screws.
Step 9: making the envelope
Making an envelope
Making an envelope
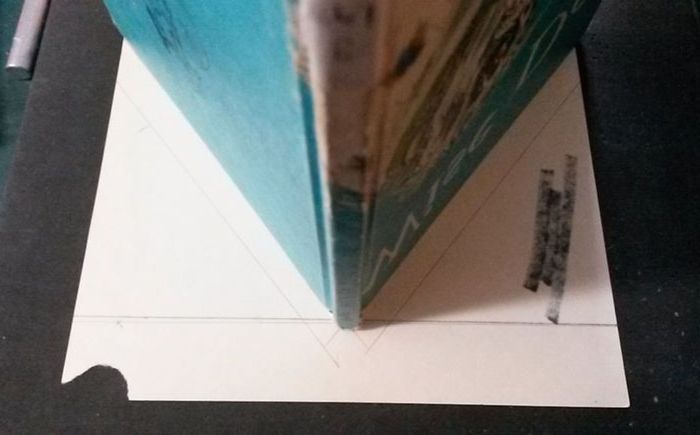
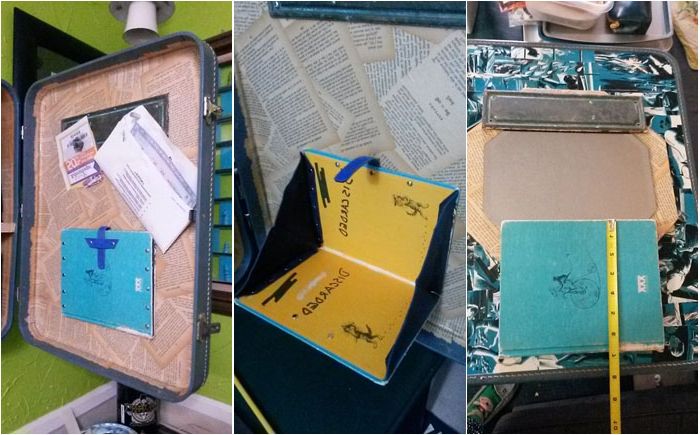
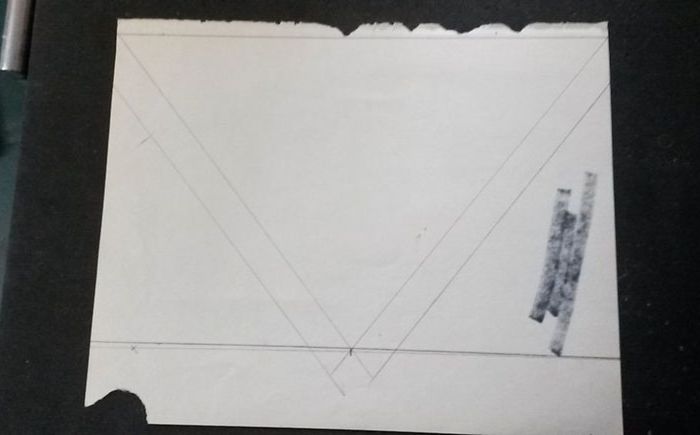
Several pages are taken from an old book. A template is drawn on a sheet of paper by attaching an open book at an arbitrary angle. The edges of the book are encircled with 1-1.5 cm overlap on all sides. This template is used to cut 2 pieces of leather.
Step 10: ІІ stage of working with the envelope
Making an envelope
Making an envelope
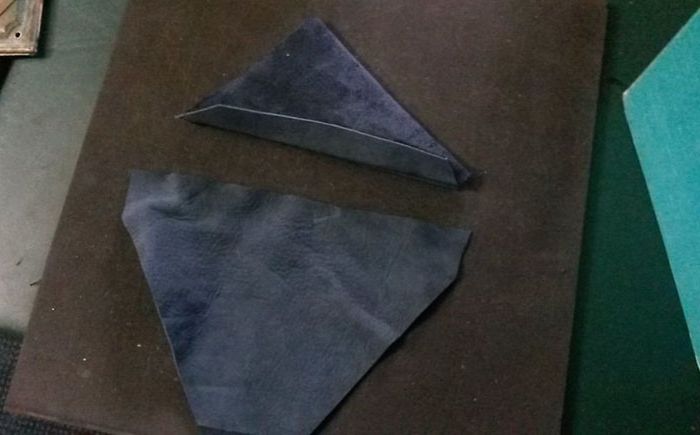
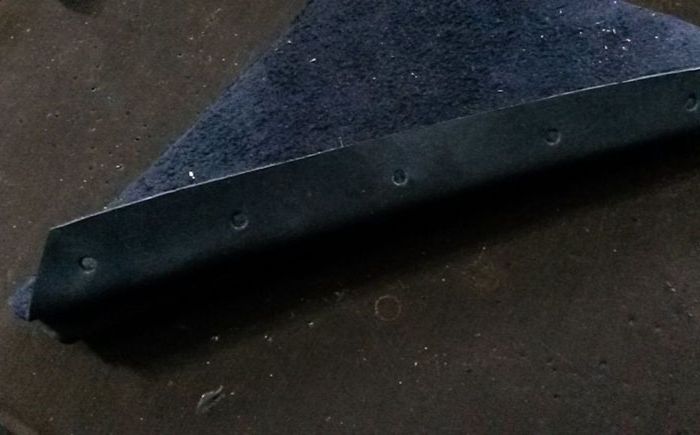
The skin is moistened with water and folded, as in the picture, pressed firmly. A template is made for rivet holes. To do this, fold a piece of paper several times and make holes in the folds. Places for holes in the skin are marked and made with a hole punch.
Step 11: working with rivets
Working with rivets
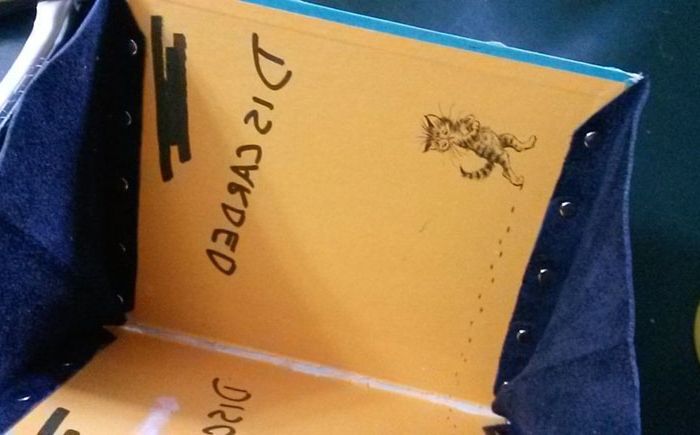
Each piece of leather is laid out on a book, places for holes are marked. Holes are drilled with a drill according to the marking and rivets are fixed. Then cut and fasten the loop and strap.
Step 12: mounting the mirror
Mirror mount
The plate and the book are placed on the mirror so that the 2 lower corners of the plate and the 2 upper corners of the book overlap the plywood. The distance from the top of the suitcase to the bottom of the plate is measured (it is better to write down the numbers). The distance from the bottom of the suitcase to the top of the book is measured and the data is recorded again. The same marks are measured and made inside the suitcase. The plate is screwed to the plywood on the front of the suitcase. The same is done with the book..
Step 13: fixing the cabinet
Cabinet fixing
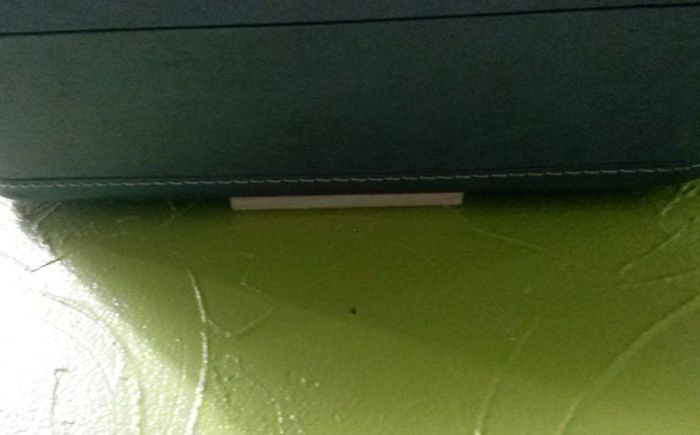
The cabinet is attached to the wall at your discretion.
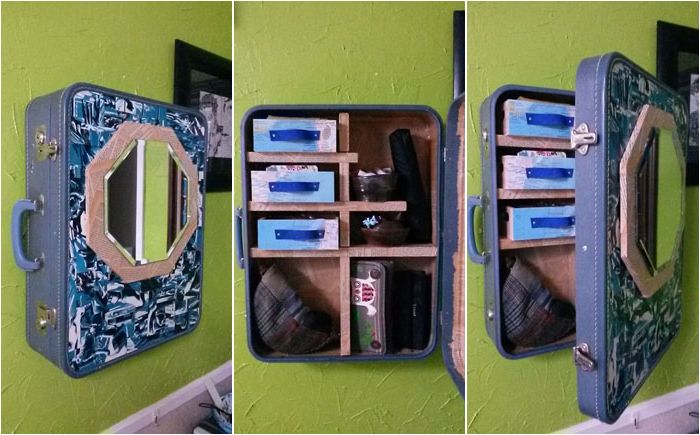
Step 14: the locker is ready!
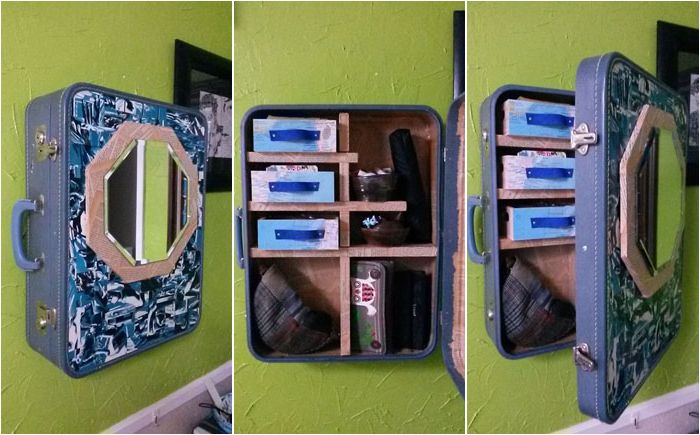
The locker is ready!
You can fill it and enjoy the creation of your own hands! It is very convenient to hang such a cabinet in the hallway. In addition to the fact that many things can be folded into it, it has a mirror, which is an indispensable attribute of this room. However, this is not the only way to bring an old suitcase back to life. Here are some more original ideas for the retired travel king.

