The most comfortable armchair for book lovers do it yourself
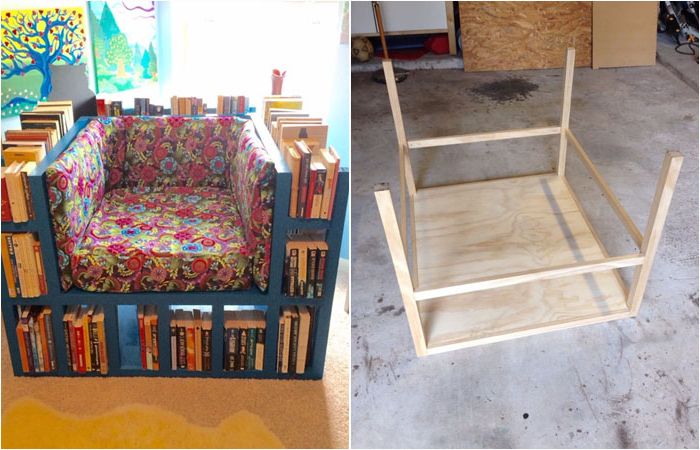
Many people like to spend a free evening or day off reading their favorite books. In addition, true book lovers are constantly expanding their collection. And then the question arises of where to store this entire library, and even so that later you do not have to spend hours looking for the right book or not put it, climbing up to the ceiling to the shelf where your favorite detective story or love story is. And the area of the apartment does not always allow you to install the desired number of shelves or shelves for books. A special comfortable chair for book lovers will help to save space and at the same time have the necessary books at hand.
Before starting work, you need to calculate the dimensions of the chair. It must necessarily pass through the doorway, and at the same time be comfortable enough. This means that it should not be too narrow, since you can spend more than one hour reading. You need to feel comfortable in it. The proposed chair will be 105 cm wide, 87 cm long, 74 cm high.
Step 1: Selection of materials
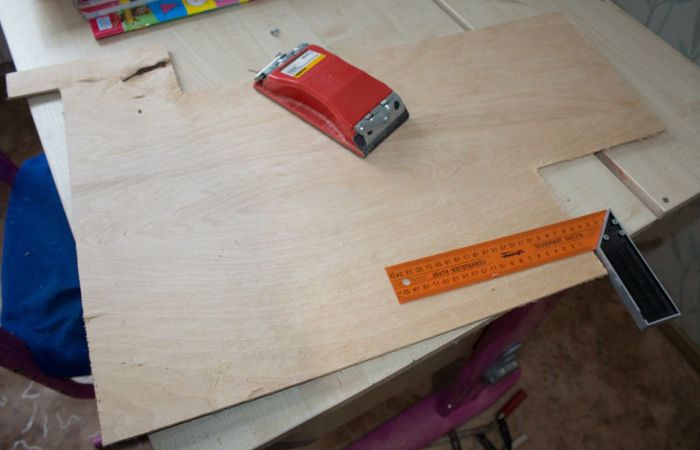
Selection of materials
– 2 sheets of thick plywood 1.9 cm thick (1.2 mx 2.43 m),
– 6 slats 2.43 m long (5cm x 2.5cm),
– 4 slats 2.43 m long (5cm x 5cm),
– 2 packs 31.8 mm,
– 1 bottle of wood glue,
– paint on wood,
– sofa cushions.
Step 2: selection of tools
Selection of tools
We will need:
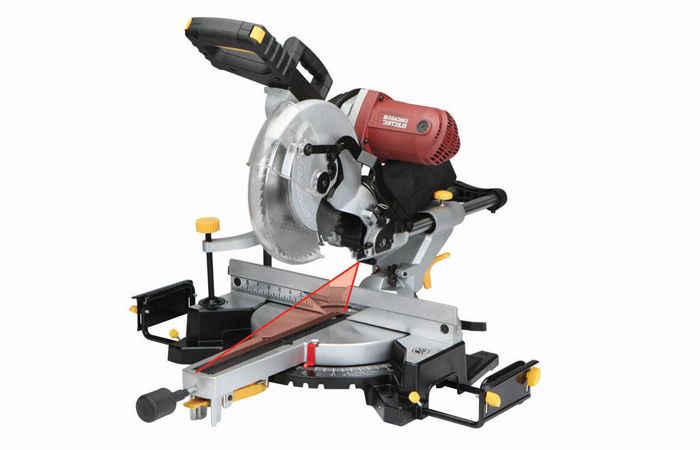
– Miter saw,
– cordless drill,
– hacksaw or jigsaw,
– compressor and pneumatic hammer,
– staples of different lengths,
– common tools such as a hammer, tape measure, and triangle.
Step 3: Getting Started
Getting started, the basics
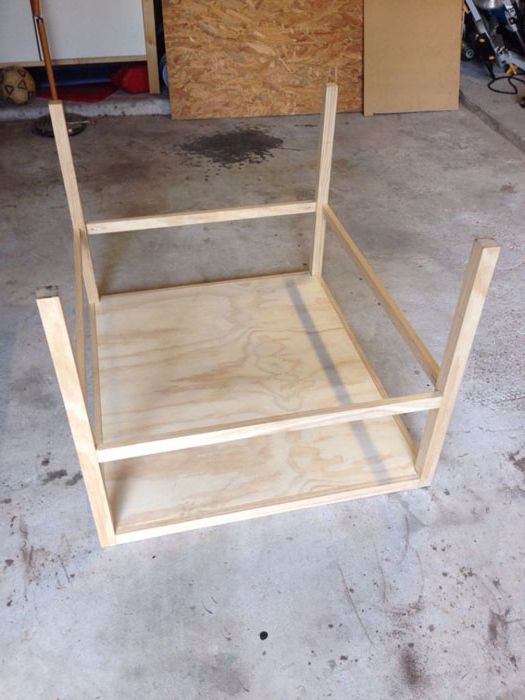
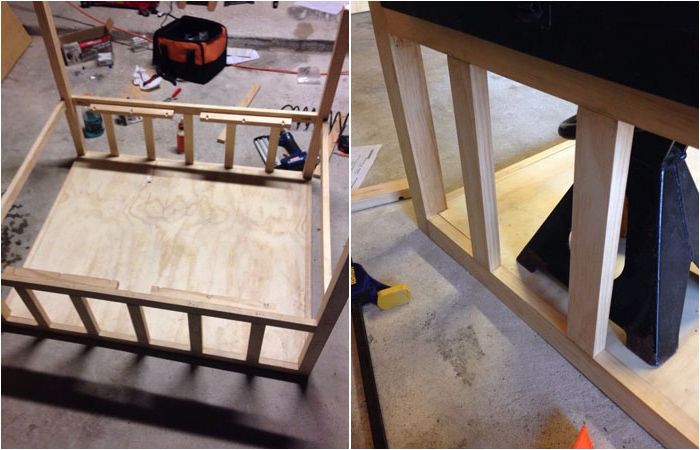
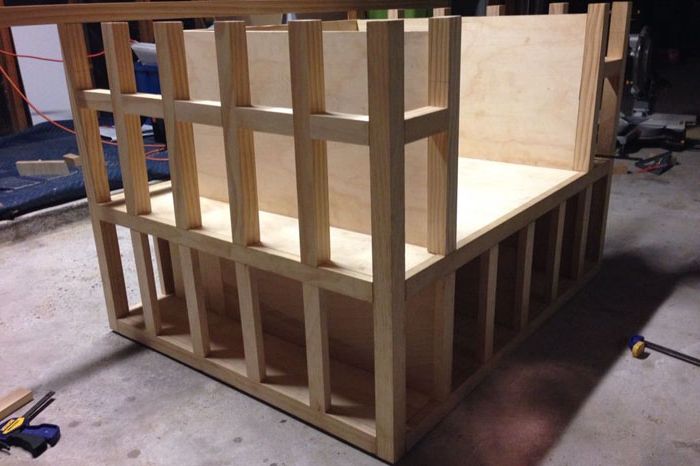
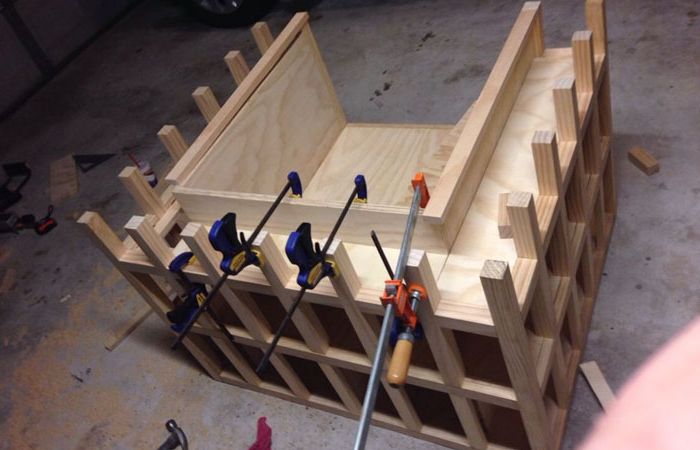
Let’s start creating the frame by cutting off a piece of plywood of the desired size and constructing the sides of the structure from strips (5 x 5 cm). The sides should be 74 cm high.
Between the vertical slats (5 x 5 cm), we fix the horizontal ones (5 x 2.5 cm). For a secure fit, use wood glue and self-tapping screws.
Step 4: supports
Support
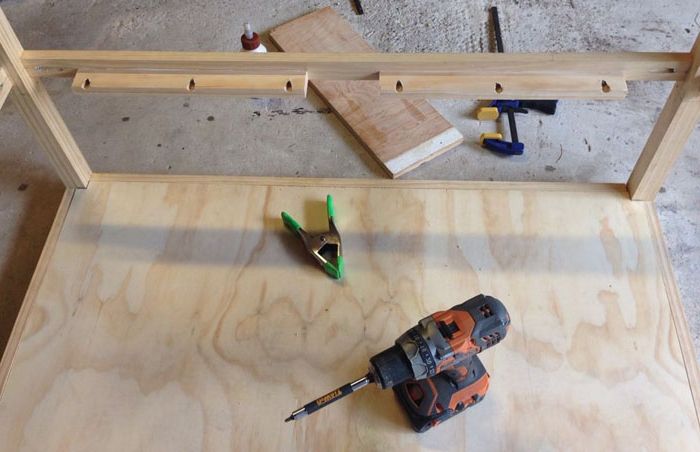
Take the remaining slats (5 x 2.5cm) to create the supports for the first tier of plywood and secure them with wood glue and self-tapping screws.
Step 5: first tier
First tier
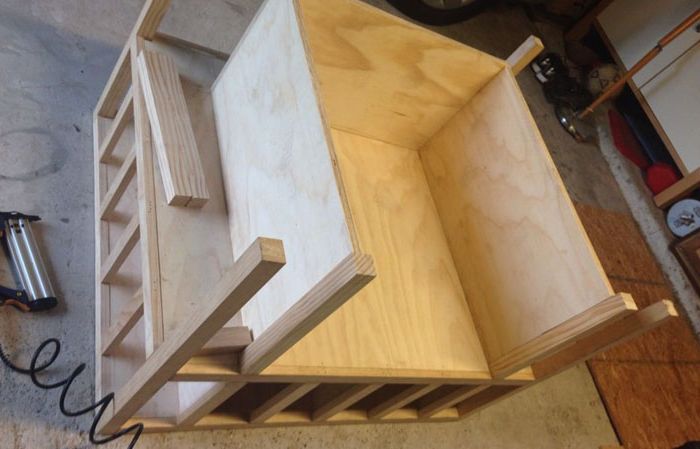
Look at the photo of the finished first tier and make sure you get the same design.
Step 6: Mounting the chair
Chair mounting
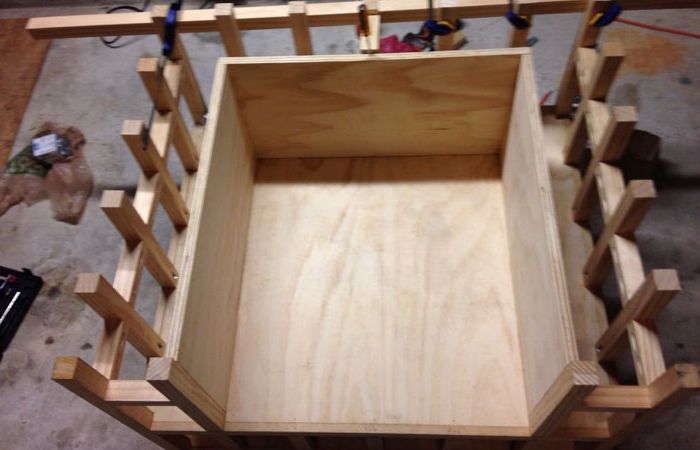
Cut a piece of plywood the same size as the first one and secure it to the supports with glue.
Chair mounting
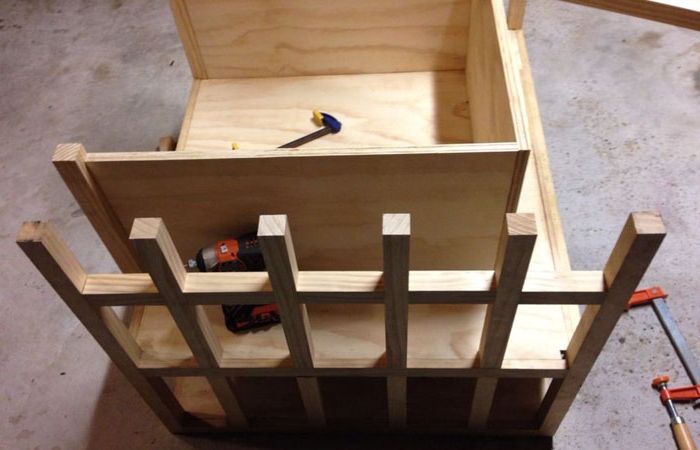
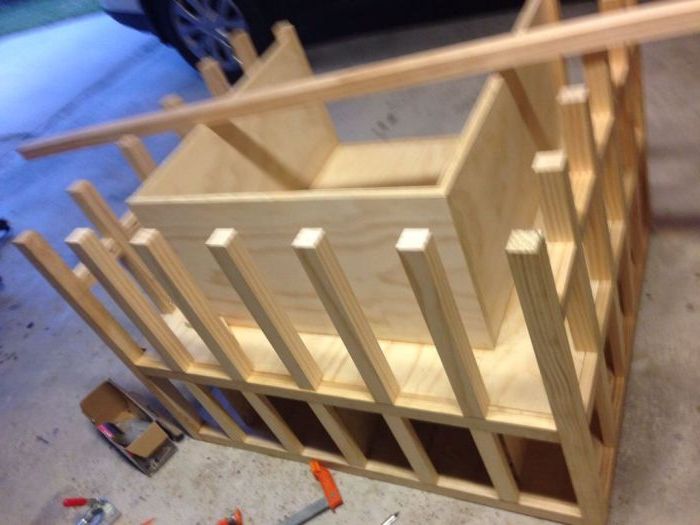
Next, we will deal with the upper tier of the book shelves, using the slats (5 x 5 cm) and securing them with glue and self-tapping screws. Chair space is 72.5 cm long and 66 cm wide.
Step 7: side shelves
Side shelves
Side shelves
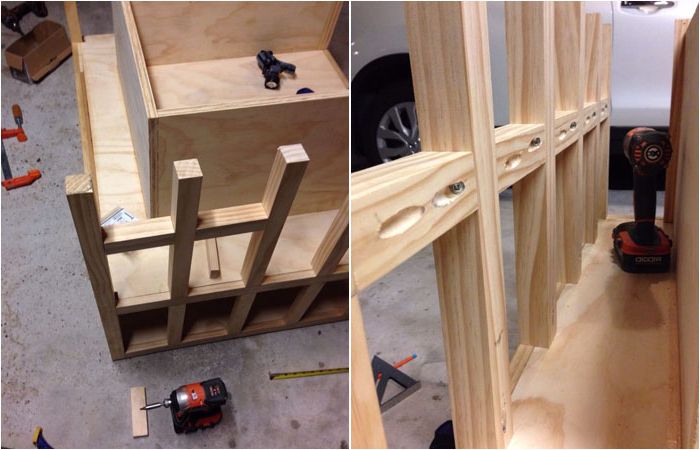
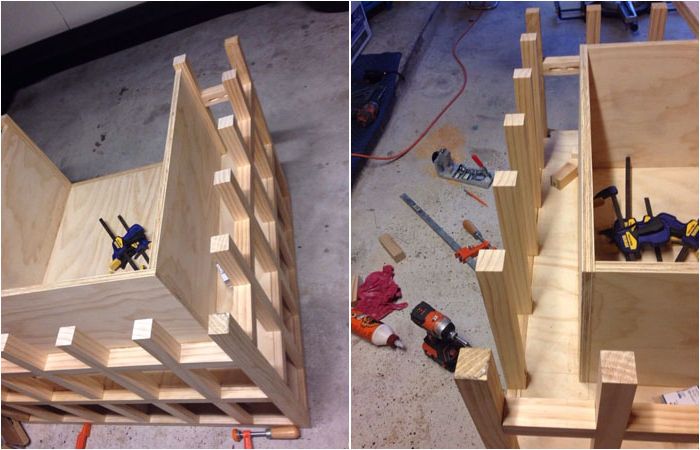
Look at the photo of the shelves and note how to use the self-tapping screws to attach each piece of the rails (5 x 5 cm) to each other.
Step 8: check
Check
Look at the close-up photo of the finished side walls and make sure you get the same design.
Step 9: back side
Backside
The back of the structure looks the same as the side ones (from 5 x 5 cm slats).
Step 10: Completing the design of the sides and backs of the structure
Completion of the design of the sides and back of the structure
Look at the photo of the finished back wall and make sure you get the same design.
Step 11: top shelf
Top shelf
Cut out 3 pieces of plywood to make the base of the top tier bookshelves. Attach them with staples and glue to the back and rail of the chair.
Step 12: finishing work
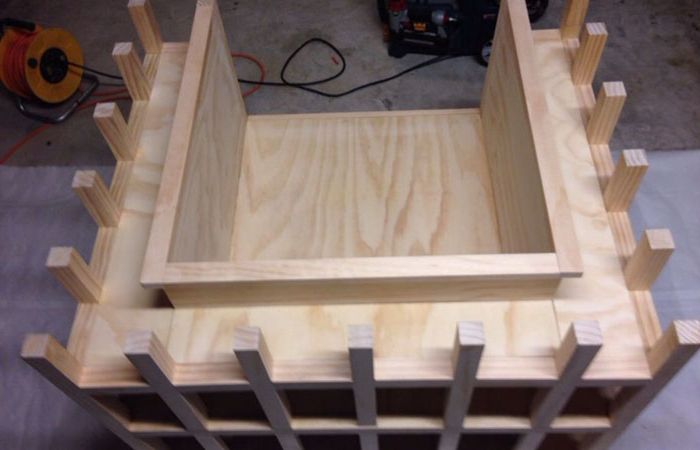
Completion of work. View from above
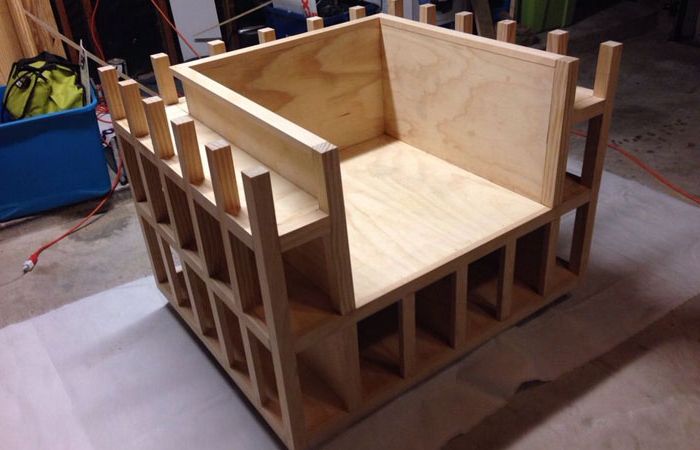
Completion of work. Side view
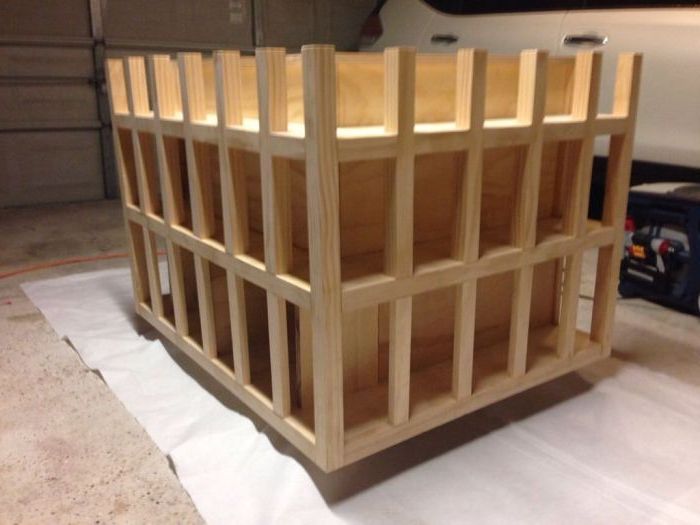
Completion of work. Back view
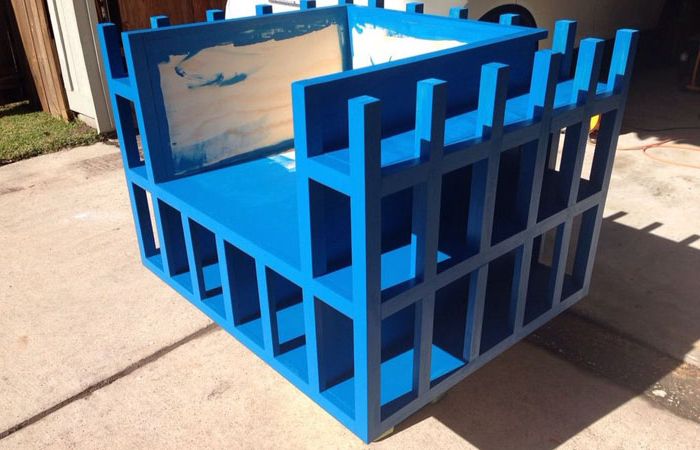
Check again that all fasteners are secure before starting painting..
Step 13: coloring
Coloration
Choose a paint color that matches the interior of the room and paint the chair.
Step 14: final touches
Final touches
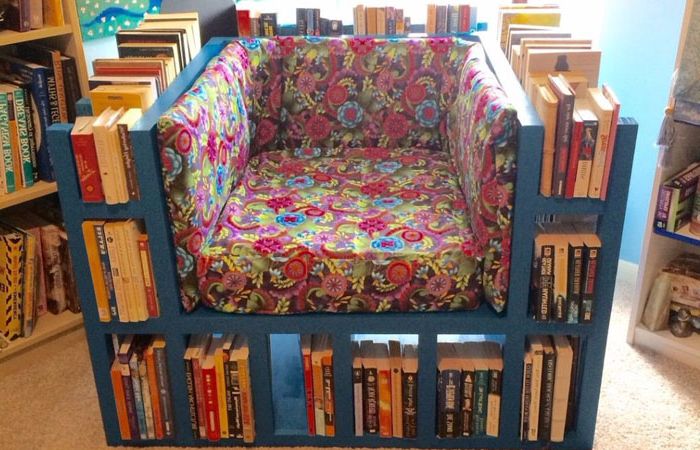
If you have cushions from an old sofa or chair, you can use them to surround the chair on all sides. Otherwise, you will have to sew them yourself. It remains only to fill the shelves with your favorite books..
However, one chair for arranging a cozy reading corner may not be enough. Designers suggest adhering to six basic rules for arranging a mini library in the house.

