Mat «Monster Cook» for the kid with their own hands
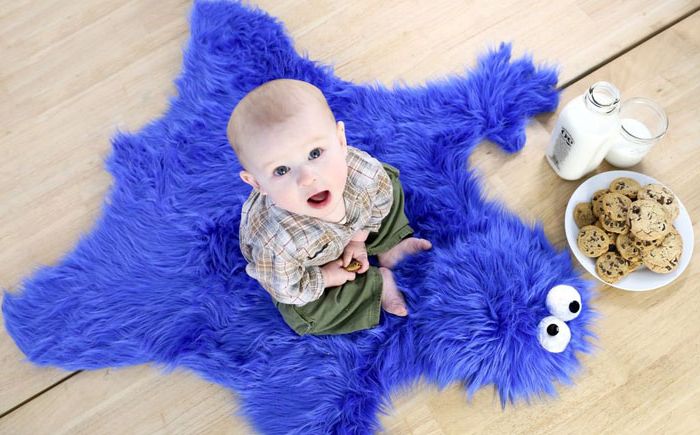
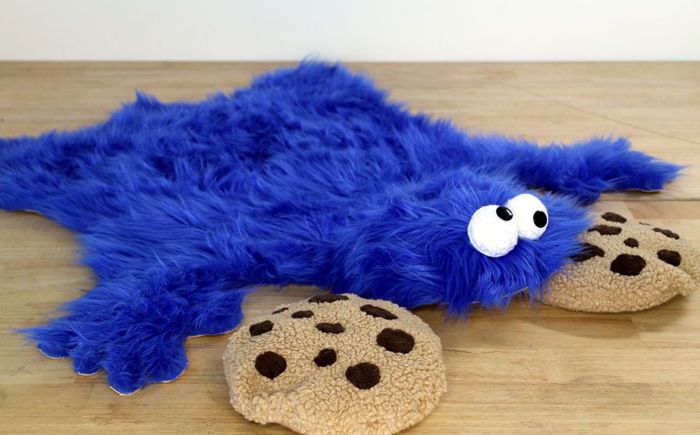
All mothers try to diversify the assortment of children’s toys. However, in addition to appearance, one should also take into account the safety of everything that surrounds the kids, especially when it comes to the smallest children. The best way to be absolutely confident in the quality of a toy is to make it yourself. We offer to make a very cute soft toy «Monster Cook» in the form of a comfortable rug.
Step 1: Selection of materials
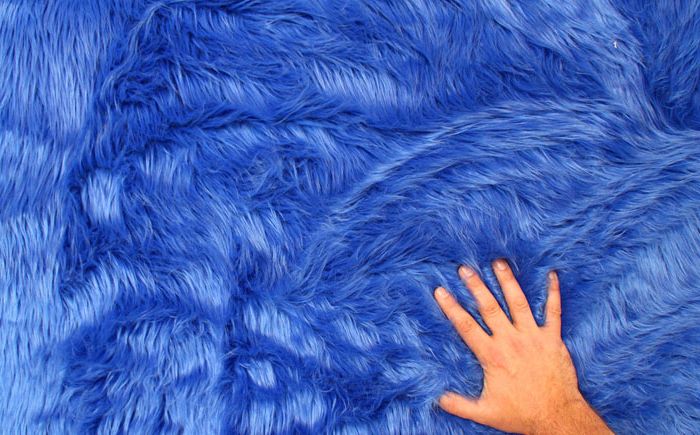
Selection of materials
To make a rug, first of all, you need to choose blue faux fur for it. It may not be so easy, but the game is worth the candle. It will take about 1m. To make the eyes, you need a skein of white yarn and 2 black buttons. To make the rug more durable and not slip on the floor surface, you can tap it from the back with artificial leather, but this is not necessary.
Step 2: outline the hand
Hand outline
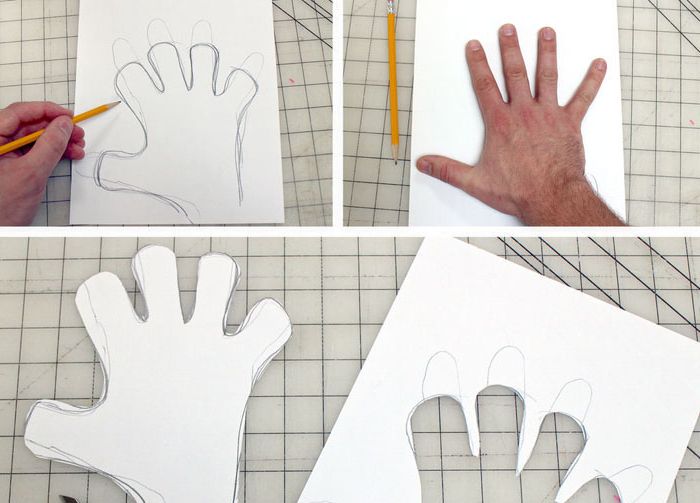
Let’s start by creating a sketch for the monster’s hand. Place your hand on a piece of paper and trace around it with a pencil. Then adjust the sketch by making the monster’s fingers shorter and thicker. Cut the paper template along the contours with scissors.
Step 3:

Contouring fur
Contouring fur
Contouring fur
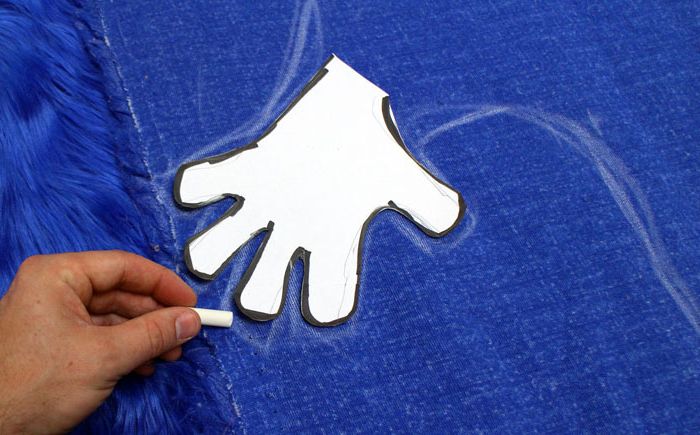
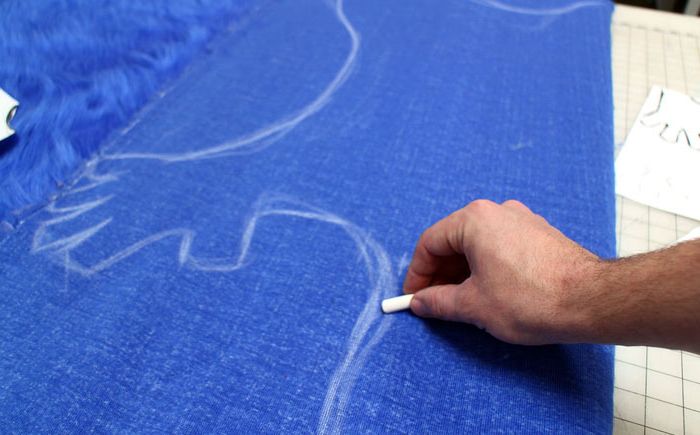
Fold the fabric in half, with the fur inward, attach a paper hand template and trace it on the fabric, randomly draw the contours of the monster’s body. Since the fabric is folded in half, only half of the outline of the monster has to be drawn..
Step 4: Contour Cut
Contour cutting
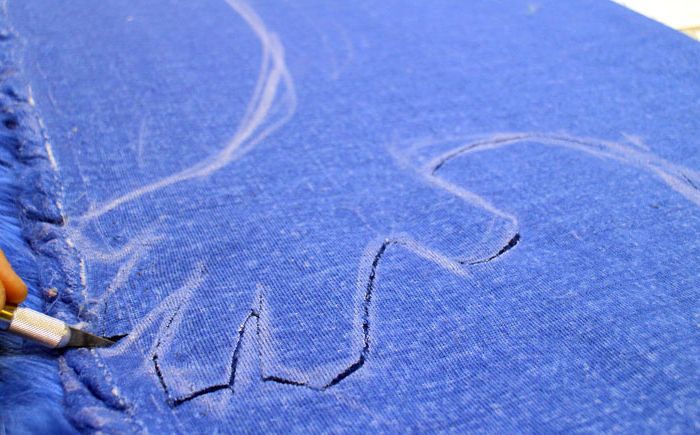
Once the final sketch of the monster is invented and printed on the fabric, you can start cutting. It is best to use a sharp dummy knife to carefully cut the base of the fabric without touching the fur..
Step 5: mirroring the drawing
Mirroring the pattern
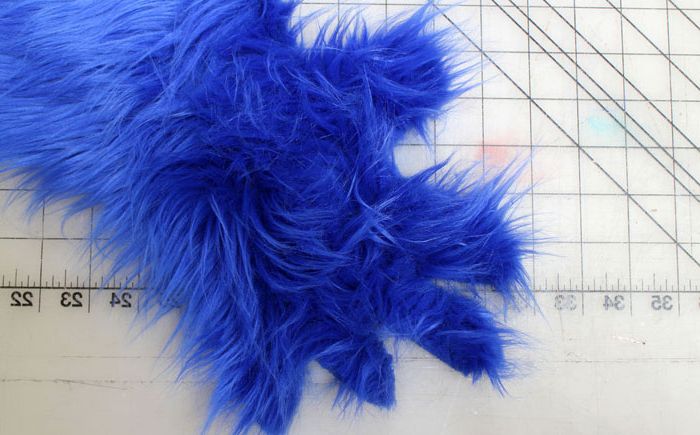
After cutting one half of the monster, flip the fur over and fold it in half again, this time with the fur facing out. Along the finished outline of half of the monster, cut out the second half, which is its mirror image.
Step 6: adjusting the pattern
Correction of a pattern
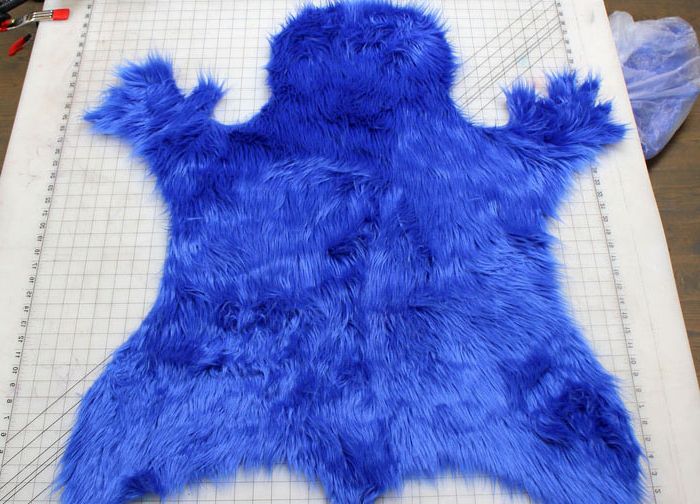
Expand the pattern. There is still a chance to correct uneven edges or the shape of the picture..
Step 7: eyes
Eyes
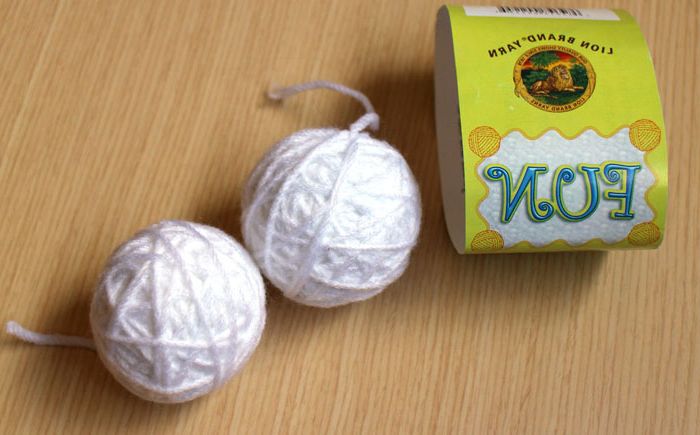
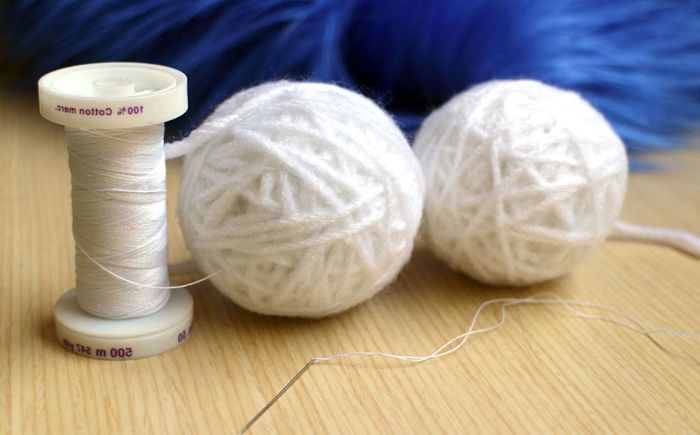
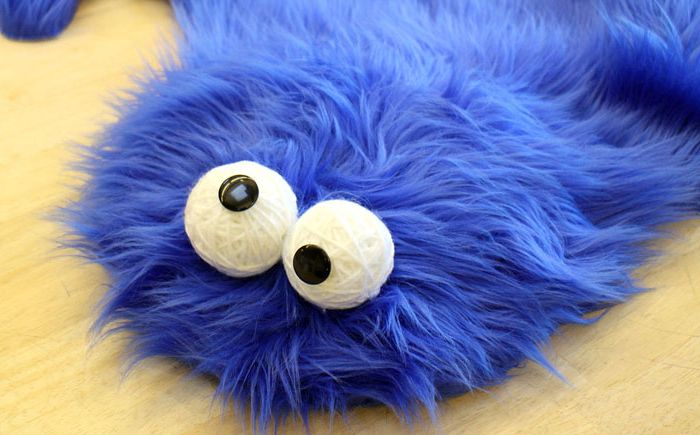
The ridiculous eyes give this monster a special charm. Since the rug is made for babies, it should be made as soft as possible. This is why the eyes will be made from soft white yarn. Roll 2 balls of yarn a little larger than a golf ball. To secure the last turn, tuck the cut thread under the previous one and pull it tight.
Step 8: stitching the eyes
Stitching eyes
To prevent unwinding of the glomeruli, use white thread and a needle to sew the eyes in a circle with stitches and secure the end of the cut thread..
Step 9: attaching the pupils with buttons
Fastening pupils from buttons
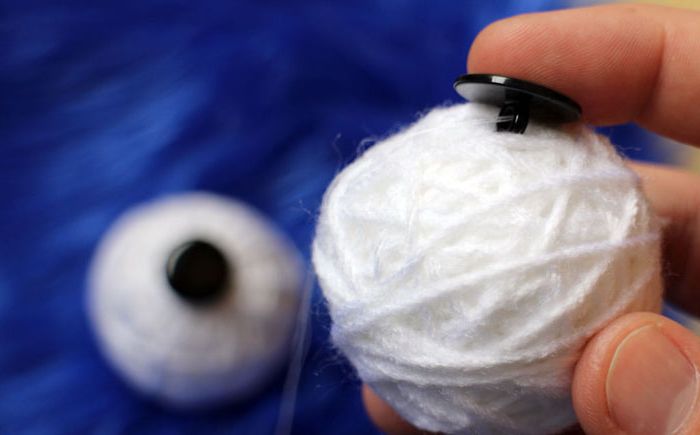
Sew the glossy black buttons in place of the pupils with the same thread and a needle.
Step 10: attaching the eyes
Eye fixing
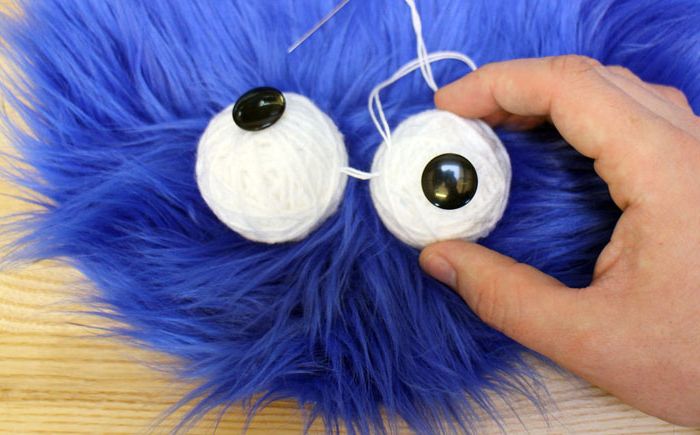
Sew the eyes to the monster’s head with thick white embroidery thread. After the eyes are sewn to the fur, fasten them together for greater reliability. The monster must have stupid, ridiculous eyes, so sew them a little unevenly, pupils in different directions.
Step 11: creating the head
Head creation
Head creation
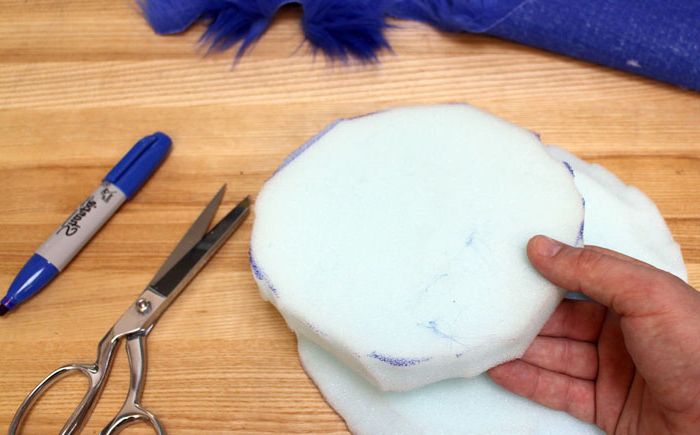
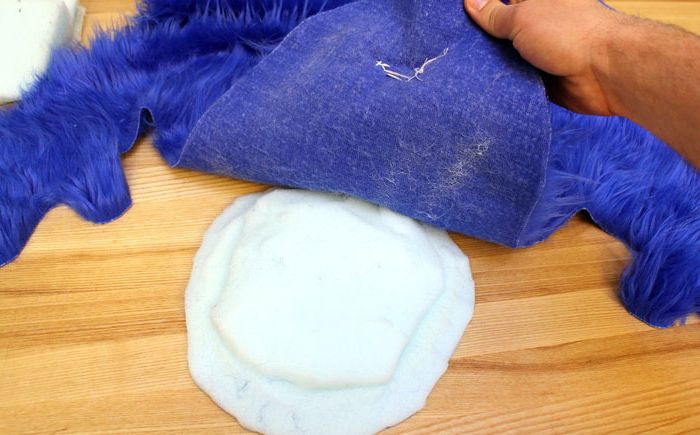
To create a head, you will need dense foam rubber. Cut a disk out of the foam, beveling the edges slightly. Then cut another, slightly smaller disc. Using glue spray, glue them together, and then also attach them to the back of the monster’s head..
Step 12: the back of the rug (optional step)
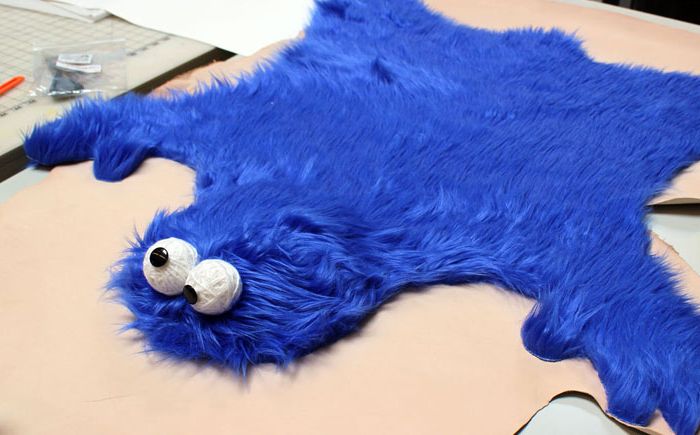
The back of the mat
To give the rug a more complete look, you can glue the rug on the back with faux leather. Attach the rug to a piece of artificial leather and cut along the contour with a sharp mock knife, glue the lining to the back of the rug with adhesive spray.
Step 13: fluffing up the fur
Fur fluff
Fluff the fur around the edges, trim with scissors if necessary, also correct the protruding edges of the lining.
Step 14: sketch the pillows «cookies»
Pillow sketch «cookies»
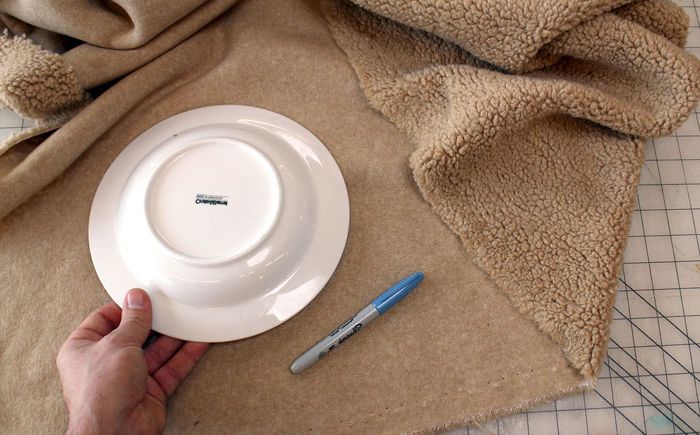
A fluffy monster can’t do without plushies «cookies». They will need a soft beige cloth. Place a large plate on the back of the flap, trace and cut two identical circles along the outline.
Step 15: stitching
Stitching
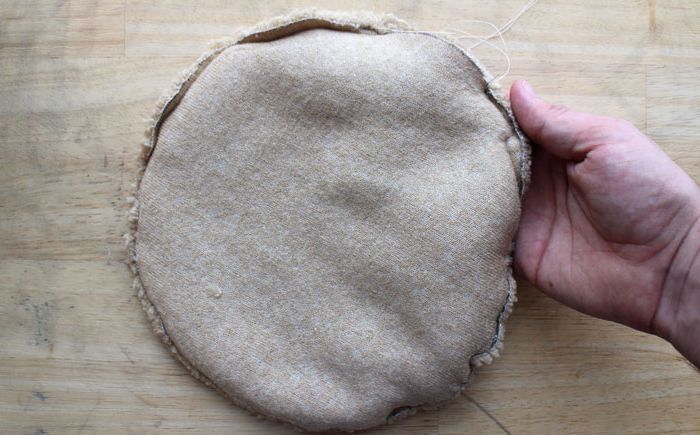
Fold the circles back together with the back out, sew them a little off so you can turn them to the right side.
Step 16: chocolate chips
Chocolate chips
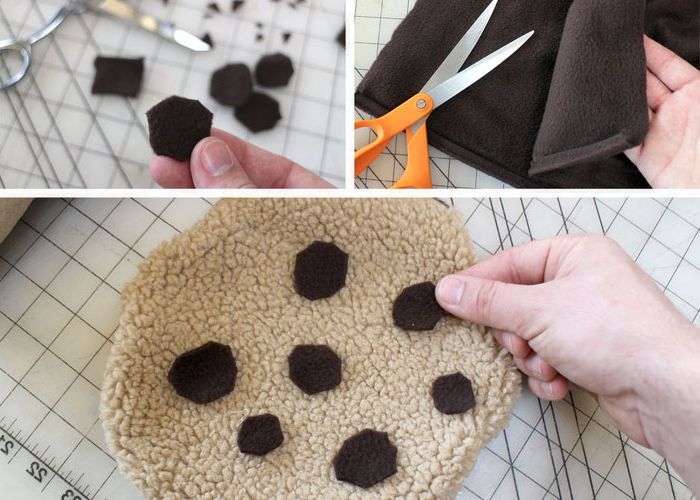
To sprinkle the cookies with chocolate chips, take some dark plush fabric and cut out a few irregularly shaped shreds..
Step 17: glue the crumb
Bonding crumb
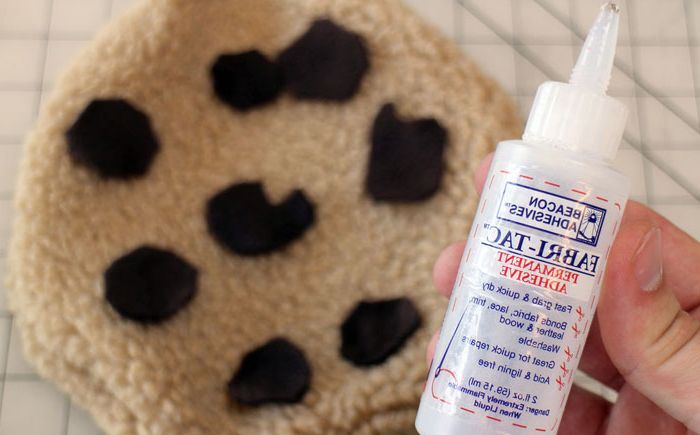
Use fabric glue to secure the crumb, lightly smearing each piece and securing to the surface of the plush cookie.
Step 18: Sew on the crumb
Sewing on crumb
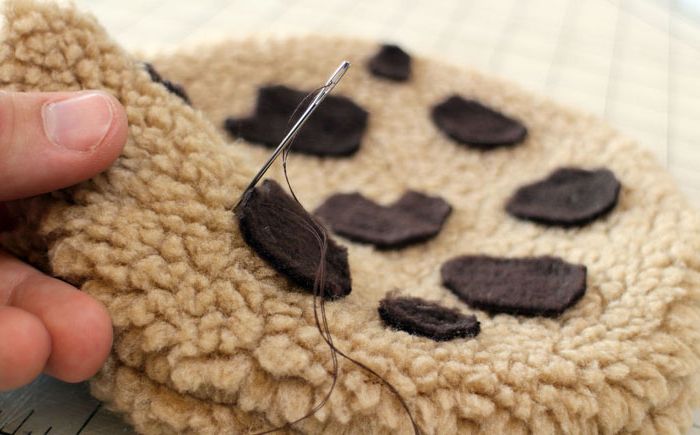
After the glue dries, sew on each piece by hand to secure securely.
Step 19: stuffing the pillow cookies
Stuffing cookies
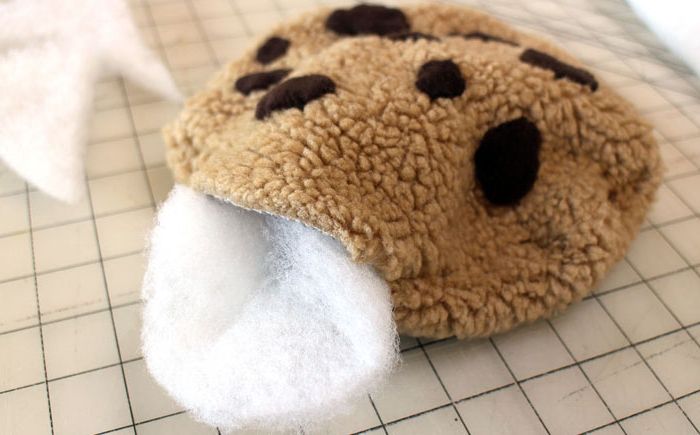
Stuff the cookies with batting through the holes left during sewing.
Step 20: stitching the pillows
Stitching pillows
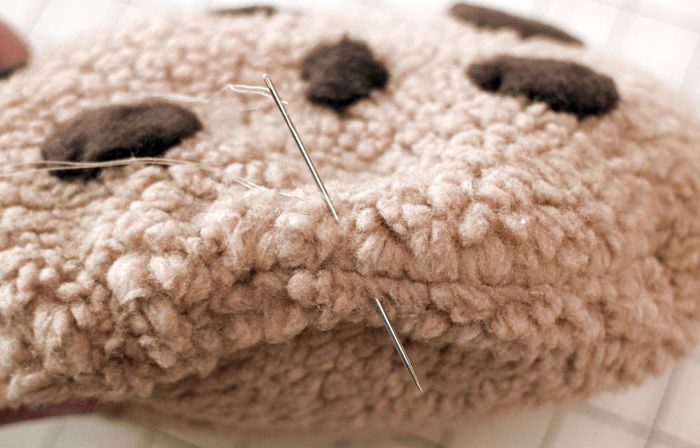
After stuffing, sew the cookies with beige thread.
Ready rug
The rug and pillows are ready! However, you won’t be able to do everything with your own hands, because with the appearance of a baby in the house, a lot of new things are required. We offer you to pay attention to 25 useful devices that will greatly facilitate the life of young parents.

