How to make a concrete garden bench with your own hands
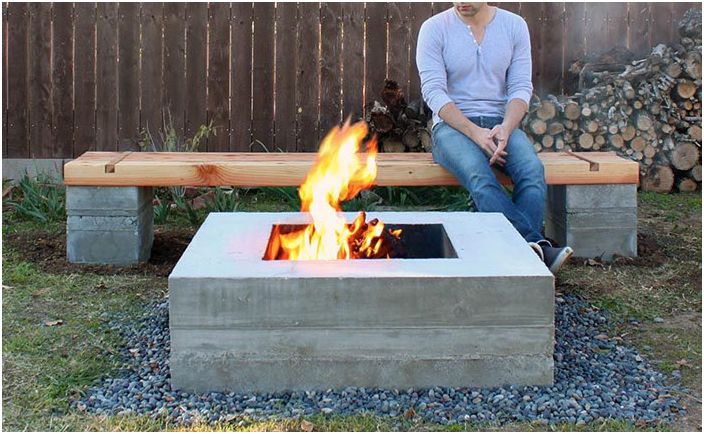
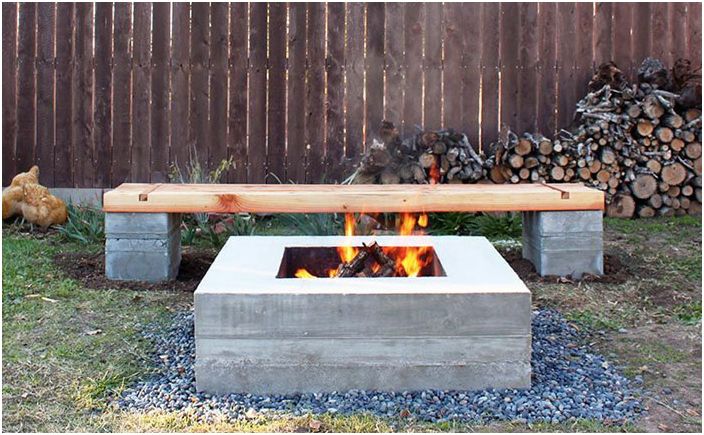
In the yard or in the garden, there must certainly be a bench where you can sit, relax, dream or admire the lush greenery grown with your own hands. It is not at all necessary to buy it, since it does not take much material or time to make it. We offer to make a modern concrete bench that will delight for many years.
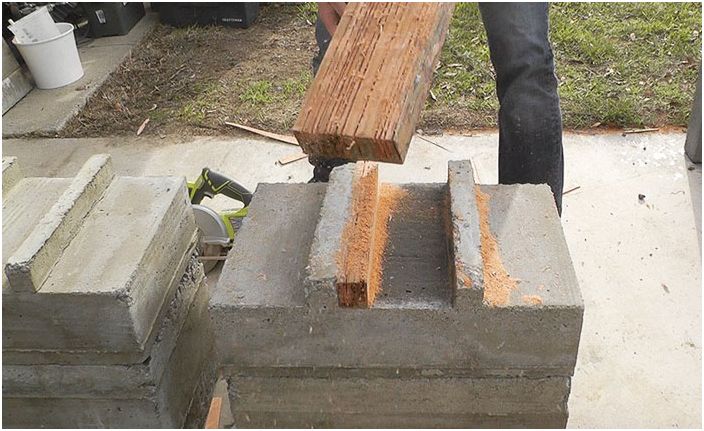
The bench consists of two concrete blocks and a wooden seat. The wood base is not attached to the concrete, the boards are in the recesses of the concrete blocks. Therefore, if necessary, the bench can be disassembled by removing the boards from the concrete bases..
Step 1. Required materials and tools
Concrete
Forms for creating a base for a bench
Boards 4×6 cm
Three boards 6 cm wide, or four boards 4 cm wide, 2.5 meters long for a bench seat
Planks 2×2 cm, they are needed in order to fasten together the long boards for the bench seat.
Cordless drill / screwdriver
A circular saw
Grinding machine
Step 2. Assembling the panels
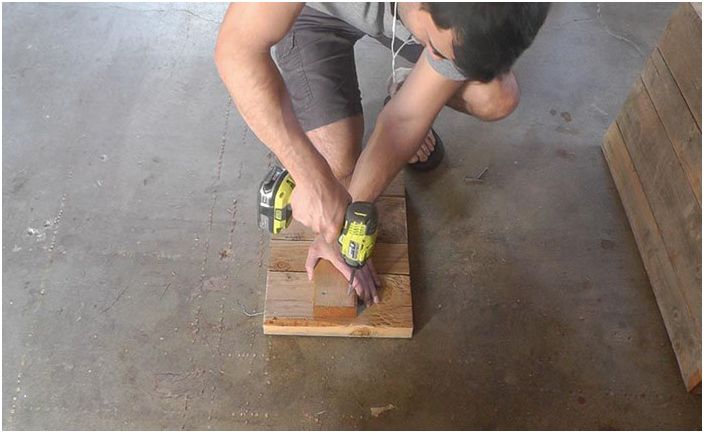
Panel assembly
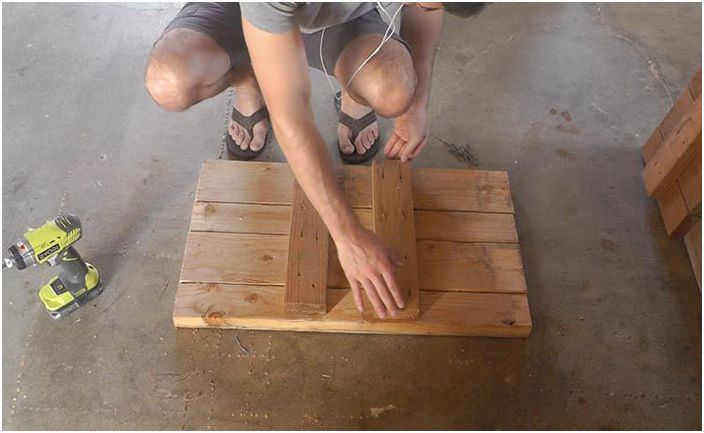
Panel assembly
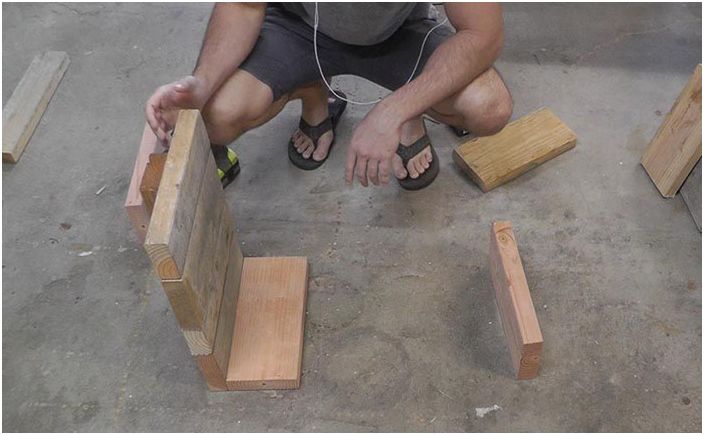
It is important that the two concrete blocks are the same size and that the plank cutouts are also aligned. All parts can be cut or trimmed with a circular saw. Once all the parts are ready, they need to be assembled in a panel.
Step 3. Build Forms
Assembling forms
Assembling forms
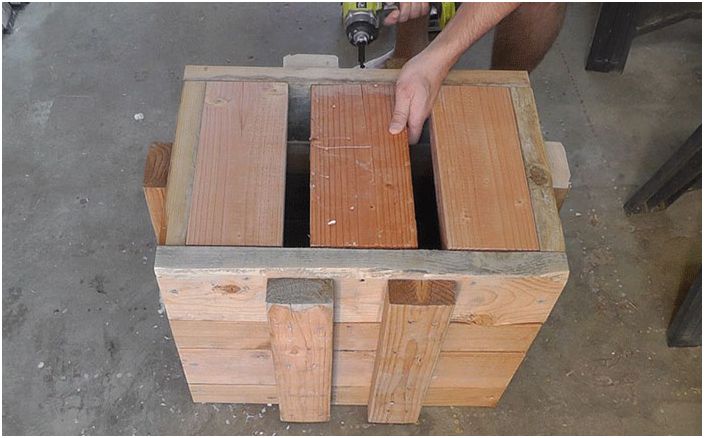
The molds for the base of the bench should be large wooden boxes with two wooden planks that will create recesses in the concrete base for the seat to be installed. It is necessary to leave a space of 4 cm between the planks, but you can make it larger so that the protrusions are stronger.
Step 4. Bottom
Bottom
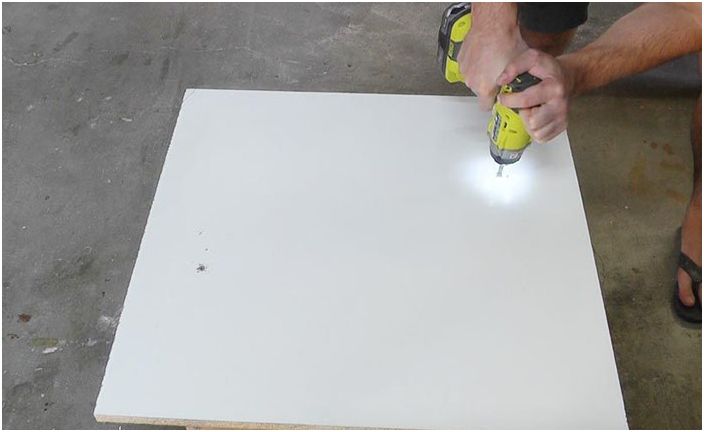
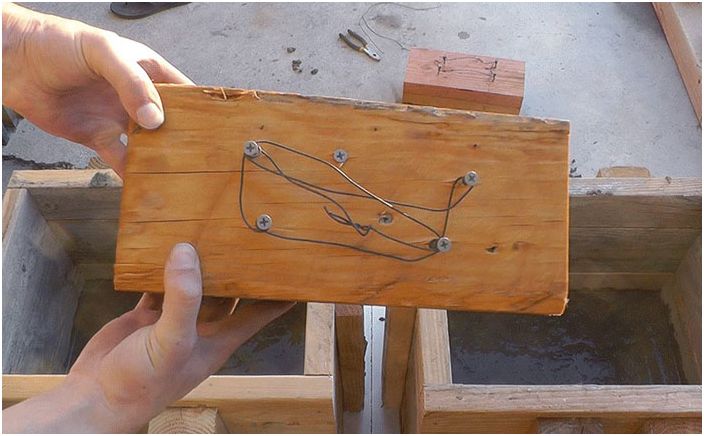
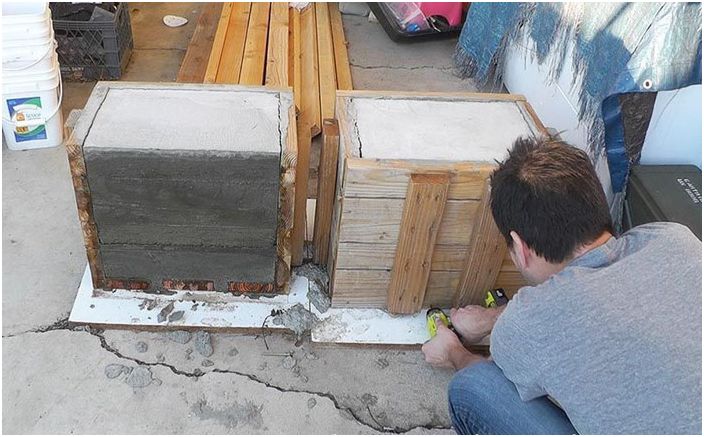
Pieces of MDF can be used as the bottom for the boxes. They must be screwed to the boards of the box so that the cement does not flow out of the forms. Plywood will work too.
Step 5. Filling out the forms
Filling out forms
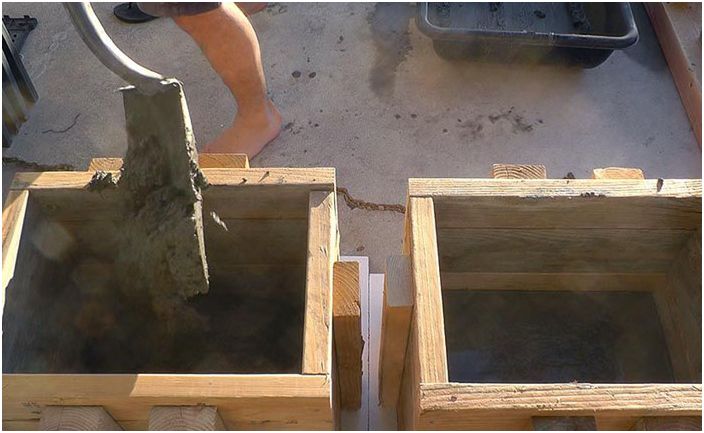
Use a shovel to fill the mold with 10 cm concrete.
Filling out forms
Filling out forms
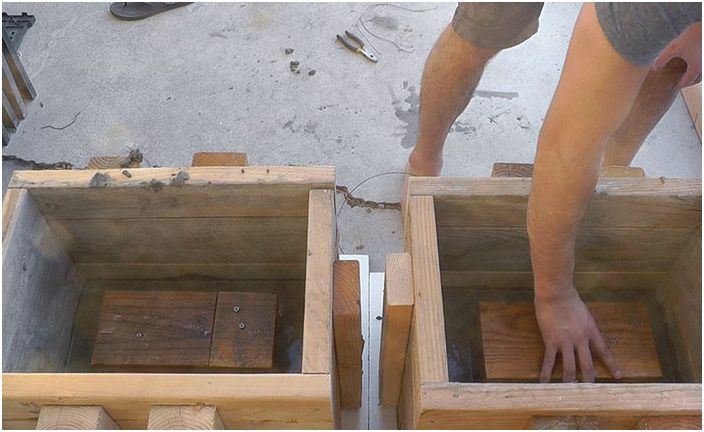
Then you need to add some wood blocks. They will become a kind of grip for wet cement. After that, you must wait 24 hours before pouring the next layer of concrete..
Filling out forms
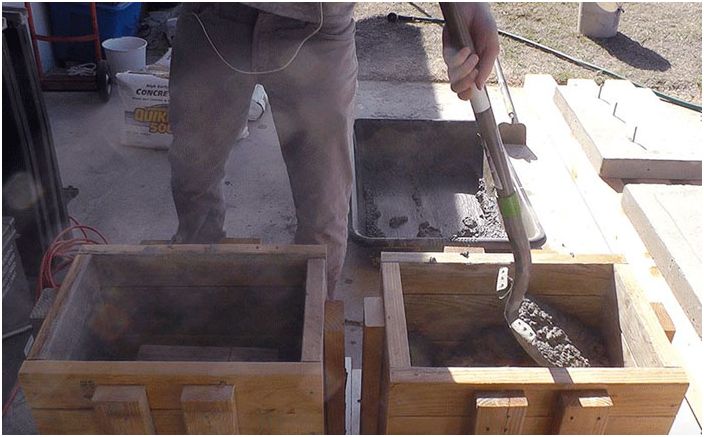
We fill the molds to the end, periodically using a shovel and a stick to push the wet concrete down into the corners of the molds. Since the upper part of the molds will be the bottom for the concrete blocks, the top layer of concrete can not be rubbed, but simply level it once with a screed.
It is best to leave the concrete blocks for 3 days to dry well. In this case, you can be sure that the foundations for the bench will be strong and will not crack when they are taken out of the forms..
Step 6. Concrete blocks
Concrete blocks
Concrete blocks
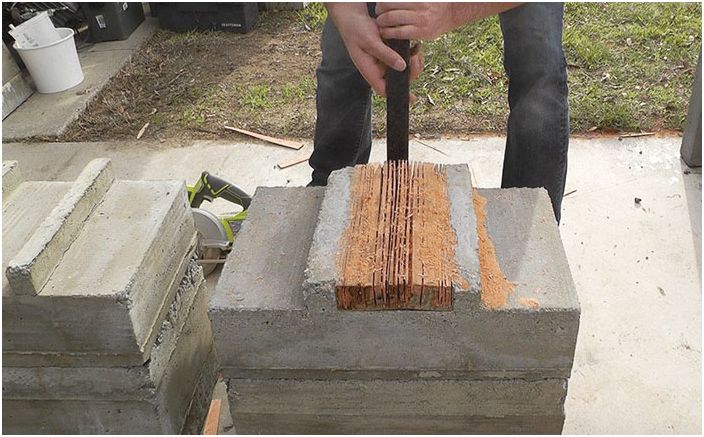
The wooden panels need to be untwisted and the base removed. If the middle 2x6cm boards are firmly cemented and stuck, you can use a circular saw by carefully making cuts.
Concrete blocks
Then you need to take a crowbar and a hammer and carefully remove the boards.
Step 7. Installing blocks
Installing blocks
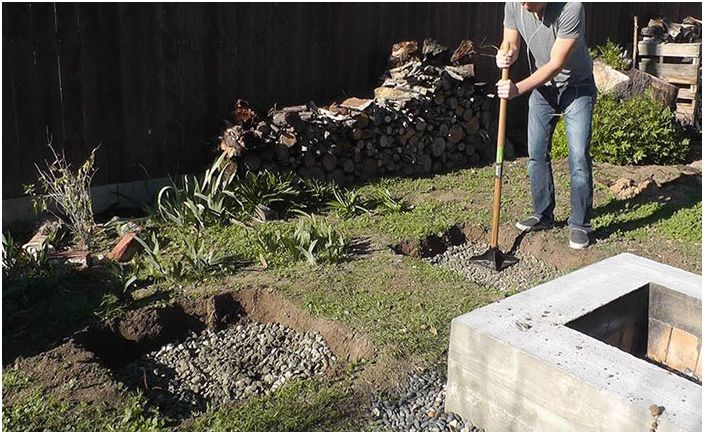
Installing blocks
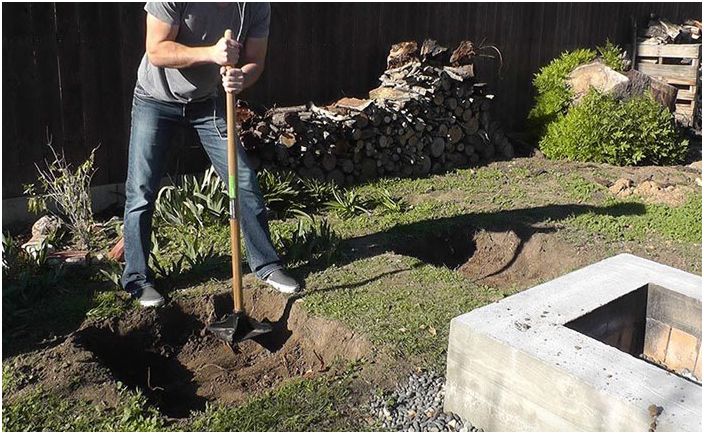
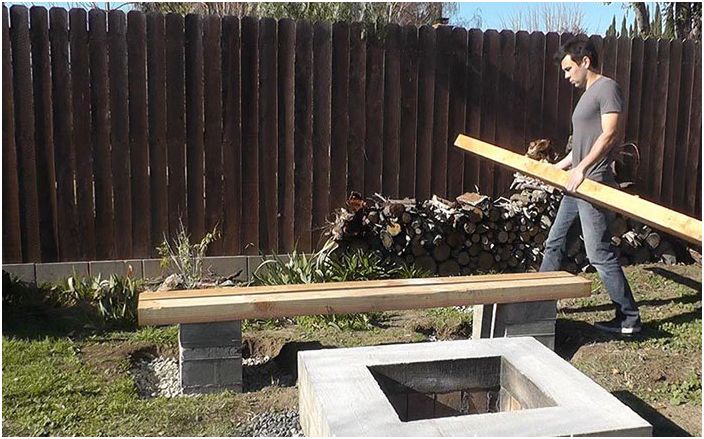
In the ground, it is necessary to dig a depression about 8-10 centimeters deep and tamp the ground below. Then you need to pour about 7 cm of gravel on the bottom and tamp it too. Then the blocks are installed.
Step 8. Alignment
Alignment
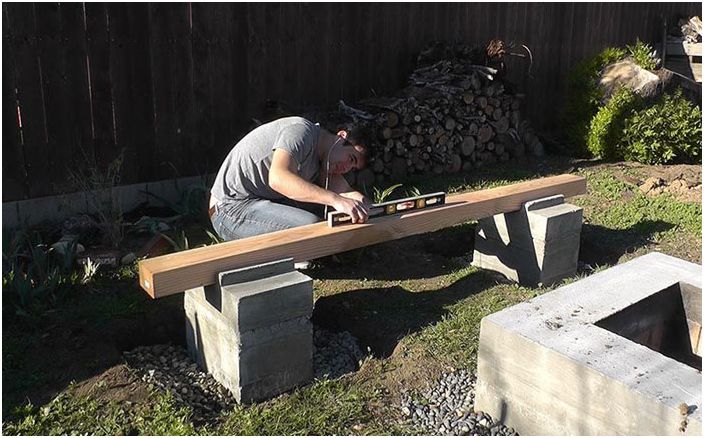
Place one board on the blocks and check how even it lies. If unevenness is found, add gravel under one of the blocks until the bench is level..
Step 9. Fixing the boards and sanding
Fastening boards and sanding
Fastening boards and sanding
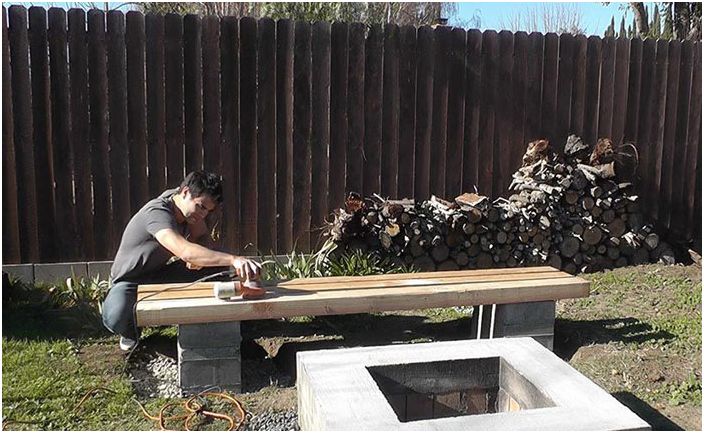
Sand the seat boards with a sander and sandpaper.
Step 10. Cutting grooves for planks
Cutting grooves for planks
Cutting grooves for planks
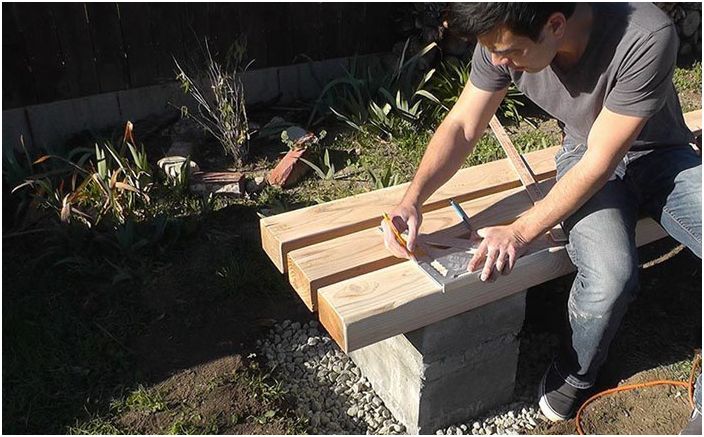
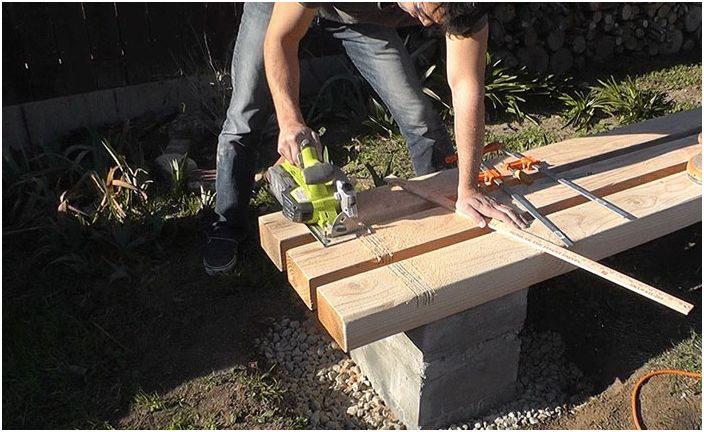
With the help of a circular saw, it is necessary to make indentations for wooden planks, which will serve as an attachment for large long boards.
Step 11. Attaching the planks
Fastening the strips
Fastening the strips
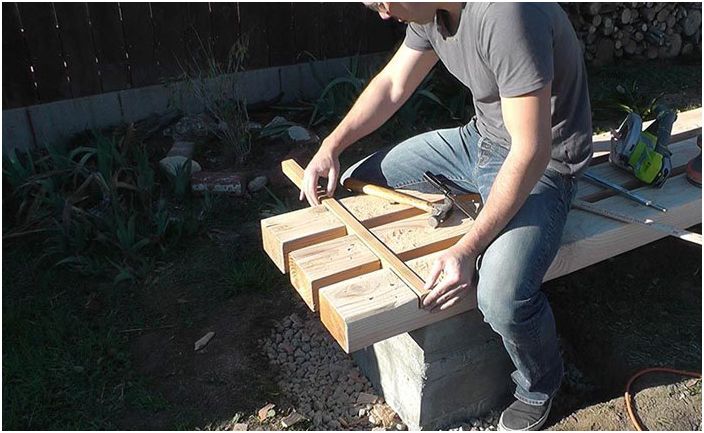
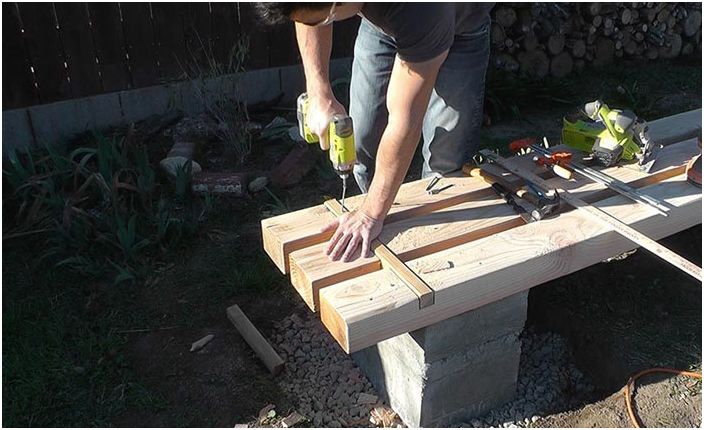
Try to see if the planks fit into the grooves you made. Use a circular saw to trim the lengths of the boards. Then screw them down and polish with a grinder.
Step 12. The final stage
The final stage
It is necessary to cover the boards with sealant and sand the sides of the concrete base.
If you have the opportunity and desire, then you can take a closer look at the built-in benches in the garden and organize a wonderful corner for relaxation.

