To make an original pirate chest for the children’s room with your own hands, you do not need special skills. You only need to have basic woodworking skills. Such a chest is useful not only for storing toys or some little things, it will become an integral part of children’s games.
To make a wooden chest with your own hands, you will need:
- furniture board;
- saw (jigsaw);
- two-component glue;
- putty (for woodwork);
- paint (preferably acrylic, color – caramel, brown, black, white);
- powder “gold”;
- a special spatula to simulate a tree cut;
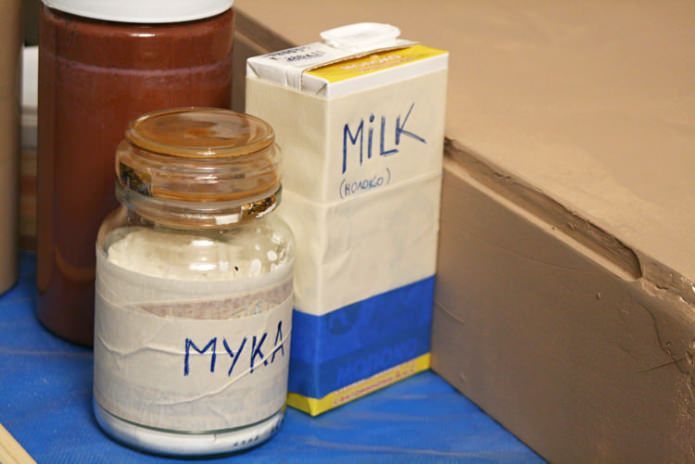
- flour, milk, a little beeswax;
- a stencil made of paper or plastic with an image that matches the theme;
- glue for gold leaf, as well as gold leaf;
- strong rope;
- drill, drill attachment “pen”;
- furniture rollers;
- leather belts;
- door hinges.
When starting work on making a wooden chest with your own hands, prepare all the necessary materials and arrange them so that they are at hand.
- The first stage is cutting out the details of the chest from the furniture board according to the pattern. Where the parts will be connected, we cut out the spikes to connect to the lock.

- At the second stage, we connect the castle joints with glue.


- We cover it completely with plaster, both inside and outside. Let it dry well.


- The next operation when building a pirate chest with your own hands is painting. Apply caramel paint evenly on top, both inside and outside.

- Now is the time to give the chest “special” view. To do this, add flour mixed with milk to brown paint, stir thoroughly and use a thick brush (reminiscent of sour cream)

- Apply paint to the outer surface of the chest with rough strokes. Immediately we take a spatula and run it over the applied paint, creating the effect of the emerging texture of the tree.


After that, you can proceed to the final decoration of the wooden chest with your own hands..
- White paint is applied to the lid through a stencil.


- Apply glue for gold leaf to the inside.

- From the inside we glue the chest with gold.

- Cover the outside with wax, to which gold powder has been added.


- It remains only to sand the surface with a cloth swab, and glaze it with black paint.


- The final stage is assembling a pirate chest with your own hands. We attach rollers to the lower part, a cover “plant” on door hinges.

- We drill two holes in the lid. We pass a rope through them and tie with sea knots. And, finally, we wrap the chest with leather straps on both sides of the drawing..

Pirate chest in the interior of the children’s room.