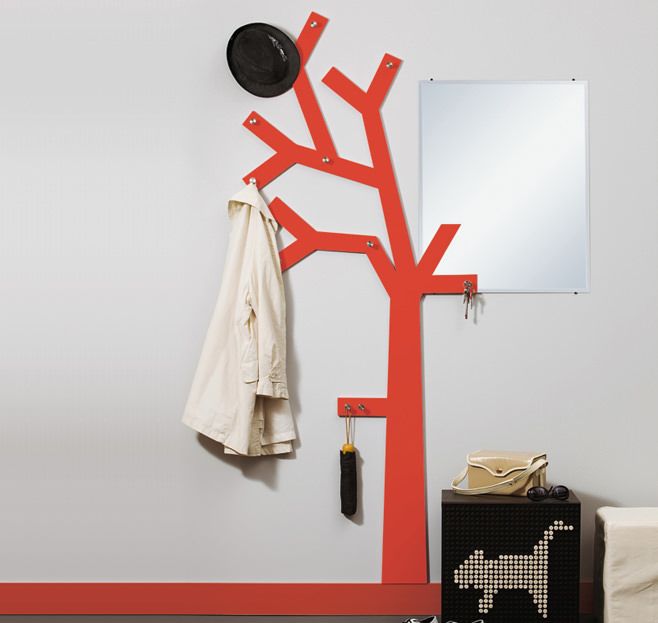
You can buy an original hanger in the hallway at a furniture store, but it’s much more interesting and practical to make it yourself.
The hanger can be made in the form of a tree, where clothes, hats and umbrellas will look great on its branches. In furniture stores, the choice of hangers is huge, of course, you can choose a hanger in shape and color that meets all the needs of your interior. But you must agree that not a single furniture company will put its soul into this product as much as you do when making a hanger in the hallway with your own hands..
To make a hanger in the hallway with our own hands, we need:
- screwdriver;
- self-tapping screws;
- Chipboard;
- jigsaw;
- dowel nails for attaching the hanger to the wall;
- wide brush;
- paint on wood of the desired color;
- pencil;
- ruler;
- sandpaper;
- soil solution;
- hanger hooks.
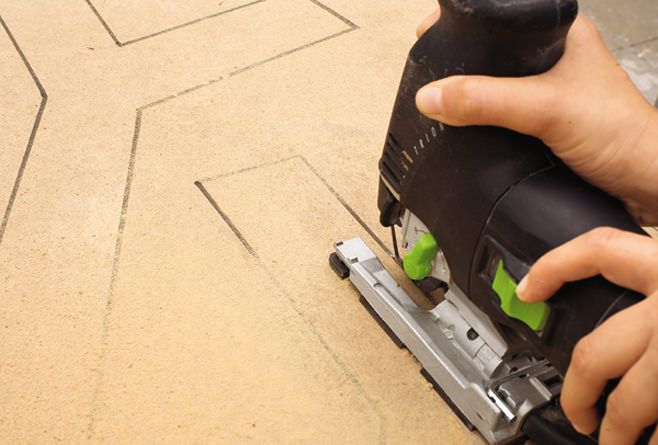
We make a sketch of our original hanger in the hallway on a chipboard sheet, using a ruler and a pencil.

Carefully cut out our future tree along the contour of the pencil with a jigsaw.
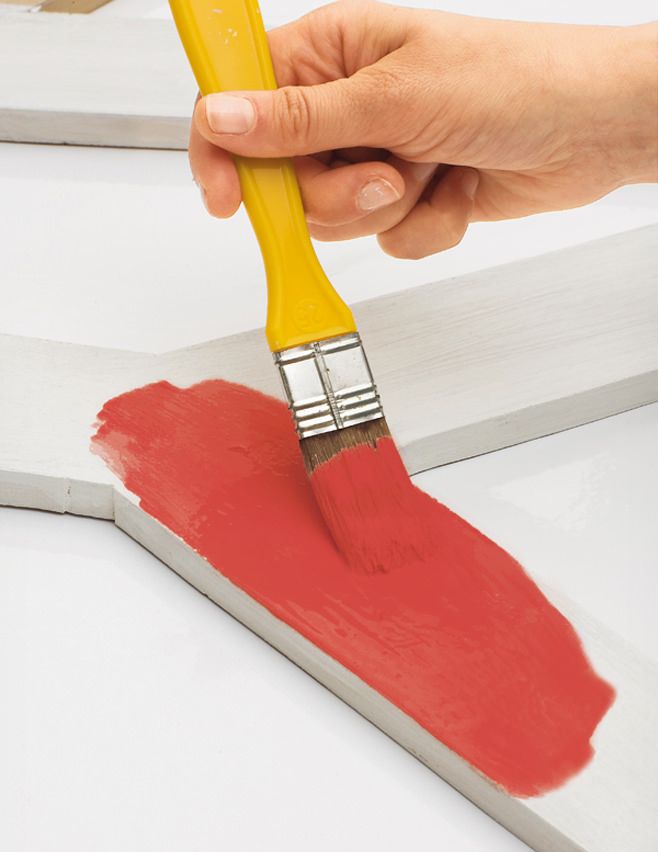
After the base of the original hanger has been cut into the hallway, be sure to process the uneven edges with sandpaper. Then we go through a layer of primer, wait for it to dry and cover it with a layer of paint. We are waiting for the first layer to dry and apply the second layer of paint.
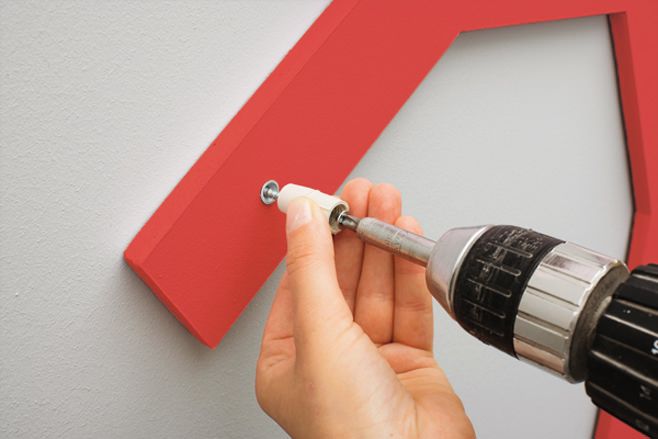
The next step is to mark the hanger attachment. To do this, we apply our blank to the selected place on the wall and drill through our tree.
Now, through the resulting holes, insert the dowels and fasten the hanger to the wall.
We put our hooks on special dowels and twist them. Now our do-it-yourself hallway hanger looks great on the wall and pleases the eye with its design.

