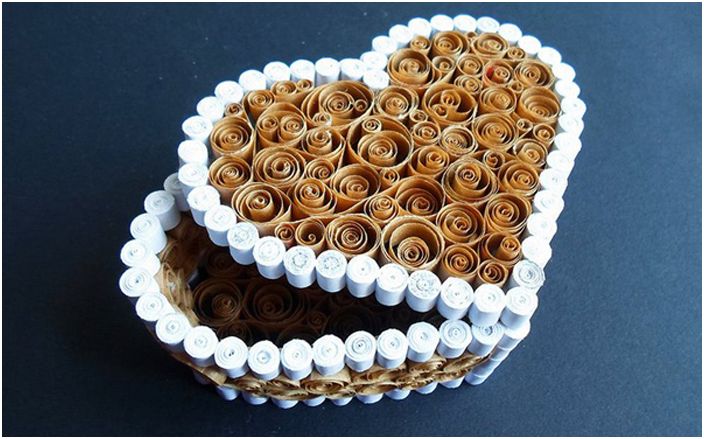
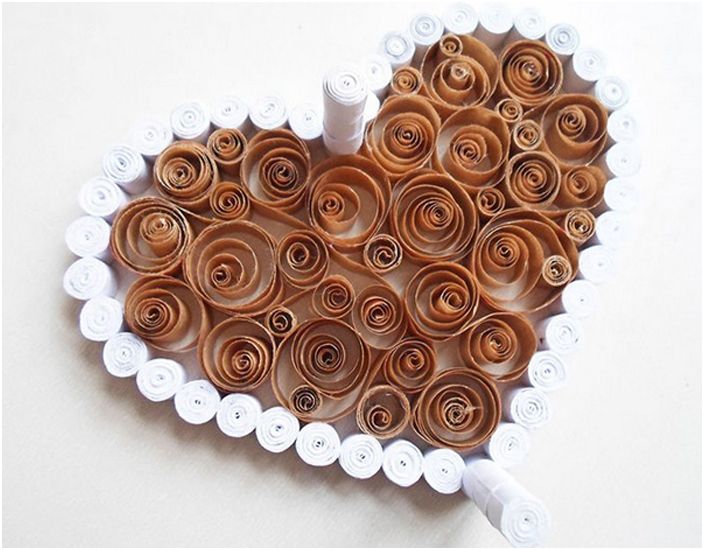
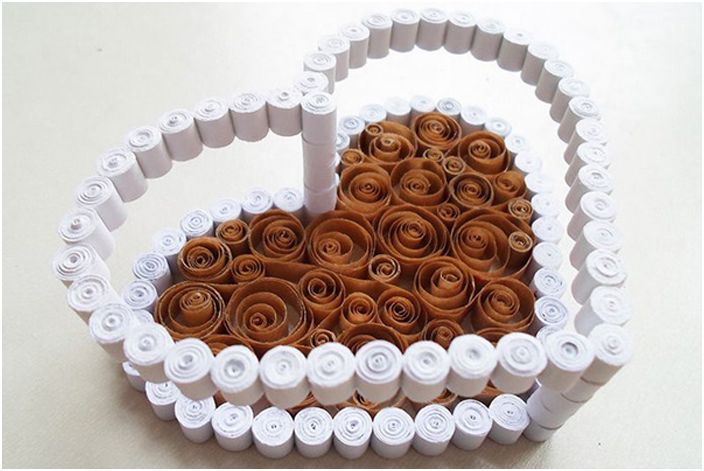
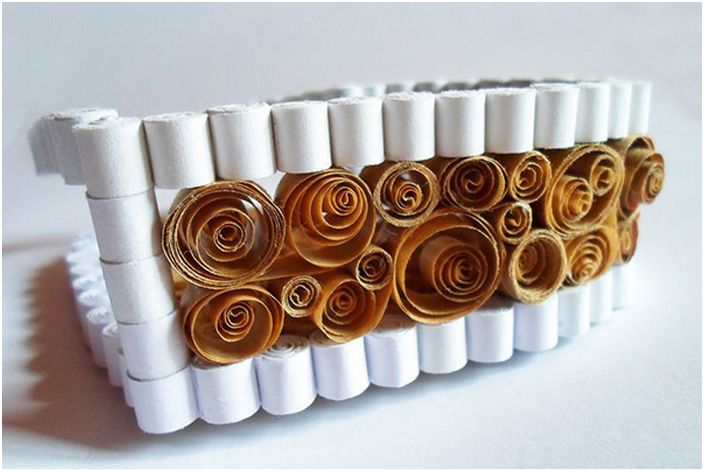
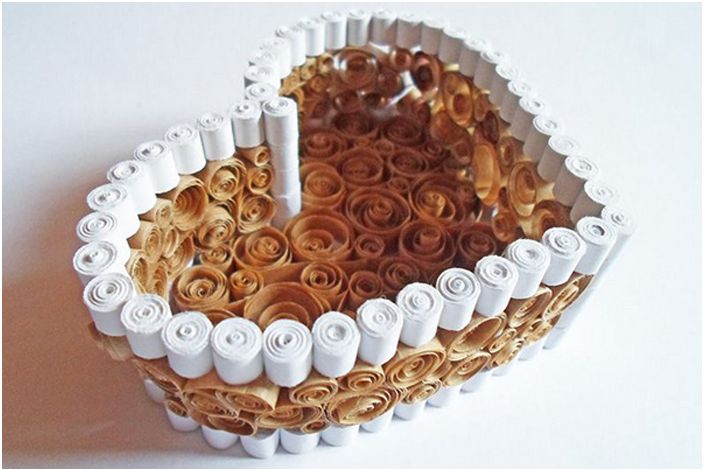
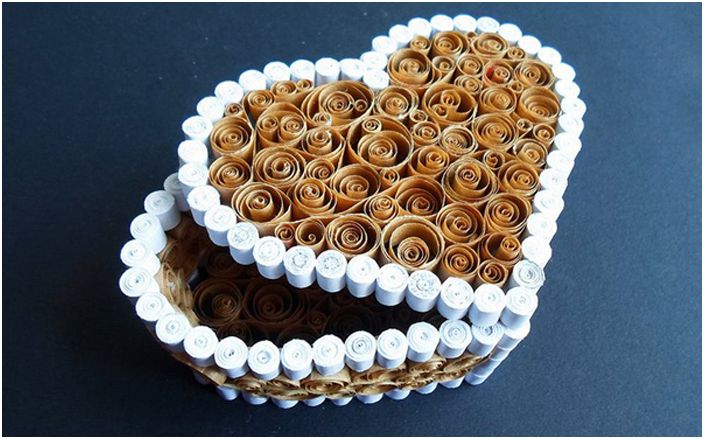
Casket «A heart» using quilling technique from paper bags
It’s always fun to create art with your own hands. But it is much more pleasant when these masterpieces are made of absolutely unnecessary things that have already served their service and are gathering dust somewhere in the attic. We offer to create a stunning box from completely unnecessary paper bags from the supermarket.
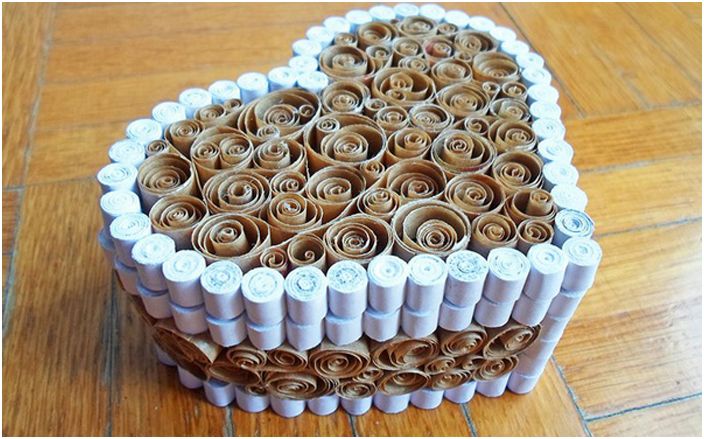
Casket «A heart»
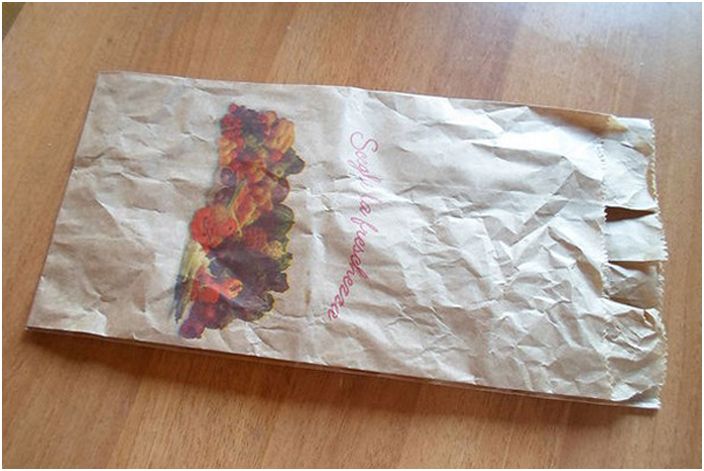
Quilling is incredibly fun, but it takes a lot of paper. Very often there is a problem where to get colored strips for souvenirs made in this technique. Consider one option for creating a masterpiece, practically from waste paper, namely from brown paper bags from the supermarket. There are many of these in every home. Thrifty housewives have piled them up and do not want to throw them away. They can be given a second life. Although brown is not as bright, it looks great in combination with white, as if the product is made of copper.
Step 1: Prepare the required materials
Preparation of the necessary materials
paper (you can take already used paper)
scissors
white glue
quilling tools
ruler
brown and white paper (supermarket bags).
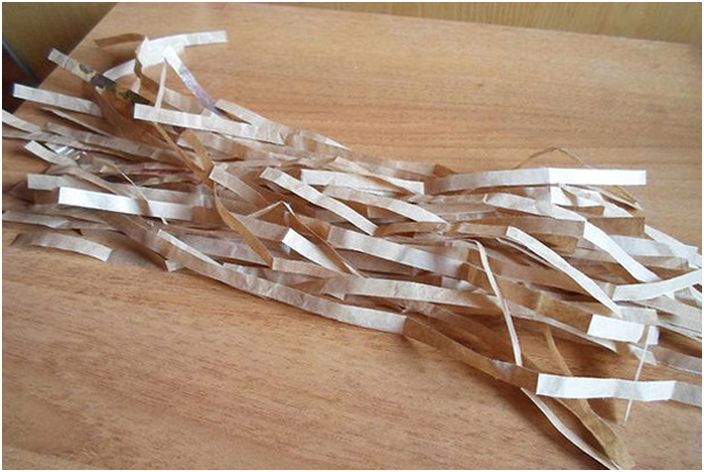
Sliced strips
Cutting bags into strips is easier than it sounds. You need to use the bags as if it were a regular sheet of paper, cutting the bottom and side. Having prepared the package, we cut it into strips. For making white elements, you can also take paper that has already been used..
Step 2: shaping the heart
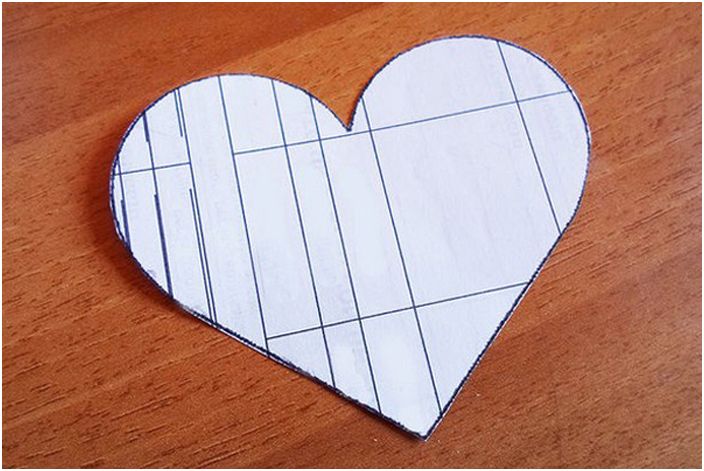
Template
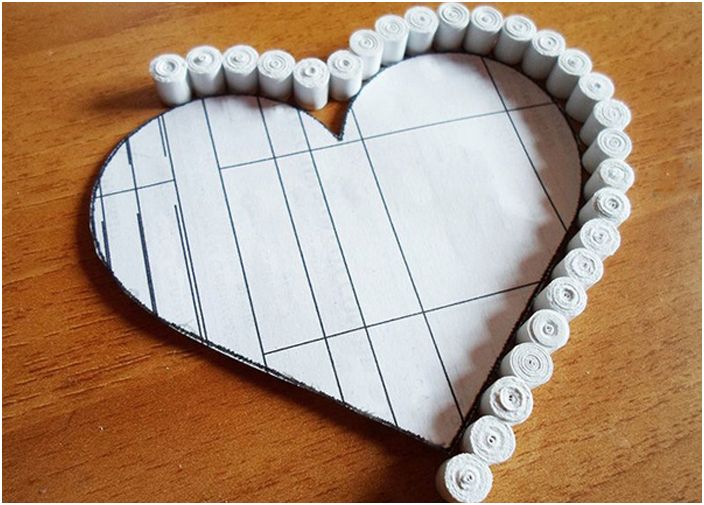
First of all, you need to do «mold» which will help shape the heart. You can draw and cut a heart out of paper, or you can create it using a computer, print it on a printer and also cut it out. Approximate dimensions 10 x 8.5 cm.
Heart formation
Heart formation
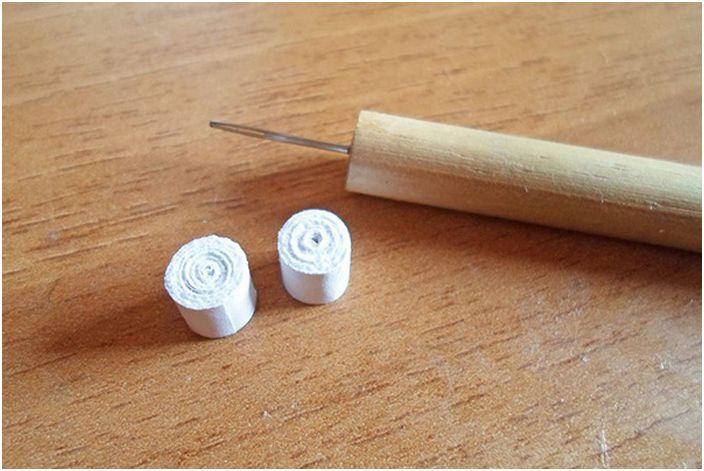
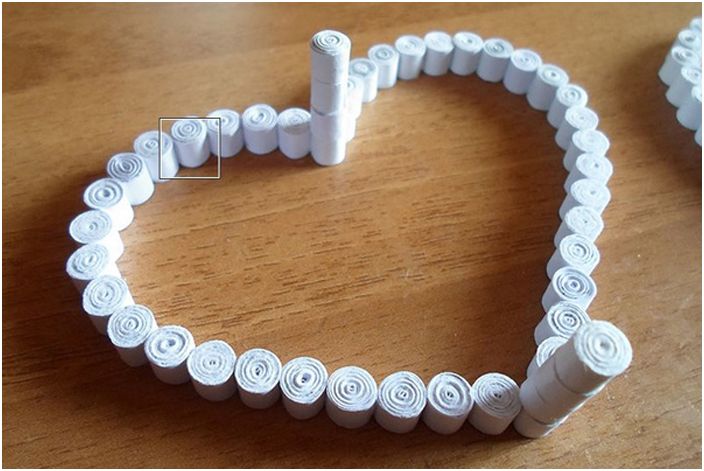
Now twist a lot of white tight rolls with a quilling tool and glue them together along the contour of the prepared layout, but do not stick to it.
Heart formation
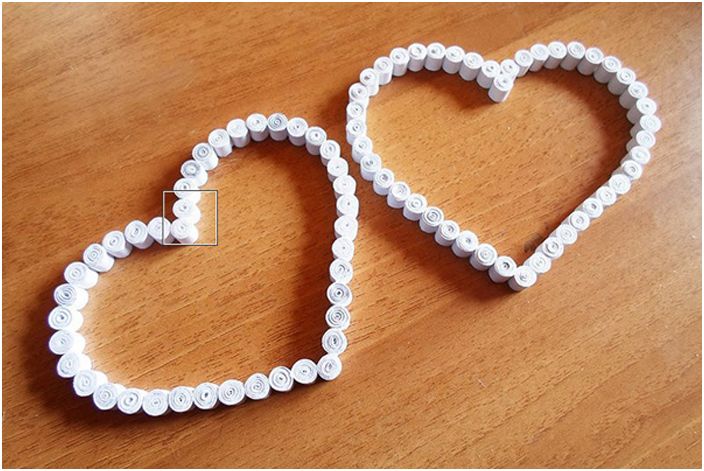
We need to make, thus, 3 identical hearts, using the same layout for them..
Heart formation
Heart formation
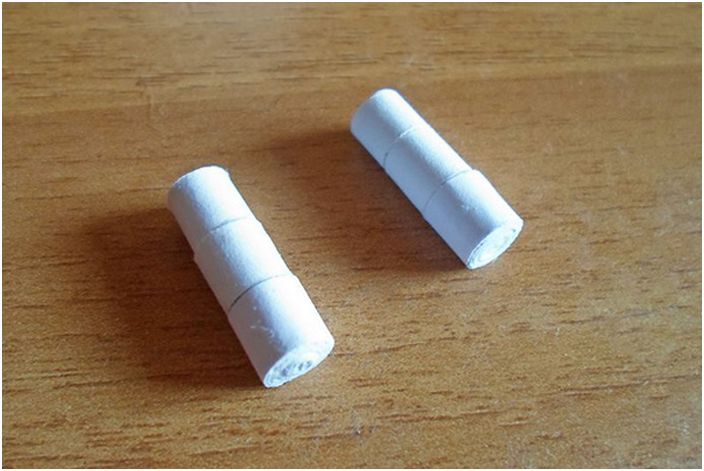
Then, make 6 more white tight rolls. We glue 3 of them, placing on top of each other, with the remaining 3 we do the same to get 2 «columns». Glue both columns at the base of the heart (top and bottom), taking only one piece of the prepared heart. Heart with columns will be the base of the box.
Step 3: decorating hearts
Decorating hearts
Decorating hearts
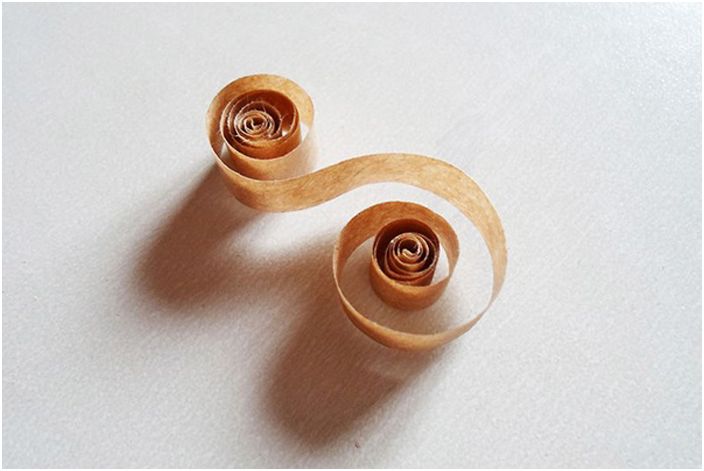
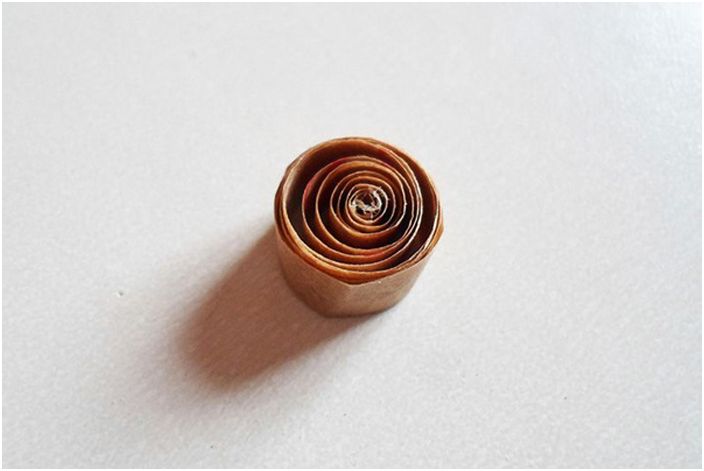
Now brown stripes will be used. You need to make a lot of free rolls and S-rolls.
Decorating hearts
Decorating hearts
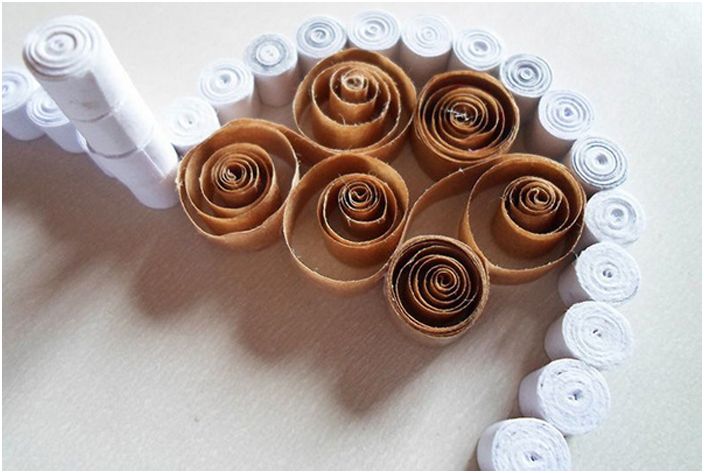
Glue them together inside the base of the heart and inside another blank. This will be the lid of the box. Rolls don’t have to be the same. The more varied the rolls, the better the hearts look.
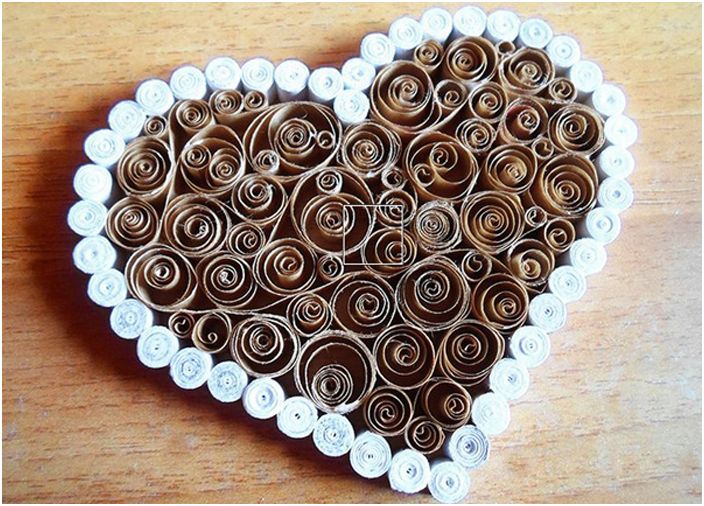
Decorating hearts
Make a few small rolls and a few larger ones. You can even make different elements if you want to experiment.
Step 4: decorate the sides
Side decoration
Now place the remaining heart (which hasn’t been decorated yet) on the base of the heart and glue it to the 2 columns (top and bottom). This will be the box.
Side decoration
Make more loose rolls and S-rolls and decorate the sides with them, gluing them between the upper and lower hearts.
Side decoration
Side decoration
When the sides are finished, you can close the box with a lid. The box is ready! Fill it with something lightweight, like candy. It will be a great gift that will not go unnoticed, a real work of art made from unnecessary waste paper that could end up in the dustbin, and only thanks to your imagination and diligence it will become a wonderful surprise.

