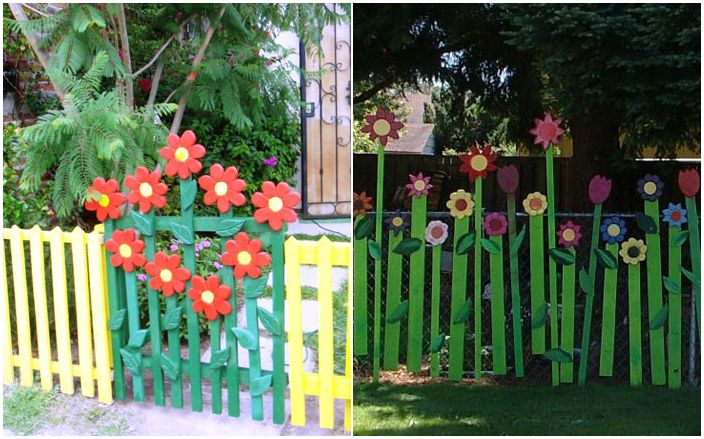
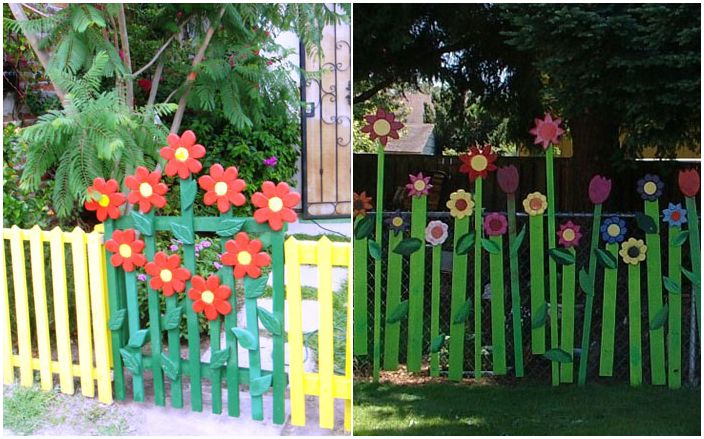
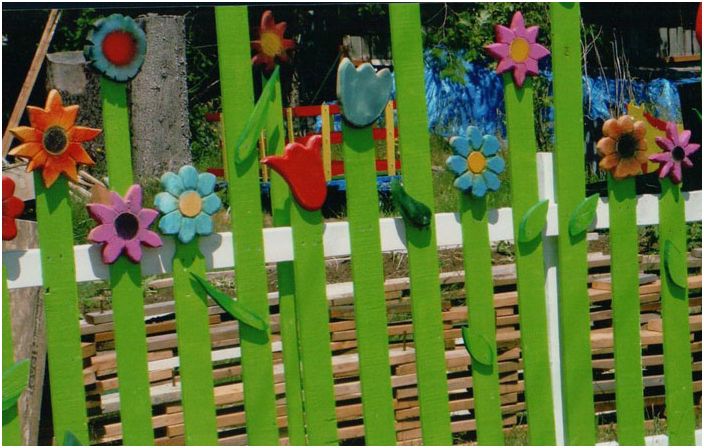
Do-it-yourself funny blooming gate
Everyone is accustomed to the monotonous dullness of the streets: to the same faceless houses and high fences, to a minimum of greenery and lack of flowers, to the bustle and endless stream of cars. But everyone can make a difference. A little bit of effort and fantasy can transform the world. You can plant a small alley of birches and spruces in your yard, break a flower bed, paint your fence in bright colors. We propose to start small – with our own fence, or rather, from the gate, we will turn it into a real street masterpiece that will definitely not go unnoticed.
Step 1: Selection of materials and tools
Materials:
wood (you can use any waste of lumber, which will significantly reduce material costs),
paint,
wood screws,
loops
Instruments:
table saw or radial saw (if you use ready-made slats, you will not need a saw),
a band saw, jigsaw, or hacksaw to cut flowers,
milling cutter or knife for wood carving
profile milling machine,
tassel
Step 2: Cutting the flower stems
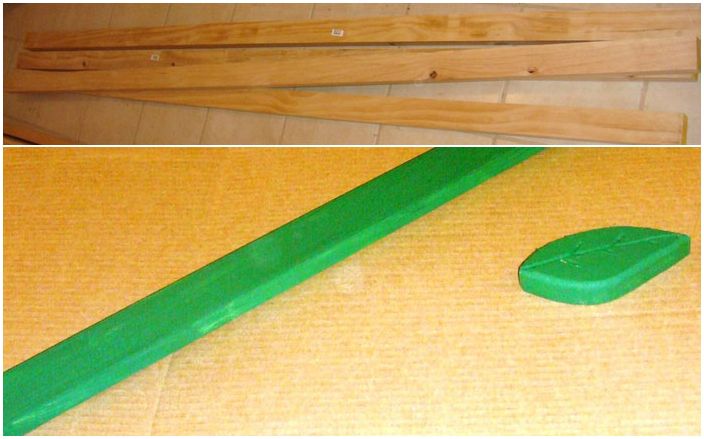
Cutting flower stems
You can use ready-made slats or cut the stems from any lumber. The width should be about 5-10cm. We select the height at will. Flowers of different heights will look original. Paint the stems green (or whatever you want).
Step 3: cutting out the flowers
Carving flowers
Carving flowers
Carving flowers
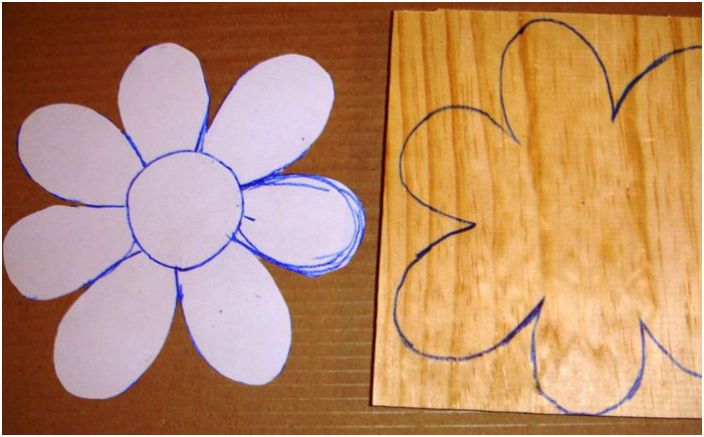
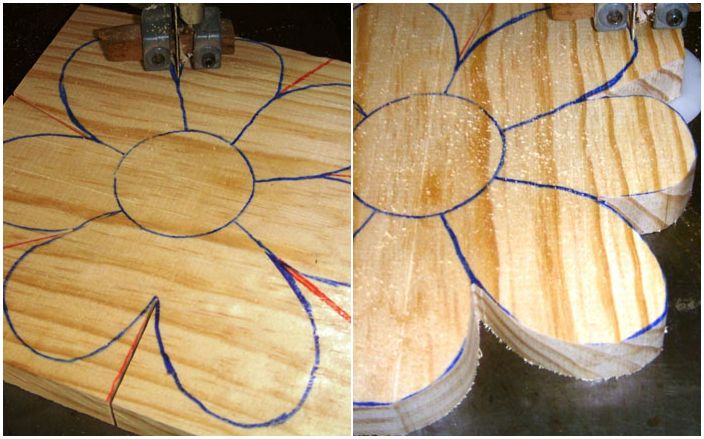
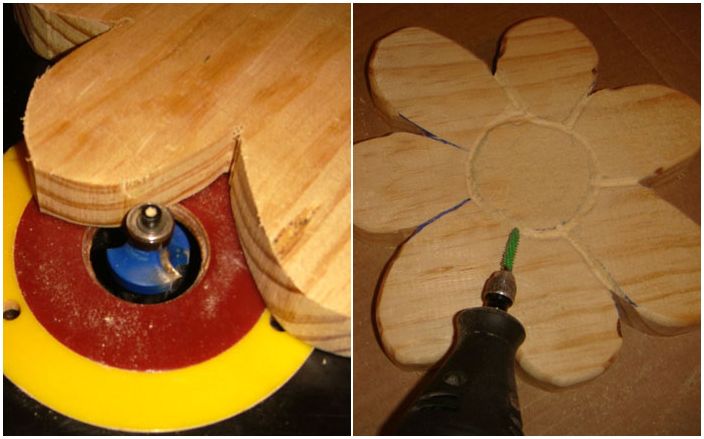
Attach a sketch of a flower to a piece of wood and trace around it with a pencil or marker. Cut flowers. It is best to first cut the well-defined inner corners with a bandsaw so that the blades do not get stuck in the curves of the flower. Then process the edges of the petals on a router. The next step will be cutting out the contours of the flower with a cutter.
Step 4: coloring the flowers
Coloring flowers
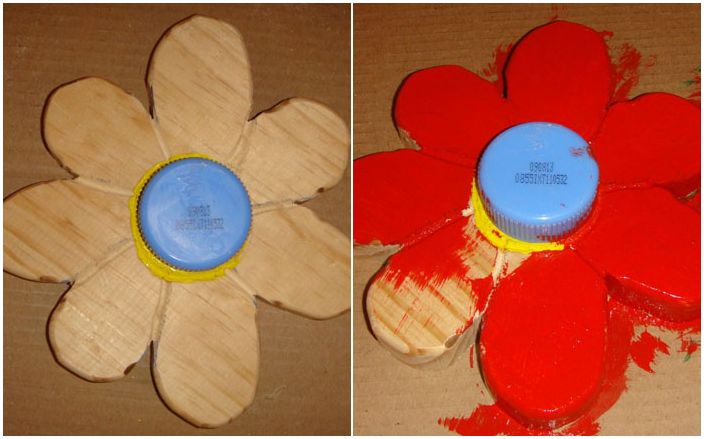
First paint the middle of the flowers, then cover them with a PET bottle cap and paint the petals.
Step 5: preparing the leaves
Leaf preparation
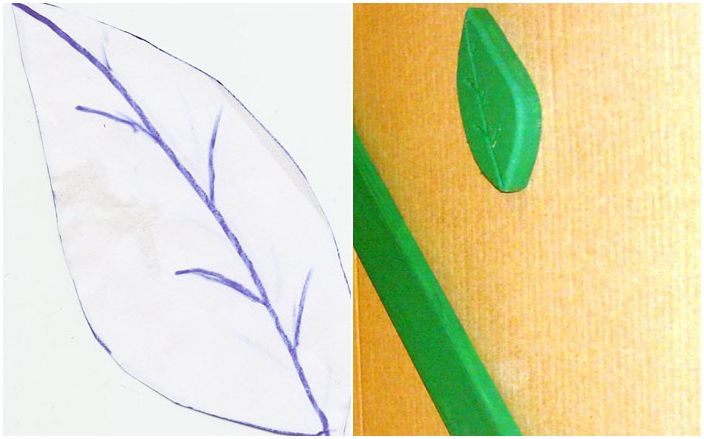
Cut and color the leaves using the same technique as the flowers.
Step 6: attaching flowers to the stems
Attaching flowers to the stems
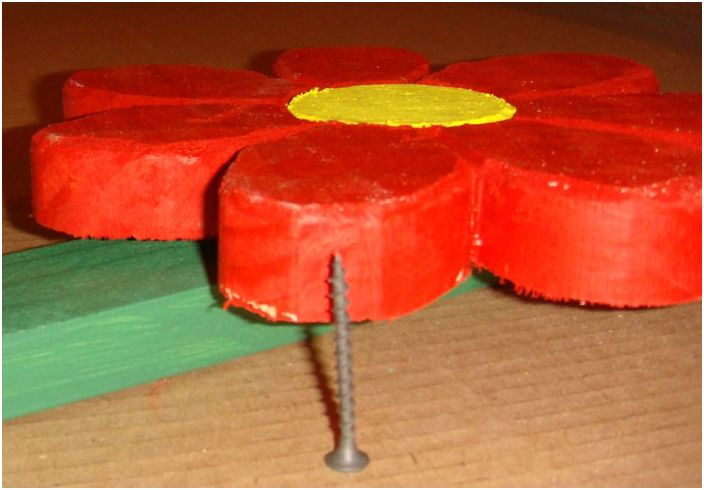
Look for wood screws that are slightly shorter than your flower and stem folded together. Pre-drill the holes for the screws. Screw the flowers and stems together from the inside. Use two screws for each flower to hold it in place.
Do not attach the leaves yet..
Step 7: making the Z-shaped frame
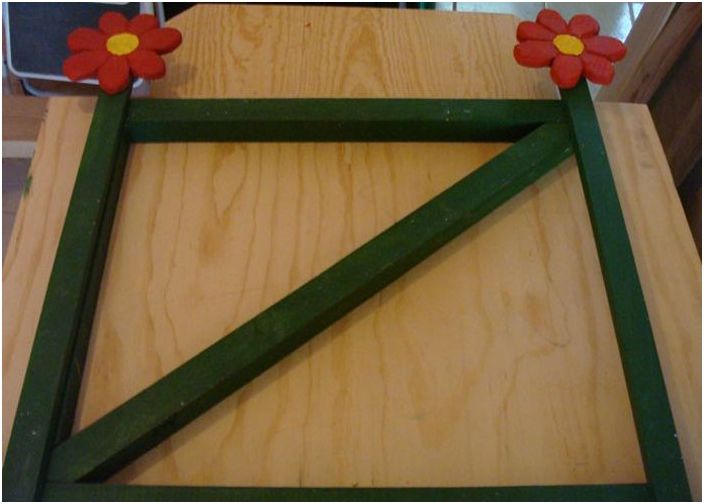
Making a frame in the shape of the letter Z
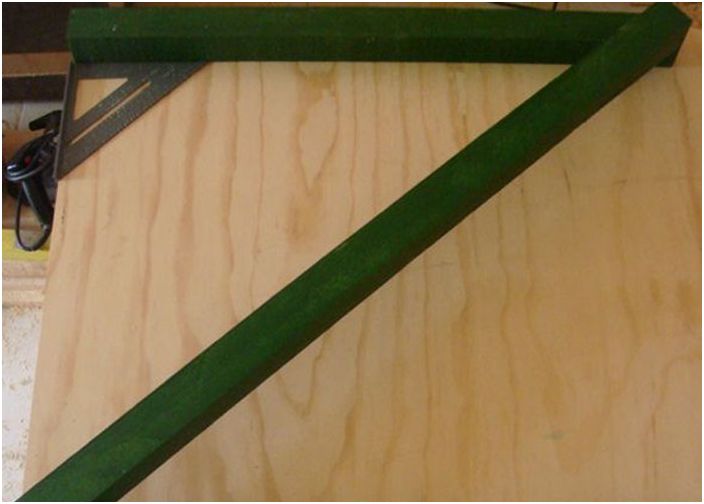
Make the frame of the gate in the shape of the letter Z. First, place 2 transverse strips, and then diagonal on a flat surface, make the markings, cut off the excess and re-assemble the frame. Drill holes for screws in the diagonal strip and fasten the structure. Next, you need to attach the loops. To do this, you need to add more vertical strips, fix and attach loops.
Step 8: placing pickets
Picket placement
First, you need to fix 2 pickets around the edges. Then spread out the rest as desired. Spread out the leaves. First, drill holes and attach the leaves to the stems from the back. Then attach the stems to the frame as well. Some flowers can only be attached in one place, depending on the height of the stem.
Step 9: Attaching the wicket to the fence
Fastening the gate to the fence
Blooming fence
Hang the gate onto the hinges. Enjoy a masterpiece made by yourself. All passers-by will definitely pay attention to him, and maybe they will want to take a photo against his background..

