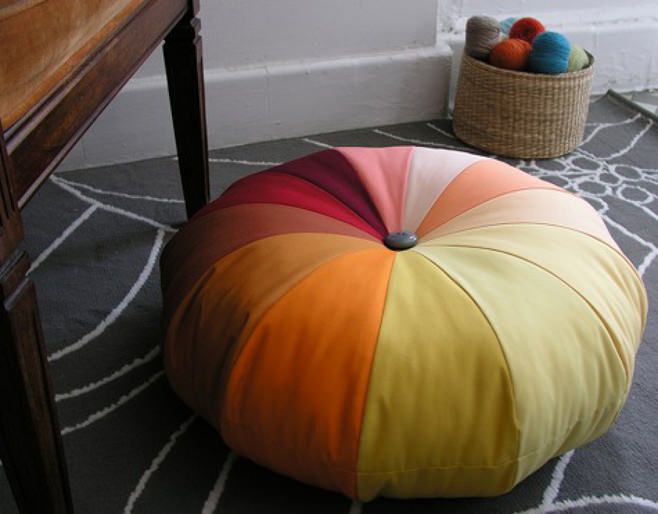
It is very simple to dilute the interior, make the room more comfortable. A multi-colored soft, comfortable, and most importantly, an exclusive ottoman from our master class will help you with this. We invite you to get acquainted with an extremely simple technique for making a bright home ottoman. How to make an ottoman with your own hands? Just!
To make an ottoman from our master class you will need:
- pattern,
- canvases of multi-colored fabric for the front part,
- lining fabric,
- fabric for the bottom of the ottoman,
- two large buttons and two reinforcing pads,
- filler for ottoman (sintepon),
- fabric chalk, thread in color, sewing needle, pins, scissors, sewing machine.
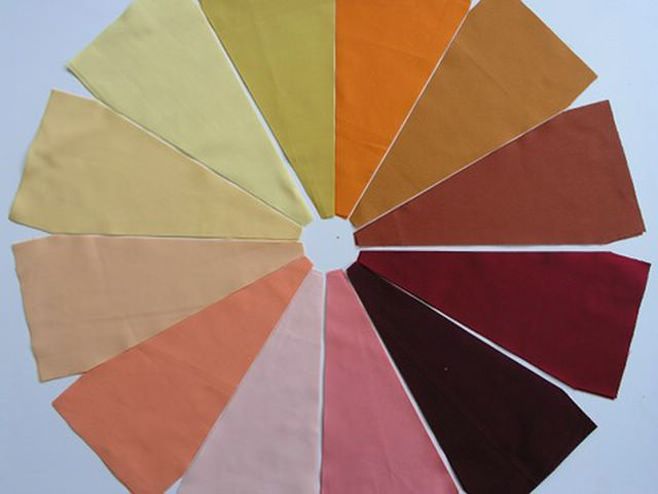
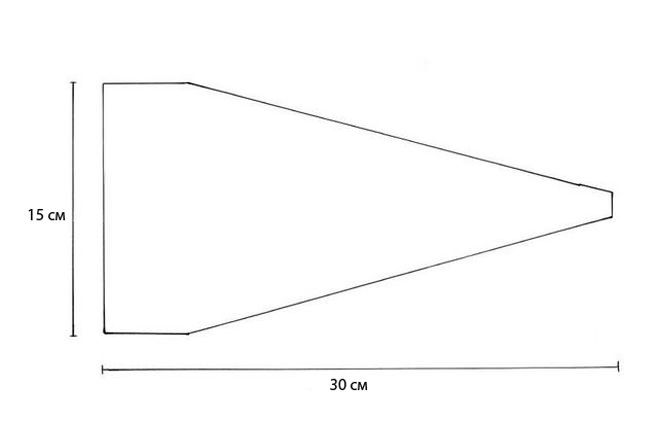
We are sewing a “rainbow” ottoman, so the pattern will look like a single object, in a shape resembling a triangle. You can change the dimensions based on the desired result. The main thing is that all parts are the same. You will need thirty-six triangles in total, twelve for the front, twelve for the lining, and twelve for the bottom. An example of an ottoman pattern in a master class – see the picture.
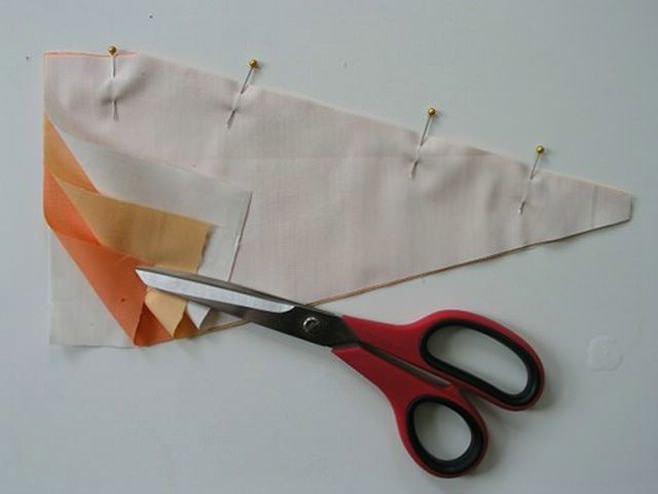
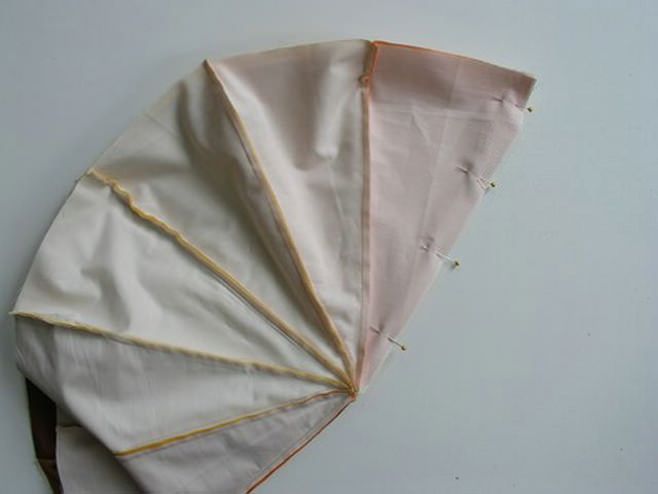
When all twenty-four pieces are cut, we proceed directly to sewing. How to sew an ottoman is well shown in the photo.
First, we carefully fasten two canvases of the front fabric, with the outer side to each other, on both sides we apply the purl fabric, fasten with pins and sew on a typewriter.
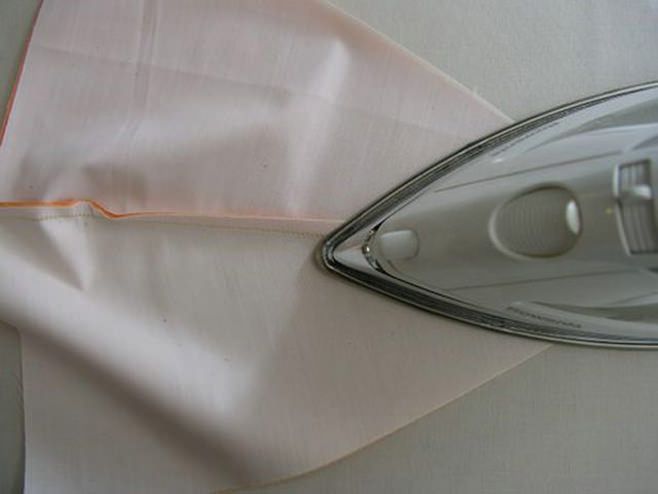
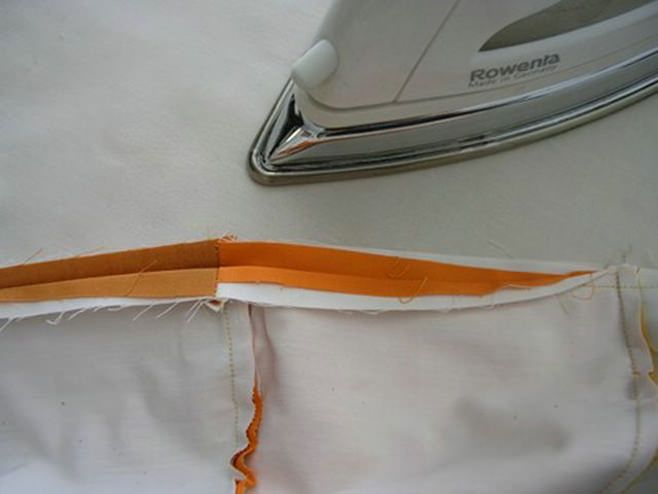
Iron the seam with an iron.
How to make an ottoman with your own hands so that the seams are perfect? To do this, carefully monitor the evenness of the seam and the exact hit of the acute angle of the triangles in the middle. If in doubt that you can do the job smoothly, proceed in stages, first sew the pairs, and then sew them to each other in stages.
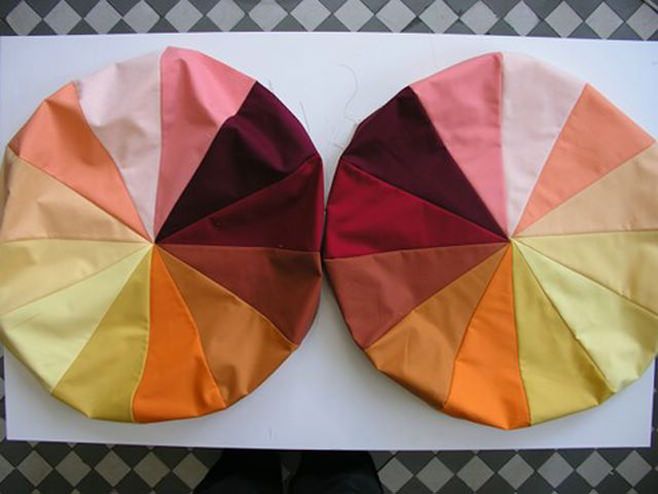
As a result, you should have two “rainbow” circles, with the same diameter. Congratulations, you already know almost everything about how to sew an ottoman..
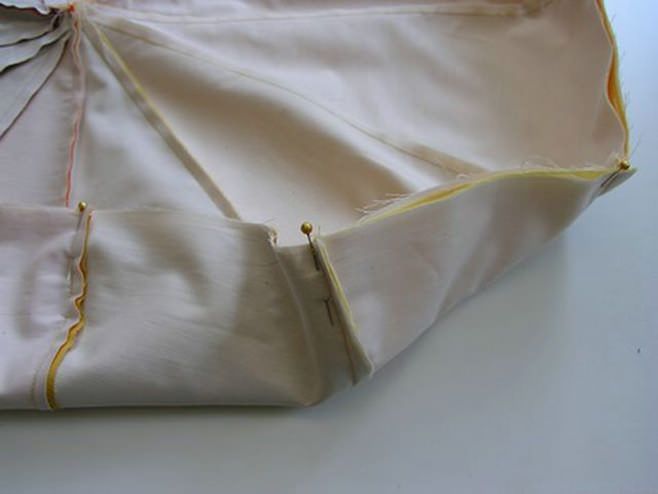
Next, we proceed to connect the upper and lower parts. We connect the two circles with the front sides, carefully pin them in a circle. We sew on a sewing machine. We leave a third of the circle unprocessed, it is through it that the filler will be laid.
We must iron the seams again with an iron, this will give a neat look to the finished product.
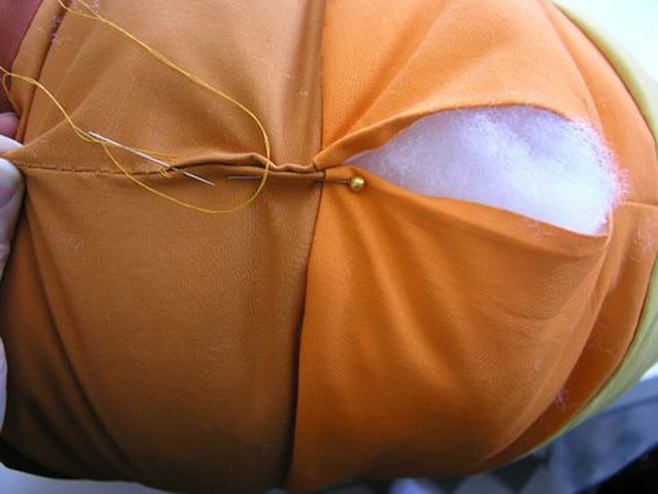
Two more steps and you can already safely share your experience with your friends on how to sew an ottoman. We turn out the resulting “pancake” on the front side, fill the future pouf with padding polyester through the left hole and sew up the rest of the fabric with a blind seam.
So, you already know how to make an ottoman with your own hands, and now we are learning to sew on the buttons correctly so as not to damage the stretched fabric.
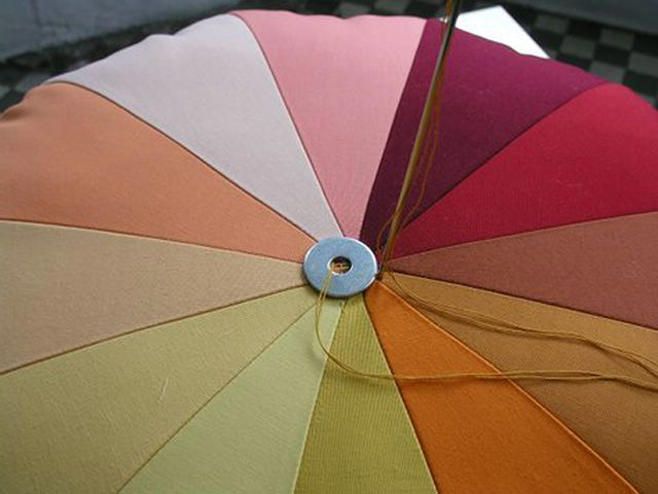
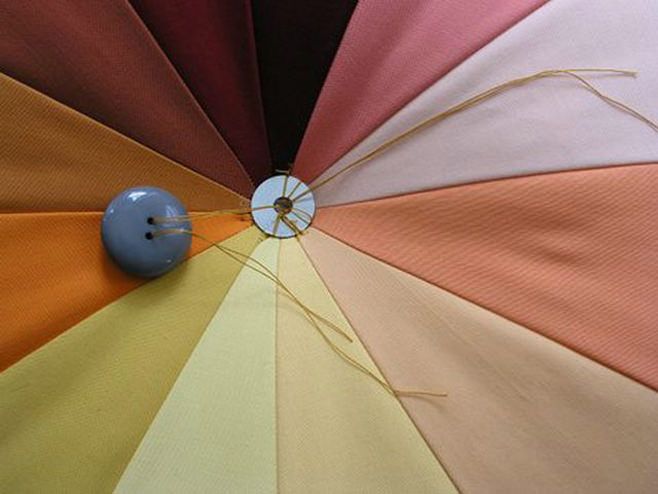
Take a long needle, be sure to have strong, durable threads and a special lining. You don’t have to go to the store to get the lining; you can use an iron washer from your husband’s stock. Now we place the washer first on one side of the pouf, in the middle, pierce it through with a needle and sew it with a washer on the back side. We proceed in such a way that at least eight stitches remain on both washers. Bigger is better – this will provide the most secure fit. It is important not to overdo it and not to make the tension between the two “poles” too strong, the washer should “sink” only a couple of centimeters. After that, we sew to the surface, any pretty button, with a diameter larger than the washer.
Our charming ottoman is ready to delight you and surprise guests.

